

There’s something uplifting about turning your kitchen into a fragrant haven, and these Healthier Baked Traditional Indian Samosas do just that. When I first bit into one of these golden-brown delights, I was instantly transported to the bustling streets of India, where the air is filled with the irresistible smell of spices and fresh dough. Made with a harmonious blend of potatoes, split peas, and aromatic spices, these samosas are not only delectable but also come with a healthier twist—baked instead of fried!
Perfect for any occasion, whether it’s a casual afternoon snack or a crowd-pleasing appetizer, each bite of these flaky pastries delivers a satisfying crunch and a burst of warm, savory flavors. Plus, the beauty of this recipe is its versatility; you can easily customize the filling to suit your taste. So, let’s roll up our sleeves and dive into the delightful world of making authentic, healthier samosas that are sure to bring joy to your cooking routine!
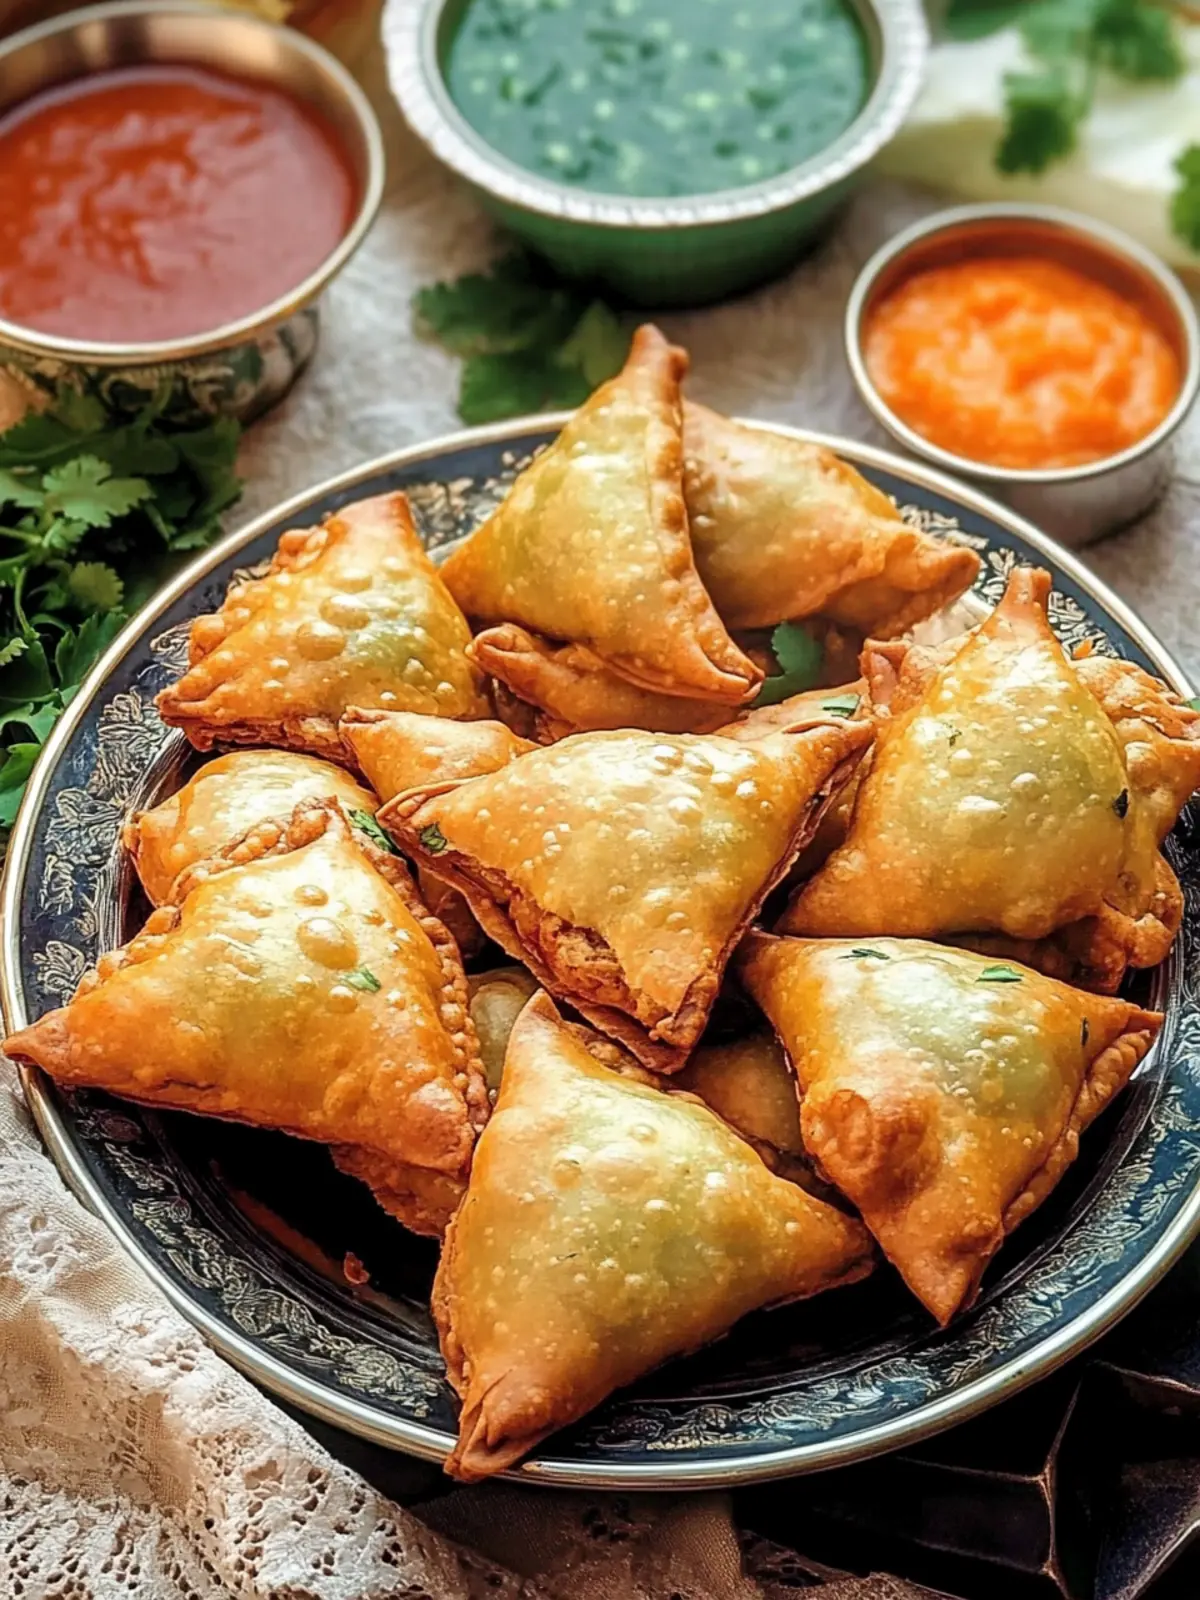
Why love making Traditional Indian Samosas?
Simplicity at Its Best: You’ll find that preparing these samosas is a fun and easy process, perfect for cooks of all skill levels.
Versatile Filling Options: The recipe allows you to customize the filling to include your favorite veggies or proteins, making it adaptable for everyone’s taste buds.
Healthier Twist: Baked instead of fried, this option retains all the delicious flavors while being lighter on the waistline!
Crowd-Pleasing Treat: These little pockets of goodness are perfect for gatherings, ensuring your family and friends keep coming back for more.
Nostalgic Flavors: Experience the authentic taste of India right from your own kitchen with spices that transport you to a vibrant street food market.
Try these wholesome treats today, and for more inspiration, check out my post on easy homemade chutneys.
Traditional Indian Samosa Ingredients
Get ready to whip up these delightful snacks with the perfect balance of flavor and texture!
For the Samosa Filling
- Dried Yellow Split Peas – Provides protein and fiber; rinse thoroughly before cooking.
- Yukon Gold Potatoes – Creamy texture perfect for mashing; substitute with sweet potatoes for a different flavor profile.
- Red Onion – Adds sweetness and depth to the filling; can be swapped for yellow onion.
- Fresh Ginger – Adds warmth and zest; can be omitted for a milder version.
- Ground Coriander – Delivers that fresh, citrusy flavor that’s essential to the filling.
- Garam Masala – A warming spice blend that ensures an authentic taste; substitute with curry powder for a different twist.
- Fresh Cilantro – Enhances flavor and freshness; can be replaced with parsley if desired.
For the Pastry Dough
- All-Purpose or Whole Wheat Flour – Forms the pastry; substitute with gluten-free flour mix for a gluten-free option.
- Greek Yogurt – Provides moisture and tenderness; substitute with dairy-free yogurt for a vegan option.
- Extra Virgin Olive Oil – Adds flakiness to the dough; can be swapped with coconut oil or avocado oil for frying.
For Cooking
- Cooking Oil (for Frying) – Used for deep-frying, options include avocado or coconut oil.
With these Traditional Indian Samosa ingredients in hand, you’re ready to embark on a culinary adventure that will leave your kitchen smelling heavenly!
How to Make Traditional Indian Samosas
-
Cook Split Peas: Boil dried yellow split peas in water until tender, which takes about 35-45 minutes. Once they’re soft, drain and set aside for the filling.
-
Boil Potatoes: Take Yukon Gold potatoes and cook them in salted water until tender—approximately 15-20 minutes. Drain and set aside to cool before mashing.
-
Prepare the Dough: In a mixing bowl, combine the flour with a pinch of salt. Make a well in the center and add Greek yogurt and olive oil. Knead the mixture until it’s smooth, then let it rest for 30 minutes covered with a damp cloth.
-
Make the Filling: In a skillet, sauté the chopped red onions in oil until they become translucent. Add grated fresh ginger, ground coriander, and garam masala, cooking briefly to release the aromas. Combine this mixture with the mashed potatoes and cooked split peas until blended.
-
Form Samosas: Roll out the rested dough to about 1/8-inch thickness. Cut into squares, fill each square with the prepared filling, fold diagonally, and seal the edges using water to ensure they stay closed.
-
Baking or Frying: Preheat your oven to 350°F (180°C) if baking. Place the samosas on a lined baking sheet and bake for 20-25 minutes, or until golden brown. If frying, heat cooking oil to 350°F and fry the samosas until golden.
-
Serve: Allow the samosas to cool slightly before serving them with your favorite chutney or ketchup for a delightful treat!
Optional: Sprinkle some fresh cilantro on top for a burst of flavor.
Exact quantities are listed in the recipe card below.
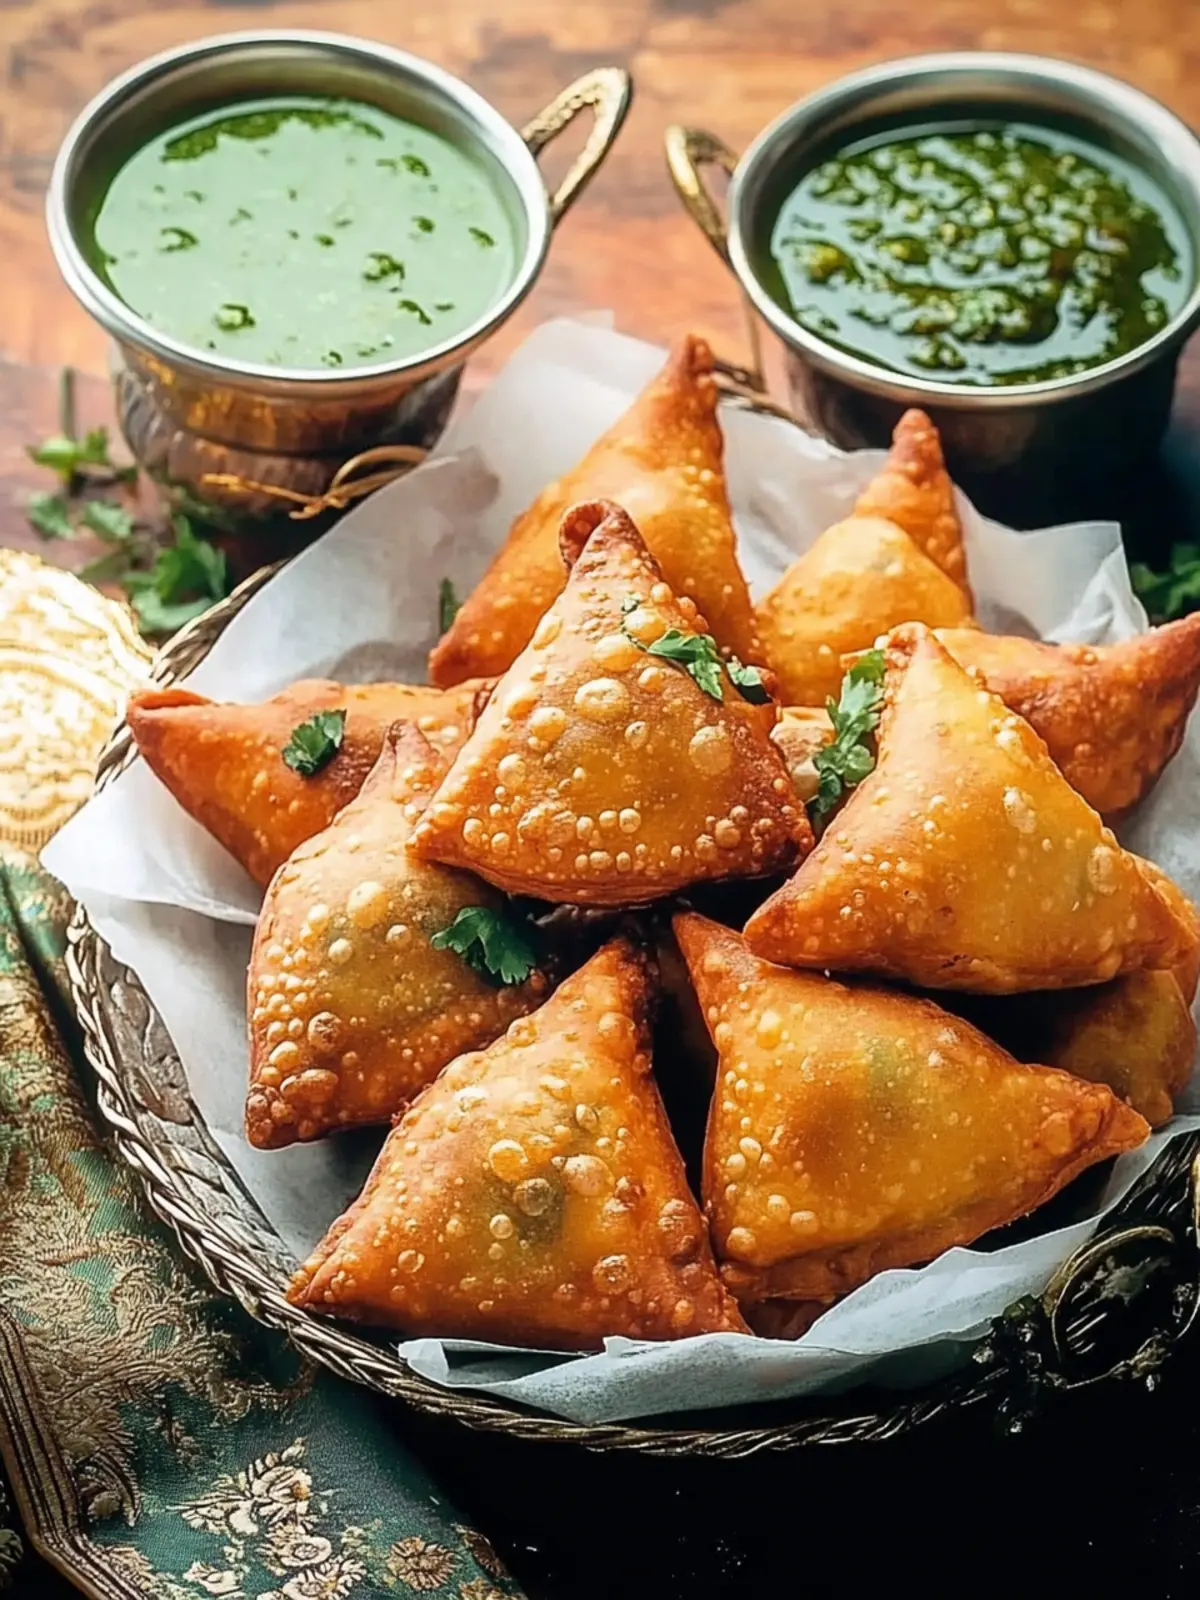
Expert Tips for Traditional Indian Samosas
Perfectly Rested Dough: Don’t skip the resting time! Allowing the dough to rest for 30 minutes helps develop its gluten, making it easier to roll out without tearing.
Crispy Texture: For a perfectly crispy shell, ensure your frying oil is hot enough (around 350°F) before adding the samosas. This prevents them from absorbing too much oil.
Even Filling: Aim for consistency in your filling size to ensure even cooking. Overstuffing might lead to leaks, while underfilling can make them less satisfying.
Vary Spices: Feel free to personalize the spice levels in your filling. Adjust the amount of garam masala or add a pinch of cayenne for extra heat in your Traditional Indian Samosas.
Chill Before Baking: For baked samosas, chilling them for about 15-20 minutes in the fridge before baking can help maintain their shape and improve texture.
What to Serve with Traditional Indian Samosas?
Elevate your dining experience by pairing these flaky delights with vibrant accompaniments that amplify their flavors.
-
Mint Chutney: This refreshing sauce adds a cool touch, enhancing the spicy-sweet filling while balancing the flavors beautifully.
-
Tamarind Chutney: Sweet and tangy, this chutney brings out the warm spices in the samosas, creating a delightful contrast in every bite.
-
Spicy Lentil Soup: A comforting companion, the rich spices of lentil soup beautifully complement the crispy samosas, making it a wholesome meal.
-
Chana Masala: With its robust flavors and chickpeas, chana masala offers a heartiness that pairs wonderfully with the samosas for a satisfying feast.
For a lighter touch, serve them alongside a Cucumber Salad: Crisp, refreshing cucumbers tossed in lemon juice bring a cooling effect that balances the spices.
Lastly, consider Masala Chai: A warm, spiced tea that not only complements the samosas but also wraps up your meal with a cozy finish.
Each of these pairings adds its own character, transforming your Traditional Indian Samosas into a complete and enjoyable feast!
Make Ahead Options
These Healthier Baked Traditional Indian Samosas are perfect for meal prep, allowing you to enjoy homemade snacks even on your busiest days! You can prepare the filling of cooked split peas and mashed potatoes up to 3 days in advance; simply refrigerate it in an airtight container. The dough can also be made ahead and kept covered in the fridge for up to 24 hours to maintain its freshness. When you’re ready to bake or fry, just roll out the dough, fill it with your prepared filling, and bake in a preheated oven or fry in hot oil. This way, you will savor the same delightful flavors with minimal effort, perfect for quick appetizers or after-school snacks!
Traditional Indian Samosas Variations
Feel free to get creative with these samosas; there’s a world of flavors waiting for you!
-
Chickpeas: Substitute split peas for chickpeas in equal measure for a heartier option. These little legumes add a creamy texture that complements the spices beautifully.
-
Vegetables: Experiment with adding sautéed broccoli, cauliflower, or green beans. A medley of vegetables not only boosts nutrients but also brings vibrant colors to your samosas.
-
Paneer and Spinach: Replace the potato filling with crumbled paneer and fresh spinach for a rich, creamy experience. The combination creates a comforting twist that is both delightful and indulgent.
-
Spice Level: Adjust the heat by incorporating cayenne or serrano peppers into the filling for those who crave a kick. Feel free to reduce or eliminate spices for a milder flavor.
-
Sweet Potato: Swap out the Yukon Gold potatoes for sweet potatoes to introduce a touch of sweetness, pairing beautifully with the spices. This variation adds natural sugars that caramelize beautifully when baked.
-
Mexican Fusion: Add some cumin and diced jalapeños for a cross-cultural twist. The spiciness harmonizes with the savory filling, offering an exciting fusion of flavors.
-
Dairy-Free Option: Use dairy-free yogurt instead of Greek yogurt in the dough for a fully vegan samosa. This swap maintains the tenderness of the pastry while making it accessible for all diets.
-
Nutty Flare: Add ground almonds or cashews into your filling to impart a delightful crunch and nutty flavor. This elevates the samosas and provides an unexpected texture.
Unleash your imagination with these variations and make these delicious Traditional Indian Samosas your own!
Storage Tips for Traditional Indian Samosas
Fridge: Store baked samosas in an airtight container for up to 2 days. Reheat in the oven at 350°F for about 10 minutes to restore their crispiness.
Freezer: For longer storage, freeze samosas for up to 6 months. Arrange them in a single layer on a baking sheet before freezing, then transfer to a freezer bag.
Defrosting: To enjoy your frozen samosas, simply remove them from the freezer and let them thaw in the fridge overnight. Reheat in the oven for best results.
Reheating: When reheating from the fridge, place samosas in the oven at 350°F for about 10 minutes, ensuring each bite of your Traditional Indian Samosas is warm and crunchy!
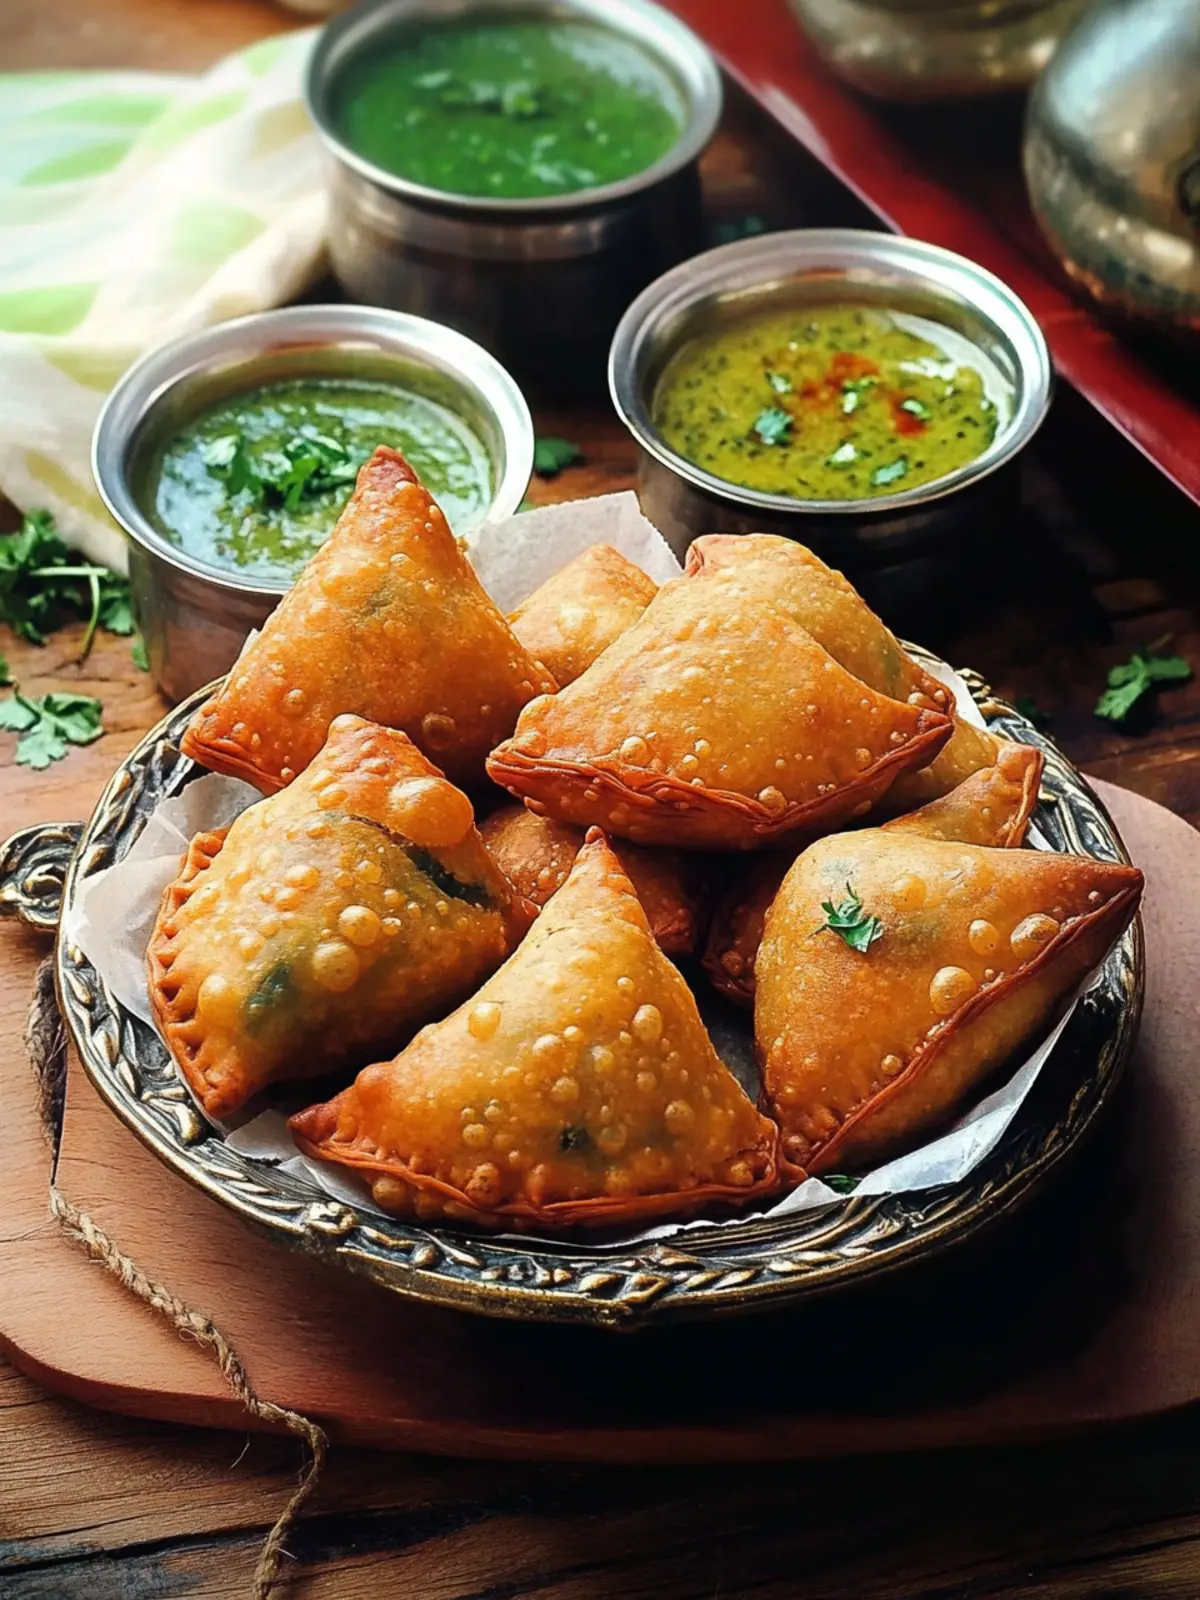
Healthier Baked Traditional Indian Samosas Recipe FAQs
What type of potatoes are best for samosas?
I recommend using Yukon Gold potatoes for a creamy texture that mashes beautifully. If you’re looking for a sweeter flavor profile, sweet potatoes can be an excellent alternative!
How do I store leftover samosas?
Store your baked samosas in an airtight container in the fridge for up to 2 days. To maintain their delightful crunch, reheat them at 350°F (about 10 minutes) before enjoying!
Can samosas be frozen?
Absolutely! You can freeze the samosas for up to 6 months. Arrange them in a single layer on a baking sheet until solid, then transfer them to a freezer bag. This method prevents sticking and keeps them fresh.
What if I run into issues with the dough?
If your dough tears when you’re rolling it out, it’s likely not rested enough. Make sure you give it a good 30 minutes of rest. On the other hand, if your dough feels too dry, add a splash of water or a bit more yogurt to achieve a better consistency.
Are these samosas suitable for people with gluten allergies?
Absolutely! You can substitute all-purpose flour with a gluten-free flour mix. This way, you can still enjoy the deliciousness of Traditional Indian Samosas while catering to dietary restrictions.
How do I make sure the filling isn’t too dry?
Make sure to blend the ingredients well. If your filling seems dry, consider adding a touch of olive oil or a little water. This not only improves the texture but also boosts flavor.
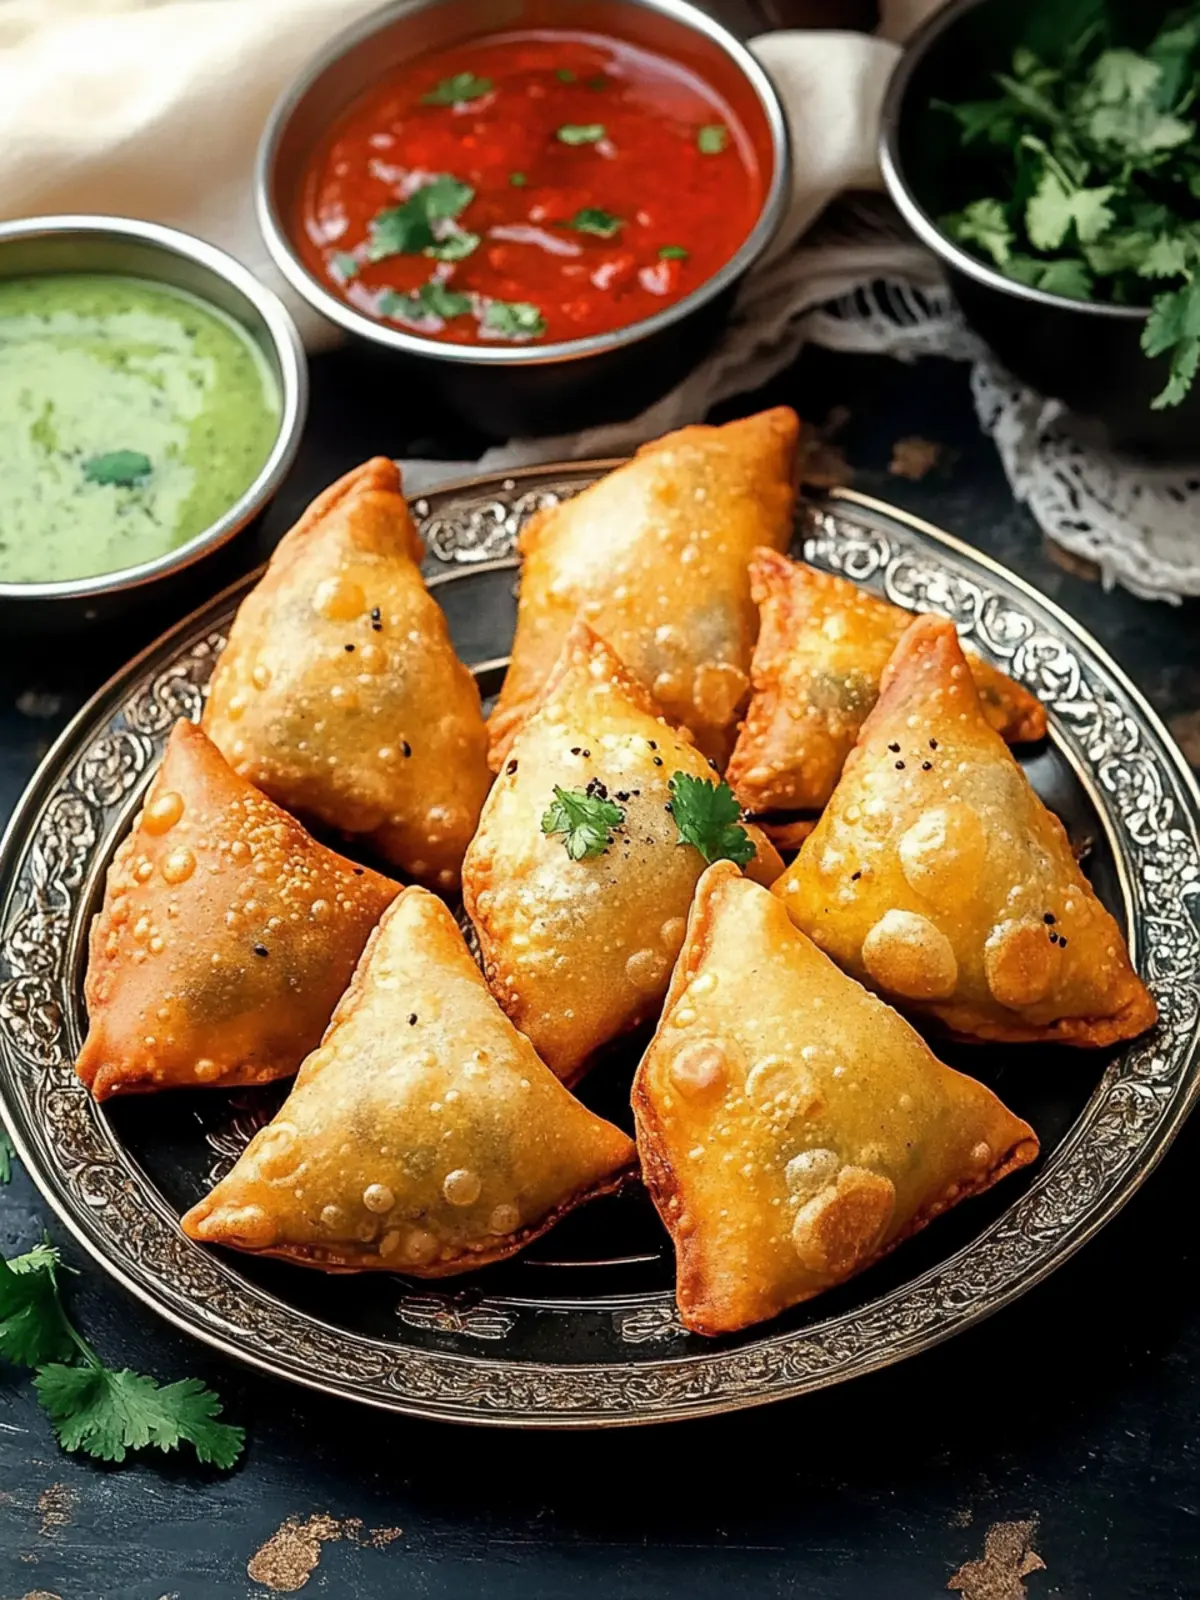
Healthier Traditional Indian Samosas You’ll Love to Bake
Ingredients
Equipment
Method
- Boil dried yellow split peas in water until tender, approximately 35-45 minutes. Drain and set aside.
- Cook Yukon Gold potatoes in salted water until tender, about 15-20 minutes. Drain, cool, and mash.
- In a bowl, combine flour with a pinch of salt, then mix in Greek yogurt and olive oil. Knead until smooth and let it rest for 30 minutes.
- Sauté chopped red onions in oil until translucent. Add grated ginger, ground coriander, and garam masala. Mix with mashed potatoes and split peas.
- Roll out dough to 1/8-inch thickness, cut into squares, fill with mixture, fold diagonally, and seal edges with water.
- Preheat oven to 350°F. Bake samosas on a lined sheet for 20-25 minutes until golden. If frying, heat oil to 350°F and fry until golden.
- Cool slightly before serving with chutney or ketchup.