
There’s a certain joy that comes from transforming simple ingredients into something extraordinary. The first time I made these Crispy Smashed Hash Browns, I could hardly believe how something so humble as a potato could deliver such delightful crunch and flavor. Imagine golden, crispy surfaces that give way to a fluffy interior, all kissed with the richness of garlic herb butter.
What began as a quest for a comforting breakfast turned into a family favorite that everyone—yes, even the pickiest eaters—couldn’t resist. Whether you’re seeking a hearty start to your weekend or a way to elevate brunch, these hash browns fit the bill perfectly. And with variations like a cheesy twist, a spicy kick, or a veggie boost, there’s something here for every palate.
Join me as we dive into this easy, gluten-free recipe that promises to add joy to your mornings and impress your brunch guests—no complicated techniques required!
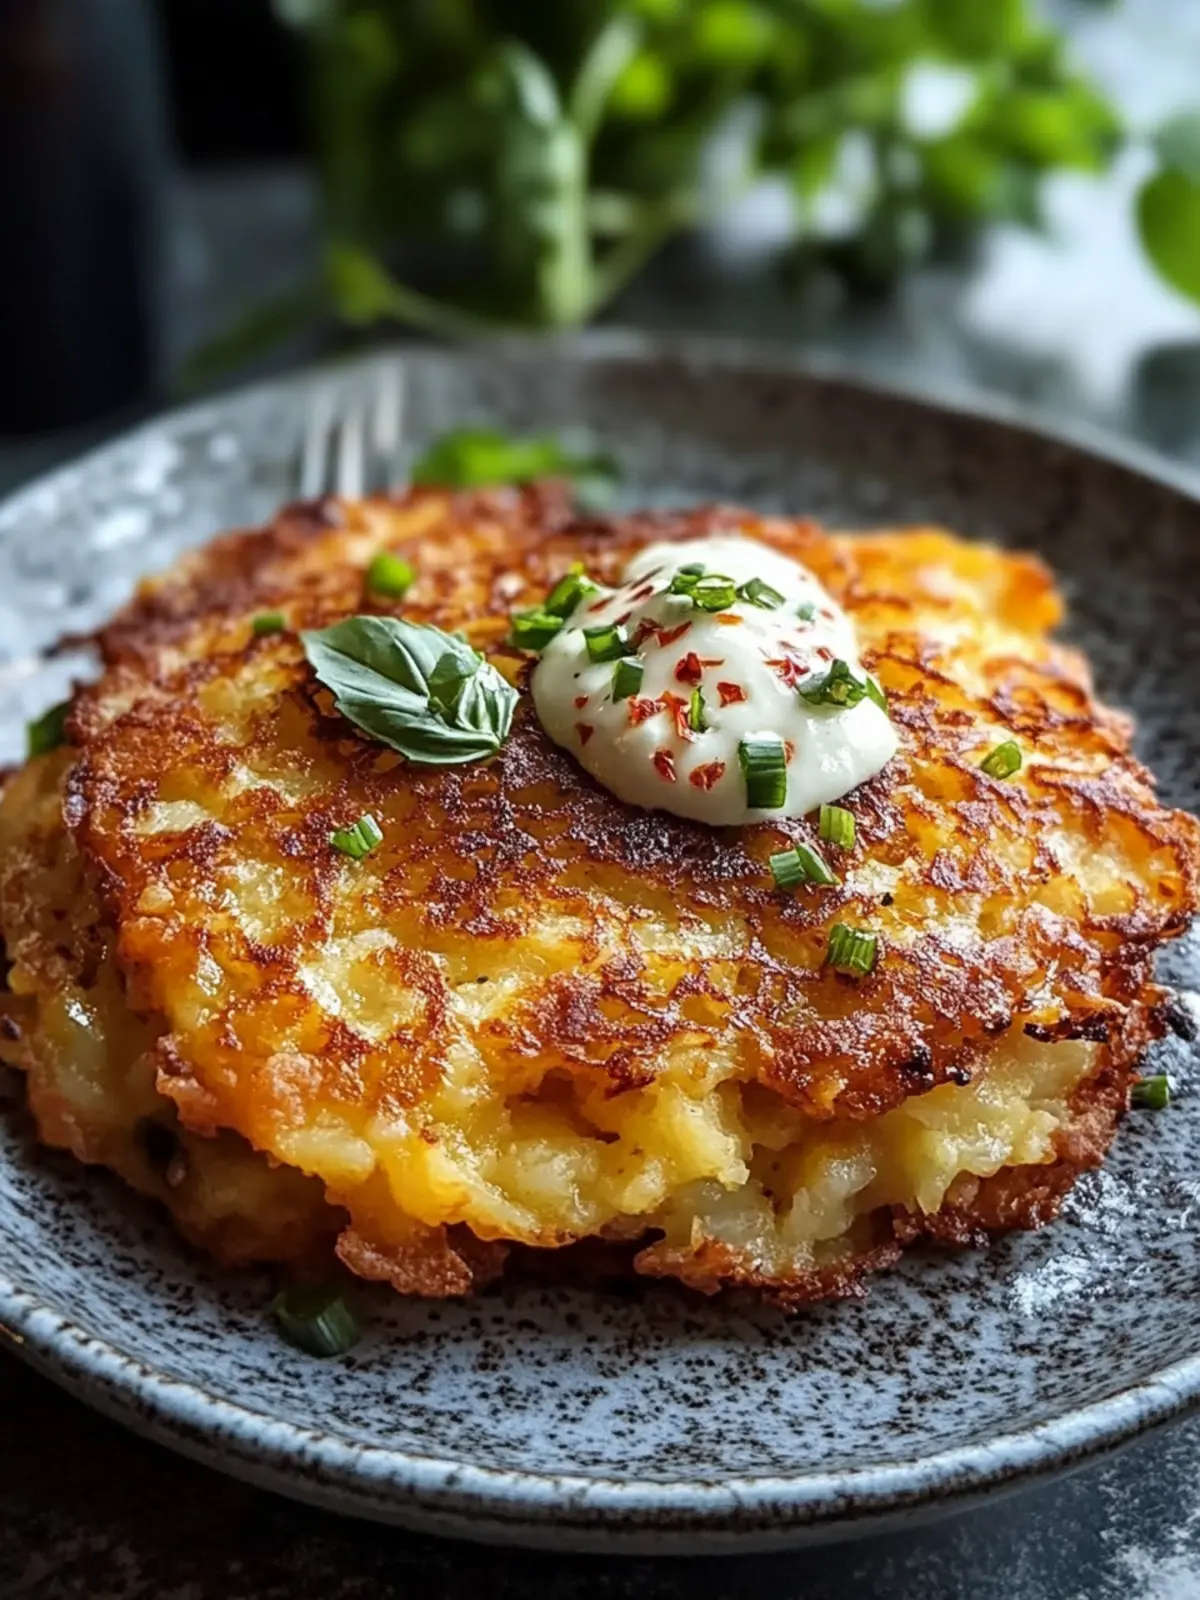
Why are Smashed Hash Browns so irresistible?
Irresistible Crunch: Each bite of these Crispy Smashed Hash Browns delivers an addictive crunch, complemented by a fluffy, tender interior.
Flavorful Boost: The infusion of garlic herb butter elevates the dish, making it a standout side that pleases every palate.
Customizable Options: Whether you crave a cheesy indulgence or a spicy kick, the variations ensure everyone can savor their favorites.
Quick & Easy: With minimal steps and just 30 minutes needed, you’ll be enjoying golden hash browns in no time!
Perfect for Any Meal: Beyond breakfast, these hash browns shine as a side dish for dinner or brunch, making them a versatile addition to your recipe repertoire.
Smashed Hash Browns Ingredients
For the Hash Browns
• Potatoes – Use starchy varieties like Russet for the best crispness.
• Butter – Adds rich flavor; substitute with vegan margarine for a dairy-free option.
• Olive Oil – Enhances crispiness and has a higher smoke point when frying.
• Salt – Essential for seasoning at every cooking stage, enhancing the overall flavor.
For the Garlic Herb Butter
• Garlic – Provides aromatic flavor; adjust the amount based on your preference.
• Fresh Herbs (like parsley or chives) – Adds freshness and depth; feel free to use any herbs you have on hand.
With these ingredients, you’ll be well on your way to making irresistible Smashed Hash Browns that will impress family and friends alike!
How to Make Smashed Hash Browns
-
Prep Potatoes: Start by boiling the whole potatoes in salted water until tender, about 15-20 minutes. This builds the foundation for our delicious smashed hash browns!
-
Cool: Allow the potatoes to cool for at least 10 minutes after boiling. This helps them firm up, making them easier to smash for that perfect texture.
-
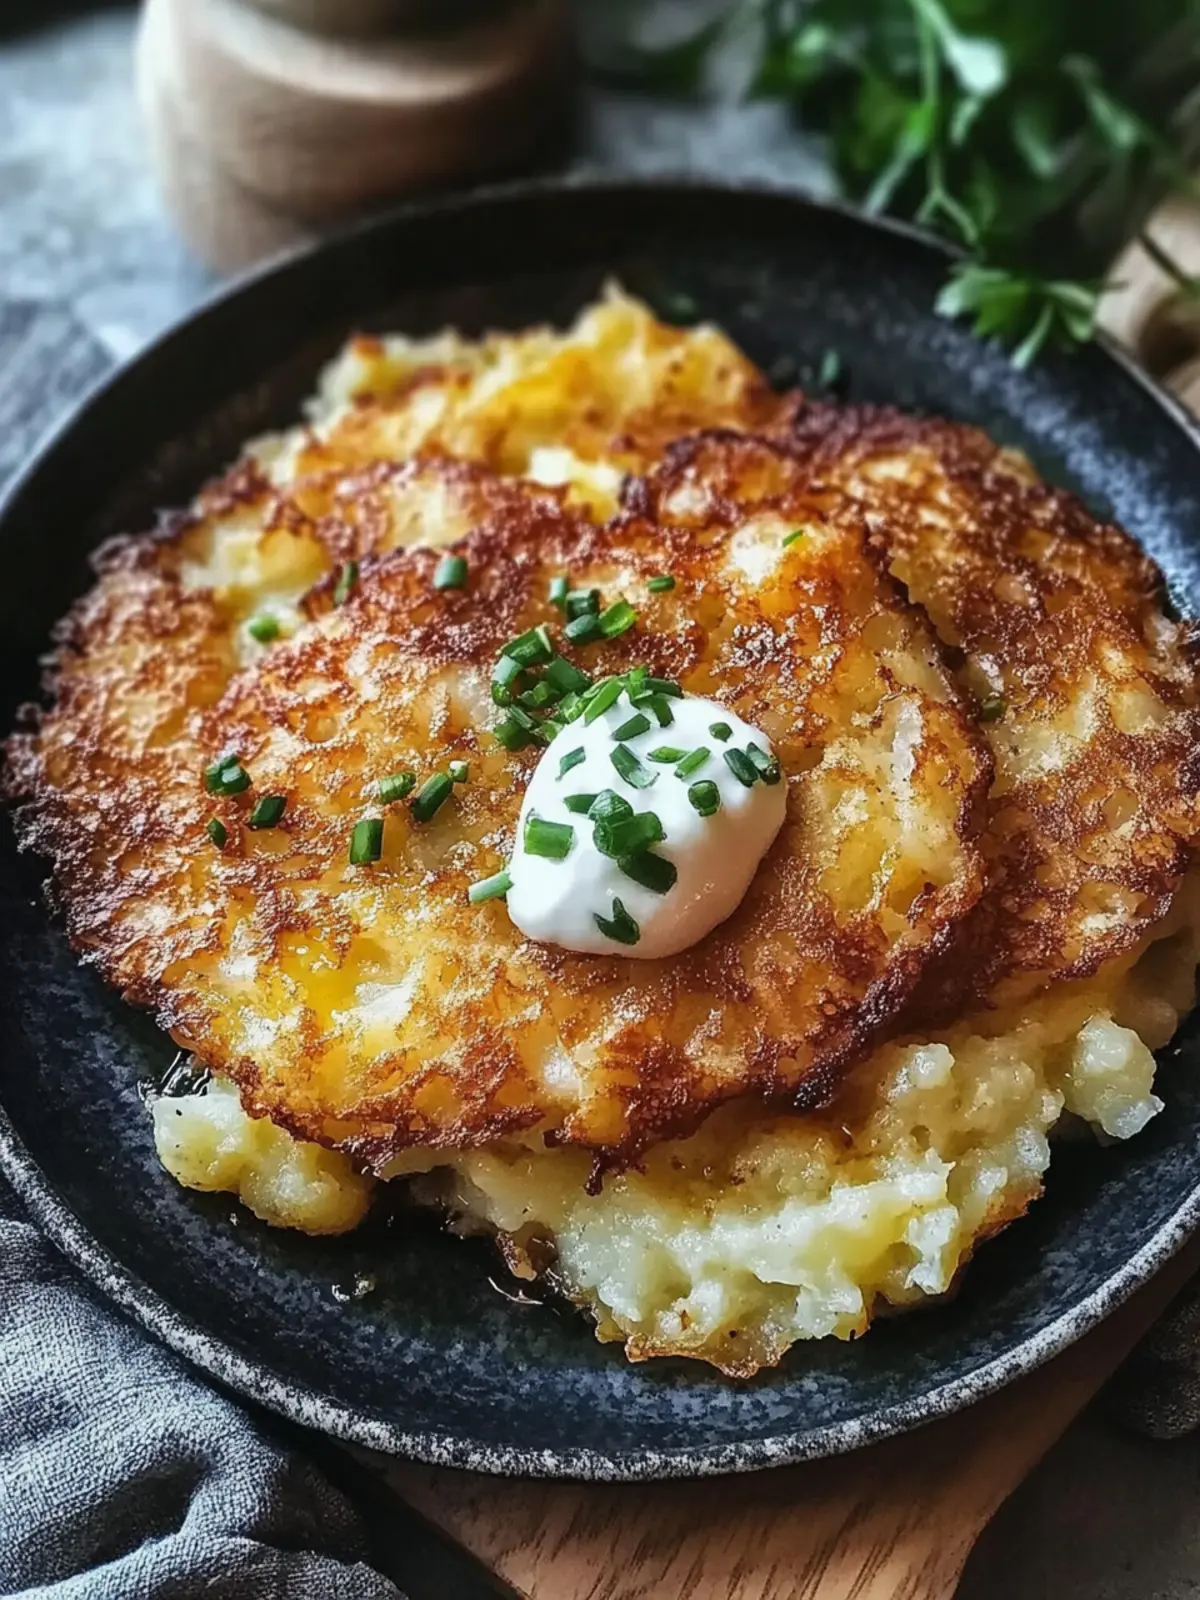
Smash: Gently smash the cooled potatoes on a cast iron skillet or baking sheet until they are flattened. Aim for a thick pancake shape to get that crispy edge!
-
Heat & Fry: Heat olive oil and a mix of butter in the skillet over medium-high heat. Fry the smashed potatoes until they are golden brown, about 3-5 minutes per side. The sizzling sound is music to your ears!
-
Add Garlic Butter: In the last minute of frying, add your garlic herb butter. Let it melt luxuriously over the potatoes, infusing them with aromatic flavors.
-
Serve Immediately: Enjoy the crispy smashed hash browns hot from the skillet, garnished with extra herbs if you wish. They’re simply irresistible!
Optional: Try serving with a dollop of sour cream or your favorite hot sauce.
Exact quantities are listed in the recipe card below.
How to Store and Freeze Smashed Hash Browns
Fridge: Store leftover crispy smashed hash browns in an airtight container in the fridge for up to 3 days. Reheat in a skillet for that fresh crunch!
Freezer: For longer storage, freeze individual portions of cooled smashed hash browns. Wrap tightly in plastic wrap and place in a zip-top bag for up to 3 months.
Reheating: To reheat from frozen, bake in a preheated oven at 400°F (200°C) for about 20-25 minutes until heated through and crispy.
Make-Ahead Tips: You can prepare boiled potatoes in advance and refrigerate them for up to 24 hours. Smash and fry them fresh when you’re ready to serve.
What to Serve with Crispy Smashed Hash Browns with Garlic Herb Butter?
Elevate your breakfast gathering with the perfect companions for these golden, crunchy delights that will make your taste buds dance.
-
Creamy Scrambled Eggs: Their velvety texture and rich flavor complement the crispy hash browns perfectly, creating a satisfying breakfast plate.
-
Fresh Avocado Toast: The creaminess of ripe avocado adds a delightful contrast to the crunchy potatoes, while fresh herbs elevate it all.
-
Zesty Salsa: A vibrant, tangy salsa offers a refreshing zing that cuts through the richness of garlic herb butter, giving your dish a perfect balance.
-
Crispy Bacon: The salty, savory crunch of bacon pairs exceptionally well with the fluffy interiors of the hash browns, making for a hearty breakfast duo.
-
Light Green Salad: A simple salad with lemon dressing adds a burst of freshness and balances the comfort of the hash browns, inviting a lighter side.
-
Homemade Ketchup: A sweet and tangy homemade ketchup brings nostalgia and enhances the flavors of the crispy smash, making each bite even more enjoyable.
Experimenting with these pairings will create a delightful breakfast spread that keeps everyone coming back for more!
Make Ahead Options
These Crispy Smashed Hash Browns are perfect for busy home cooks looking to save time during the week! You can boil and cool the potatoes up to 24 hours in advance, which makes getting dinner on the table a breeze. Once cooled, simply cover the potatoes and refrigerate them until you’re ready to smash and fry them. Additionally, prepare the garlic herb butter ahead of time and store it in the fridge for up to 3 days. When you’re ready to enjoy your hash browns, just smash the potatoes and fry them according to the recipe instructions. This way, you’ll still achieve that delightful crispiness while saving precious cooking time!
Expert Tips for Smashed Hash Browns
• Starchy Potatoes: Choose starchy potatoes like Russet for the best texture and crispiness; waxy potatoes won’t yield the same result.
• Cool Time: Don’t skip the cooling step! Letting the potatoes cool for at least 10 minutes helps them firm up and maintain their shape when smashed.
• Cast Iron Skillet: For maximum crunch, use a cast iron skillet. It retains heat better, providing that perfect golden-brown crust.
• Timing is Key: Allow the hash browns to fry until they form a golden crust before flipping. Patience pays off for irresistibly crispy smashed hash browns!
• Season at Every Stage: Don’t forget to season your potatoes at each step. Seasoning during boiling, frying, and in the garlic butter ensures full flavor.
Smashed Hash Browns Variations
Feel free to get creative with these Crispy Smashed Hash Browns, because there are so many delicious ways to customize them!
-
Cheesy Twist:
Top with shredded cheddar or Parmesan right after flipping for that perfect cheesy melty goodness. -
Spicy Kick:
Spice things up by adding smoked paprika or a dash of cayenne to the garlic herb butter. Your taste buds will dance! -
Veggie Boost:
Incorporate sautéed vegetables like bell peppers, onions, or spinach into the mix for an enriching twist that adds color and flavor. -
Vegan Delight:
Substitute butter with coconut oil or a vegan margarine. Leave out the herbs if you’re in a pinch—they’ll still be tasty! -
Herbed Variation:
Use different fresh herbs like dill or basil in place of parsley or chives for a unique flavor profile that can change the entire dish. -
Sweet Potato Version:
Swap out regular potatoes for sweet potatoes for a sweeter, slightly healthier alternative that packs a nutrition punch. -
Crispy Parmesan:
Add finely grated Parmesan cheese to the skillet during frying to form a crispy crust that adds umami richness to every bite. -
Garlic Lovers:
For an extra garlicky kick, add more minced garlic to the butter or roast garlic beforehand for a sweeter, richer flavor.
Each of these variations will take your smashed hash browns to new heights—making them not only a breakfast staple but also a versatile dish for every occasion!

Crispy Smashed Hash Browns with Garlic Herb Butter Recipe FAQs
What type of potatoes are best for smashed hash browns?
For the crispiest smashed hash browns, I recommend using starchy potatoes like Russet. They have a higher starch content which contributes to that delightful crispiness on the outside while remaining fluffy on the inside. Waxy potatoes, like red or yellow varieties, won’t provide the same texture.
How should I store leftover smashed hash browns?
Absolutely! Store leftover crispy smashed hash browns in an airtight container in the fridge for up to 3 days. When you’re ready to enjoy them, simply reheat them in a skillet over medium heat for that fresh crunch. You can also pop them in the microwave, but the skillet method maintains the crispiness better.
Can I freeze smashed hash browns? How?
Yes, you can! To freeze your smashed hash browns, let them cool completely after smashing. Wrap each portion tightly in plastic wrap, then place them in a zip-top freezer bag. They’ll stay fresh for up to 3 months. When ready to eat, bake them straight from the freezer in a preheated oven at 400°F (200°C) for about 20-25 minutes, checking to ensure they are heated through and crispy.
What if my hash browns fall apart while smashing?
If your smashed hash browns are falling apart, it could be because they are too hot when you’re trying to smash them. Allow them to cool for at least 10 minutes after boiling to firm up. Additionally, make sure you handle them gently; a light press with a fork or a spatula will create that beautiful smash without breaking them apart.
Are smashed hash browns safe for dogs?
While cooked potatoes are safe for dogs, it’s always best to serve them plain without salt or added butter. Remove any garlic as it’s not good for pets. If you want to share, just offer a plain potato without any seasoning or fats, and they’ll be wagging their tails in delight!
Can I make smashed hash browns vegan?
Very much so! To make smashed hash browns vegan, replace the butter with coconut oil or a dairy-free margarine. You can also skip the garlic herbs if they aren’t on hand. The flavor will still be delightful, ensuring that everyone can enjoy this wonderful comfort food!
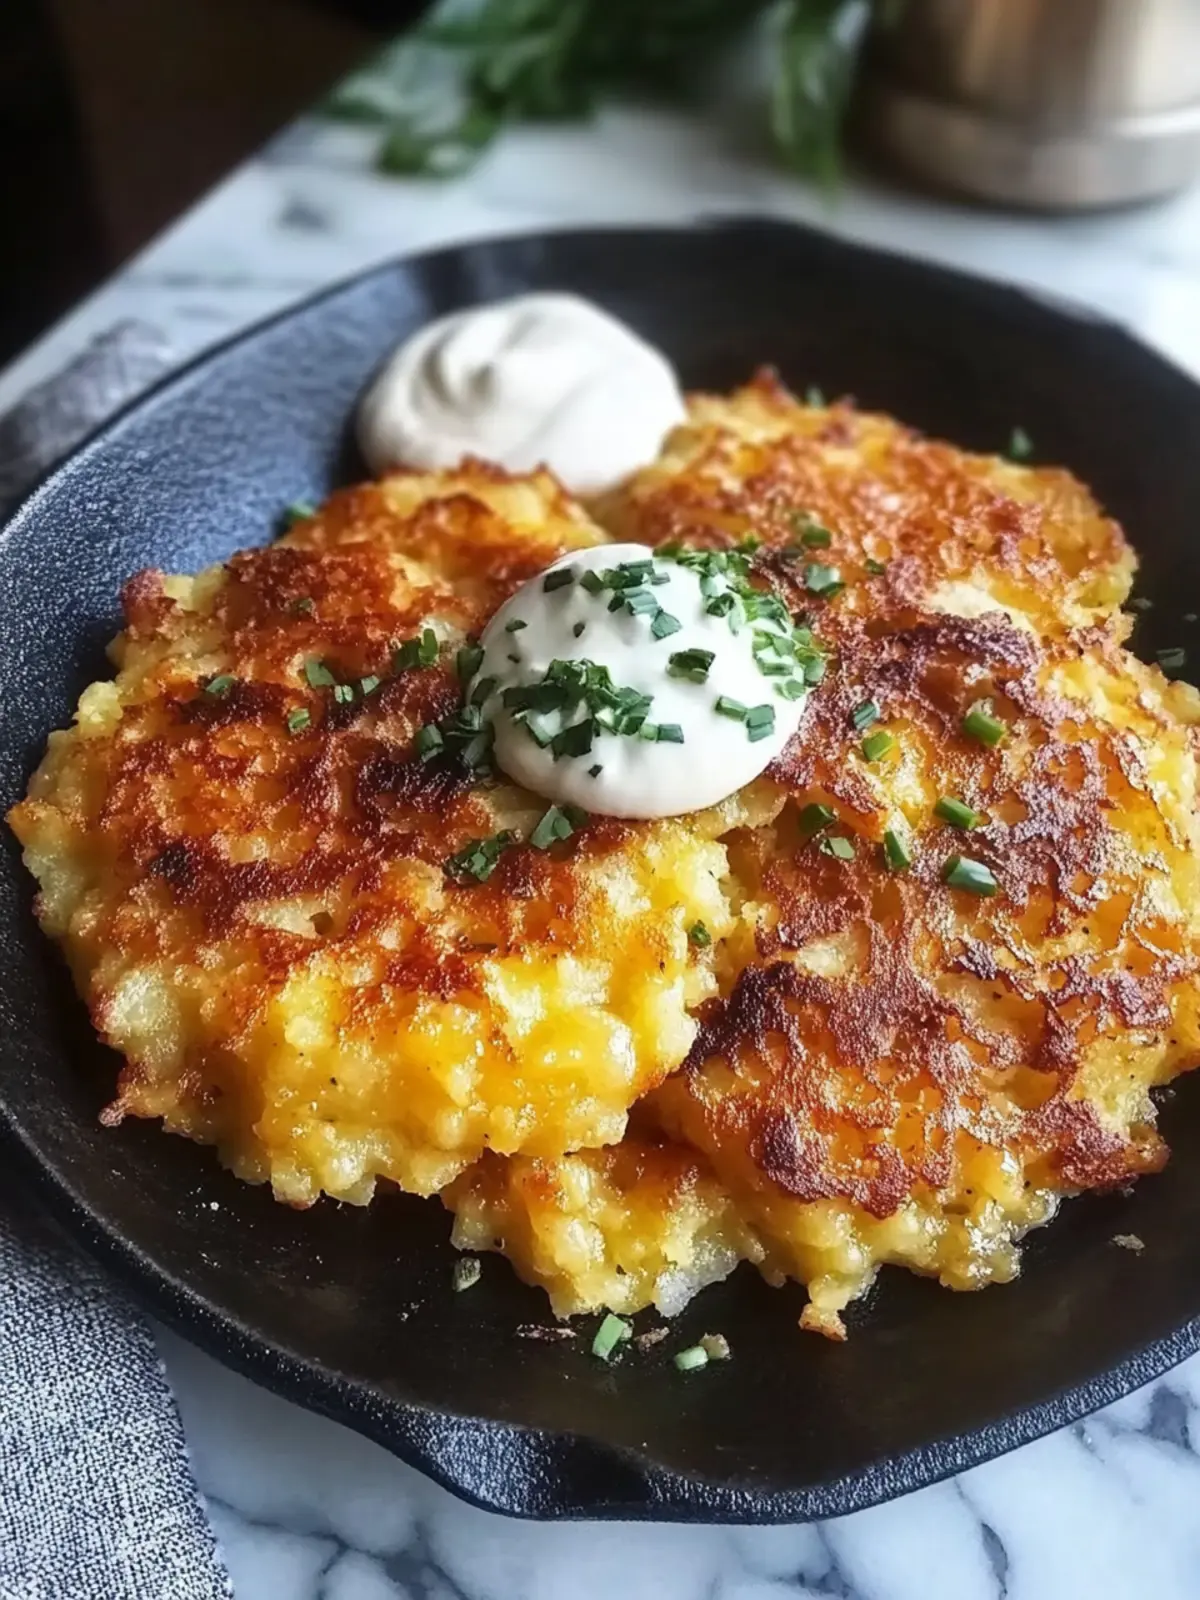
Crispy Smashed Hash Browns with Garlic Herb Butter Bliss
Ingredients
Equipment
Method
- Start by boiling the whole potatoes in salted water until tender, about 15-20 minutes.
- Allow the potatoes to cool for at least 10 minutes after boiling.
- Gently smash the cooled potatoes on a cast iron skillet or baking sheet until flattened.
- Heat olive oil and a mix of butter in the skillet over medium-high heat. Fry the smashed potatoes until golden brown, about 3-5 minutes per side.
- In the last minute of frying, add your garlic herb butter.
- Enjoy the crispy smashed hash browns hot from the skillet, garnished with extra herbs if desired.