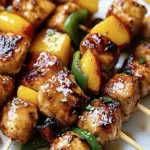

When the weekend rolls around, and the craving for something truly indulgent hits, there’s nothing quite like sinking your teeth into oven-baked shotgun shells. These crispy, bacon-wrapped delights are more than just food; they’re a celebration of flavor that elevates any gathering from mundane to memorable. Imagine a perfect blend of seasoned ground beef, savory hot sausage, and creamy cheeses, all wrapped snugly in tender manicotti shells and enveloped in crunchy bacon.
As I prepped these snacks one chilly afternoon, the scent of sizzling bacon filled the kitchen, instantly lifting my spirits. Each bite bursts with a mouthwatering combination of spice and creaminess, perfectly balanced by a tangy glaze of barbecue sauce. Whether it’s game day or a cozy potluck, these irresistible appetizers are sure to impress guests and put an end to the boredom of fast food forever. Let’s dive into the making of these crowd-pleasing shotgun shells that are as fun to prepare as they are to eat!
Why are Shotgun Shells so addictive?
Irresistible flavor: The savory combination of ground beef, hot sausage, and creamy cheese creates a symphony of taste that’s hard to resist.
Crispy perfection: Wrapped in crispy bacon, each bite offers a crunch that contrasts beautifully with the tender filling.
Easy to customize: This recipe easily adapts to personal preferences; swap out the sausage or cheese to make it your own!
Perfect for gatherings: Whether you’re hosting a game day party or a cozy get-together, these appetizers are guaranteed to be a hit.
Quick prep time: With just a few simple steps, you can whip up a batch of these delights without spending hours in the kitchen. Get ready to impress your friends and family with these delightful shotgun shells!
Shotgun Shells Ingredients
-
For the Filling
-
Manicotti shells – Provide the structure to hold the filling; if not available, try using lasagna noodles!
-
Ground beef (1½ pounds) – Adds depth of flavor and protein to the dish.
-
Hot Italian sausage (1 pound) – Enhances spiciness and richness; swap for mild sausage if you prefer less heat.
-
Medium onion (1, finely diced) – Offers aromatic flavor for a savory base.
-
Colby Jack cheese (2 cups) – Delivers creaminess and enhances the overall taste.
-
Cream cheese (6 ounces) – Adds a rich, creamy texture that melts beautifully in the oven.
-
Jalapeno (1, finely diced) – Provides heat and flavor; omit or reduce for a milder experience.
-
Slap Ya Mama seasoning (2 teaspoons) – A zesty seasoning mix for added spice and flavor.
-
Garlic powder (2 teaspoons) – Essential for flavor enhancement in savory dishes.
-
For the Wrapping
-
Bacon (3 packages, 12 ounces each) – Wraps around the shells for added flavor and a satisfying crunch.
-
For the Coating
-
Barbecue sauce (⅓ cup plus more for coating) – Adds tang and sweetness, complementing the smoky bacon.
-
Black pepper (2 teaspoons) – Provides a hint of heat and enhances other flavors.
-
Red pepper flakes (1 teaspoon) – Increases the spice level, perfect for those who enjoy a kick!
These delightful shotgun shells are bound to be a sensational addition to your next gathering!
How to Make Shotgun Shells
-
Preheat the oven to 300°F. Line a baking sheet with aluminum foil, and place a wire rack on top to ensure that the bacon gets crispy while the shells bake.
-
Mix in a large bowl the ground beef, hot Italian sausage, finely diced onion, cheeses, jalapeno, and all seasonings. Stir until well combined for a flavorful filling.
-
Stuff the manicotti shells carefully from both ends, packing them tightly but avoiding air pockets to ensure they hold their delicious filling.
-
Wrap each filled shell completely with bacon, using two slices if necessary to cover them entirely. This will create that beloved crispy texture!
-
Brush barbecue sauce generously over both sides of each bacon-wrapped shell, ensuring they are well-coated for added flavor.
-
Place the shells on the prepared wire rack and bake for 60 minutes. The beautiful aroma in your kitchen will surely make your mouth water!
-
Flip the shells over, and brush with more barbecue sauce. Bake for an additional 60-70 minutes or until the bacon is crispy and golden brown.
Optional: Serve with additional barbecue sauce for dipping!
Exact quantities are listed in the recipe card below.
Expert Tips for Shotgun Shells
-
Choose the Right Noodles: Make sure to use sturdy manicotti shells; if using lasagna noodles, they should be cooked al dente for best results.
-
Watch the Stuffing: Avoid air pockets while stuffing the shells. It keeps the filling intact and enhances the overall flavor of your shotgun shells.
-
Bacon Preference: If you prefer a less greasy bite, consider using turkey bacon or a thicker cut of pork bacon for a balance of crunch and flavor.
-
Season Smartly: Adjust the amount of Slap Ya Mama seasoning to taste, especially if you’re not accustomed to spicy food; you can always add after cooking.
-
Basting Matters: Remember to flip the shells halfway through baking and baste with barbecue sauce again for an extra layer of flavor and moisture.
What to Serve with Shotgun Shells?
Elevate your gathering with these delicious cocktail ideas and side dishes that beautifully complement the savory delight of shotgun shells.
-
Crispy Potato Wedges: Golden and fluffy on the inside, these seasoned wedges bring a comforting texture that pairs perfectly with the crunchy bacon.
-
Creamy Coleslaw: The cool, crisp flavors of coleslaw offer a delightful contrast to the rich filling of your shotgun shells, refreshing your palate with each bite.
-
Spicy Jalapeno Poppers: Why not keep the spice theme going? These cheesy, bacon-wrapped bites mirror the flavors of your appetizer while adding a zesty kick.
-
Garlic Breadsticks: Soft, buttery breadsticks dusted with garlic and herbs provide a warm, inviting element that complements the texture of shotgun shells beautifully.
-
Barbecue Sauce Dipping Station: Offer a variety of sauces, like tangy and sweet, for guests to experiment with. It adds depth to each bite and enhances the overall flavor experience.
-
Craft Beer Pairing: A refreshing pale ale or amber lager can elevate the flavors and provide a harmonious balance to the savory bites, making for a delightful pairing.
Let your creativity flow and mix and match these suggestions to craft a meal that’s full of flavor and fun!
Make Ahead Options
Preparing these delicious shotgun shells in advance is a fantastic time-saver for busy weeknights or gatherings! You can assemble the entire dish—stuffing the manicotti shells and wrapping them in bacon—up to 24 hours ahead of time. Just cover them tightly with plastic wrap and refrigerate to keep everything fresh. Alternatively, you can also freeze them for up to 3 months; just remember to wrap them well to prevent freezer burn. When you’re ready to enjoy, bake them directly from the refrigerator for about 10 more minutes or from the freezer, adding an additional 15-20 minutes to the baking time. These make-ahead shotgun shells will be just as delicious, ensuring you have a stress-free, scrumptious appetizer ready to impress!
Shotgun Shells Variations
Feel free to explore these creative twists on your shotgun shells to make them even more delicious and uniquely yours!
-
Cheesy Jalapeño: Swap in pepper jack cheese for a spicy kick, or mix in some cheddar for a classic twist. Cheese lovers will appreciate the extra depth of flavor!
-
Veggie Delight: Add finely chopped spinach or mushrooms to the filling for a nourishing veggie boost. This not only enhances the taste but also adds vibrant color for a visual feast.
-
Mildly Spicy: Use mild sausage instead of hot to keep the flavor without the heat. Perfect for family gatherings where spice levels may vary.
-
Herb Infused: Incorporate fresh herbs like parsley or cilantro into the filling for a bright and refreshing flavor. It’s like a burst of sunshine in every bite!
-
Smoky Flavor: Try using smoked bacon for a deeper layer of flavor. The smokiness beautifully complements the savory filling and barbecue sauce.
-
Sweet Heat: Brush the shells with a combination of barbecue sauce and honey before baking. This sweet twist gives a glorious caramelization that’s hard to resist.
-
Gluten-Free: Substitute the manicotti or lasagna noodles with gluten-free pasta options. Enjoying these delicious bites can be accessible for everyone!
-
Saucy Dip: Serve with a zesty ranch or chipotle dipping sauce alongside the barbecue. Adding extra sauce gives that irresistible dunking experience we all love.
With these variations, your shotgun shells will always keep everyone guessing and craving more. Enjoy customizing your way to delectable memories!
How to Store and Freeze Shotgun Shells
Fridge: Store leftover shotgun shells in an airtight container for up to 4 days. Reheat gently in the oven to maintain their crispiness.
Freezer: For longer storage, freeze the baked shells for up to 3 months. Wrap each shell well in plastic wrap, then place in a freezer bag to prevent freezer burn.
Reheating: To reheat, remove from the freezer and let thaw overnight in the fridge. Bake at 350°F, covered with foil, for about 15 minutes until heated through and crispy.
Room Temperature: It’s best to avoid keeping cooked shotgun shells at room temperature for more than 2 hours to ensure food safety and freshness.
Shotgun Shells Recipe FAQs
What type of noodles should I use for shotgun shells?
Absolutely! Manicotti shells are the go-to choice for this recipe since they hold the filling well. If you can’t find them, lasagna noodles work as a perfect substitute. Just ensure to cook them slightly al dente, so they can withstand the filling without falling apart!
How should I store leftover shotgun shells?
You can store leftover shotgun shells in an airtight container in the refrigerator for up to 4 days. This way, you can enjoy them as a tasty snack or appetizer later in the week! Just make sure to reheat them gently in the oven to keep that crispy texture intact.
Can I freeze shotgun shells?
Yes! For longer storage, you can freeze the baked shotgun shells for up to 3 months. I recommend wrapping each shell tightly in plastic wrap, and then placing them in a freezer bag to prevent freezer burn. When you’re ready to eat, simply thaw overnight in the fridge, and then reheat in the oven for that fresh-baked taste.
What should I do if my shotgun shells don’t seem crispy?
If you find that your shotgun shells are not as crispy as you’d like, there are a few things to consider. Make sure you’re using a wire rack while baking, as it allows for air circulation around each shell, ensuring even cooking. Also, flipping the shells halfway through baking and basting them with barbecue sauce will help achieve that crispy exterior you desire!
Are there any dietary considerations I should be aware of?
When preparing shotgun shells, it’s essential to consider dietary options for your guests. For those with gluten sensitivities, switch the manicotti shells for gluten-free pasta alternatives, ensuring they can still enjoy this delicious appetizer. Also, if there are guests who prefer milder flavors, you can substitute the hot Italian sausage for a milder version, and adjust the jalapeno accordingly.
Can my pets have shotgun shells?
While it might be tempting to share your shotgun shells with your pets, it’s best to keep them away from the rich ingredients, like cheese, garlic, and seasonings, which can upset their stomachs. Always stick to pet-safe treats for your furry friends!
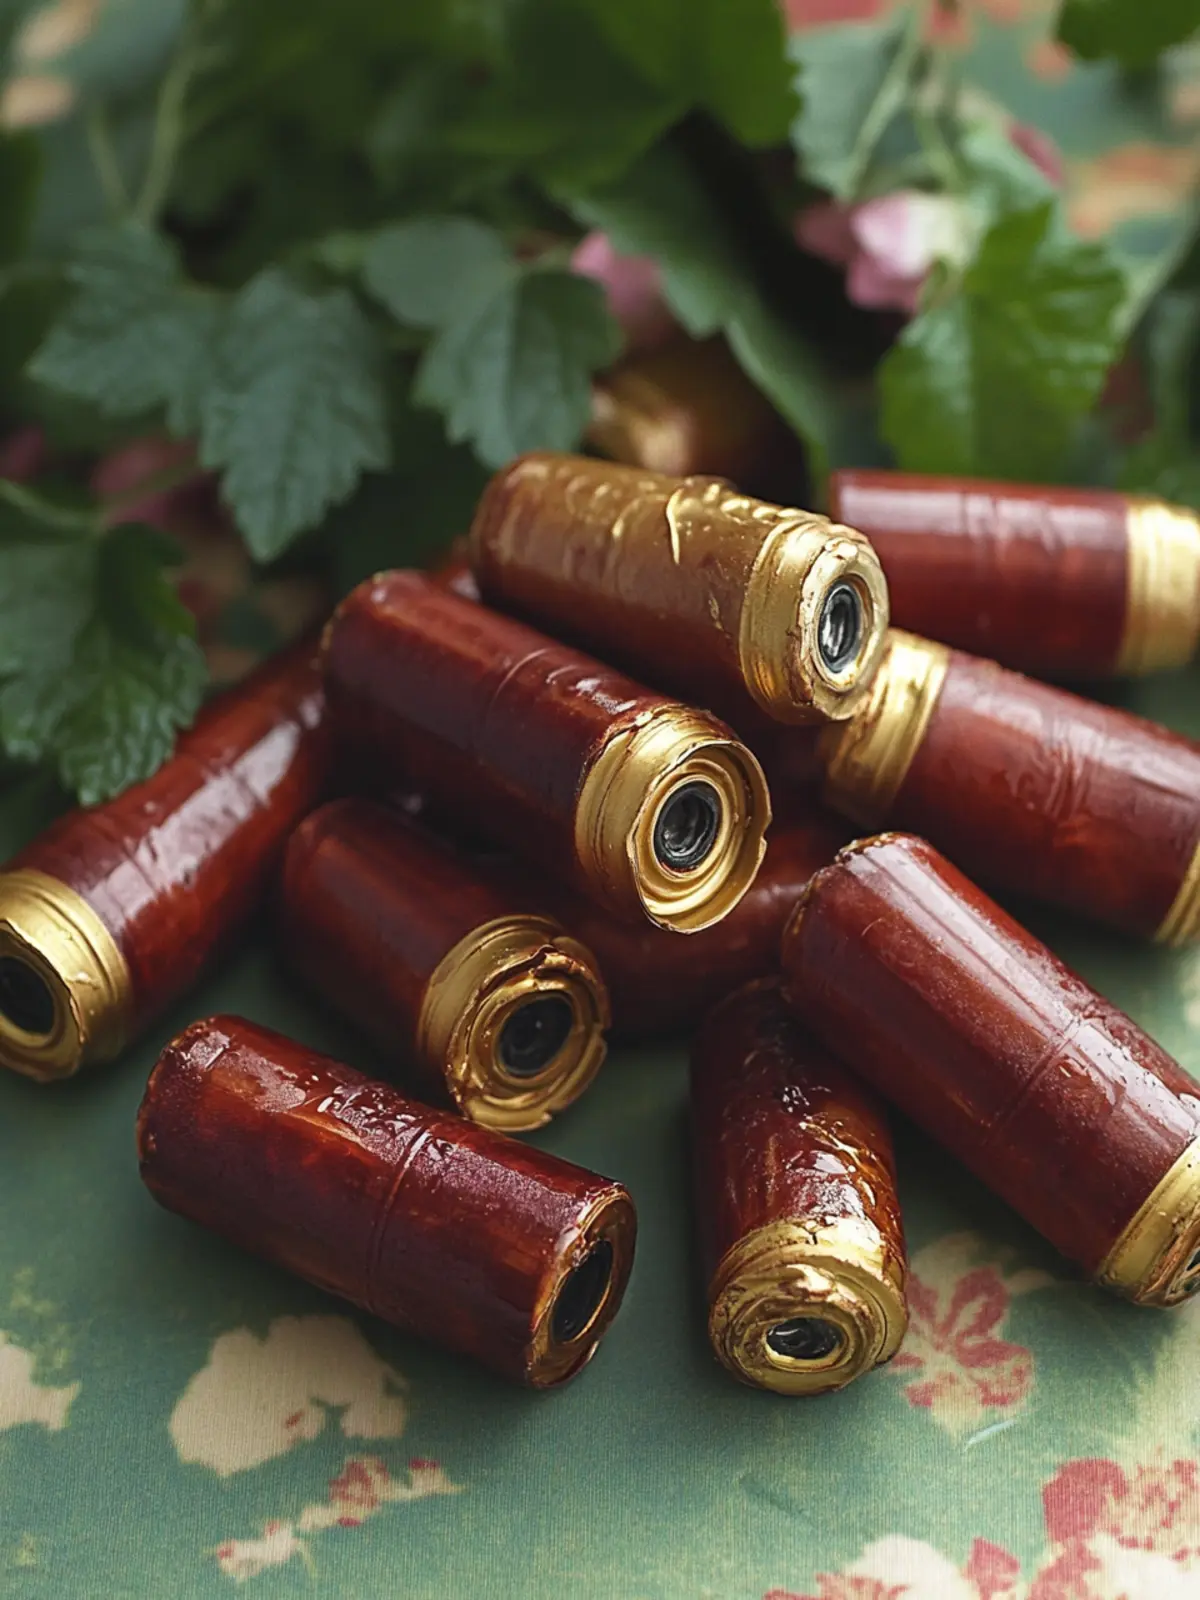
Savory Shotgun Shells: Irresistible Bacon-Wrapped Delights
Ingredients
Equipment
Method
- Preheat the oven to 300°F. Line a baking sheet with aluminum foil, and place a wire rack on top.
- Mix in a large bowl the ground beef, hot Italian sausage, finely diced onion, cheeses, jalapeno, and all seasonings until well combined.
- Stuff the manicotti shells carefully from both ends, avoiding air pockets.
- Wrap each filled shell completely with bacon, using two slices if necessary.
- Brush barbecue sauce generously over both sides of each bacon-wrapped shell.
- Place the shells on the prepared wire rack and bake for 60 minutes.
- Flip the shells, brush with more barbecue sauce, and bake for an additional 60-70 minutes.