

There’s a delightful charm in the moment when you slice into a cake, revealing the vibrant red layers intertwined with creamy swirls of cheesecake. The rich aroma wafting through the kitchen becomes an invitation for everyone to gather ’round, their faces lighting up with anticipation. That’s the magic of my Red Velvet Cheesecake Swirl Cake—a showstopper that’s surprisingly easy to make at home.
I discovered this recipe during a bustling holiday season, searching for a dessert that would wow my guests without overwhelming my kitchen skills. With its beautiful contrast of textures and its enchanting cocoa flavor, this cake quickly became a go-to for birthdays, holiday feasts, or even a cozy weeknight treat. What I love most is its versatility; it can be dressed up for special occasions or enjoyed simply with a cup of coffee.
Whether you’re a seasoned baker or just looking to add a homemade touch to your gatherings, this cake is the perfect way to elevate your dessert game. Let’s dive into the recipe and create something spectacular together!
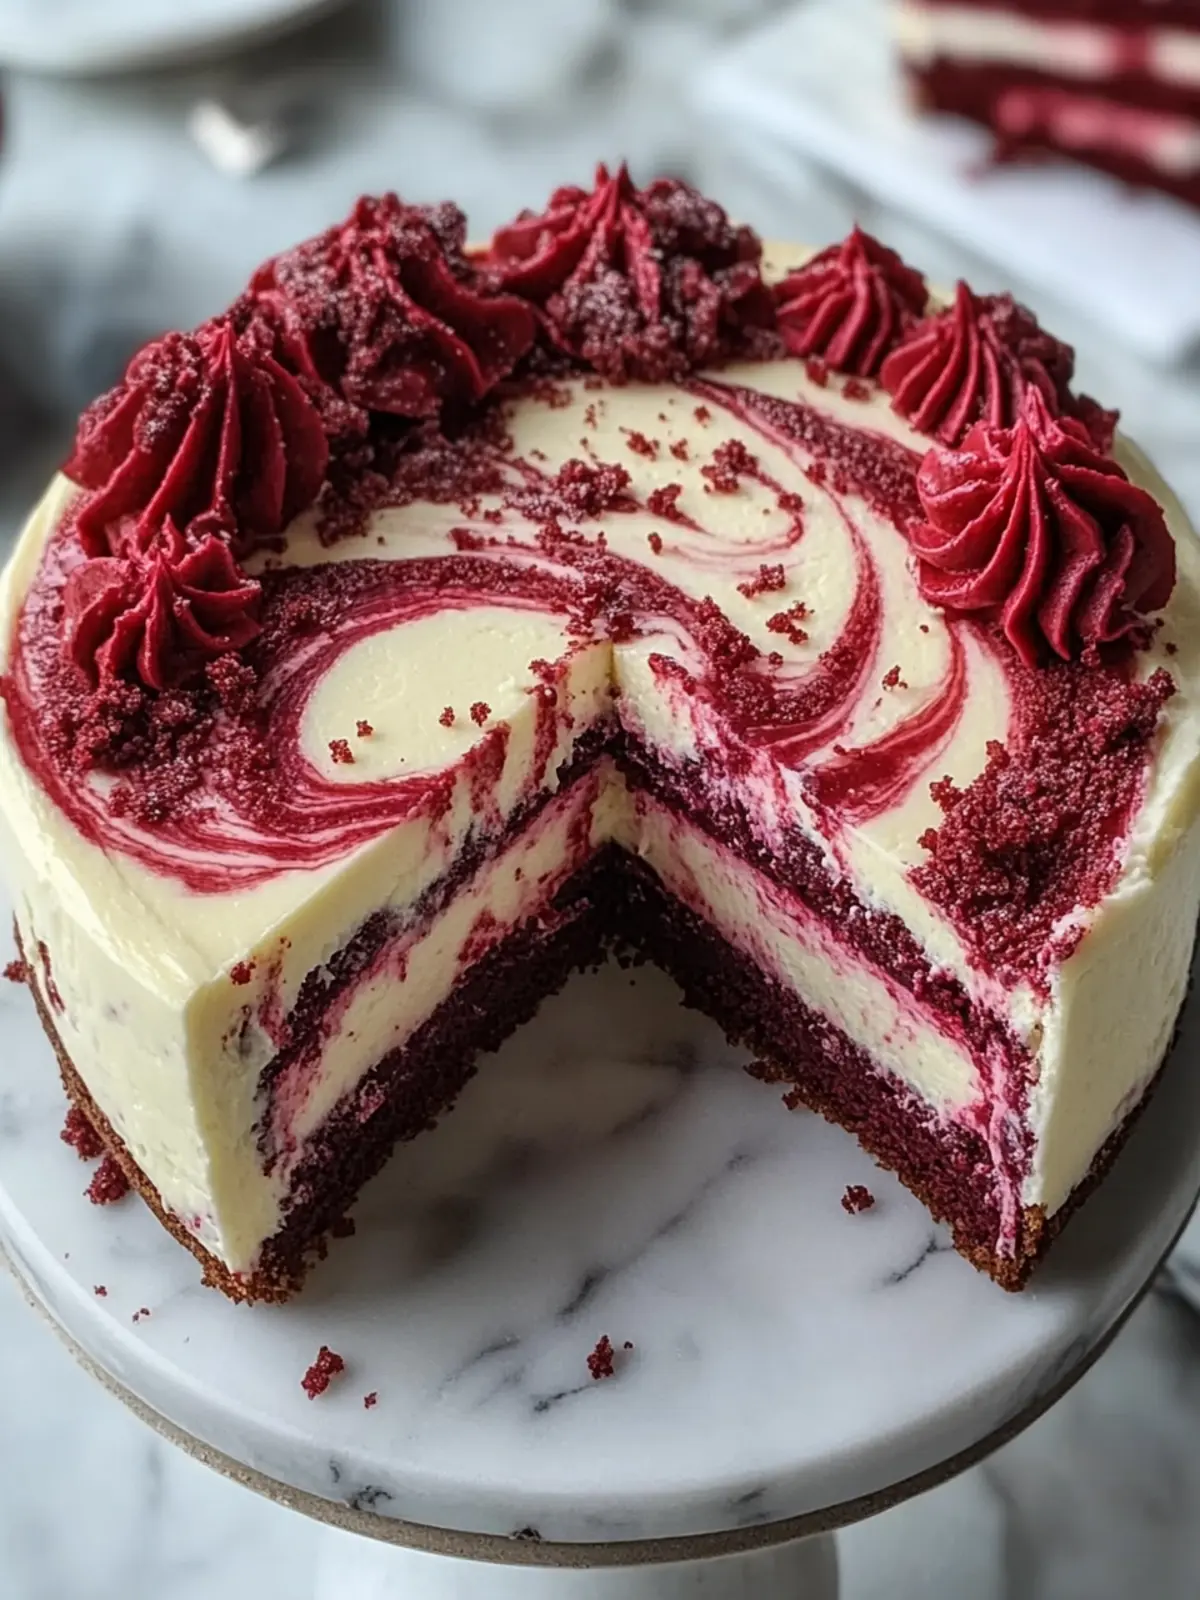
Why is Red Velvet Cheesecake Swirl Cake irresistible?
Decadence in Every Slice: This cake is a magical blend of red velvet and creamy cheesecake, offering a taste experience that feels indulgent yet approachable.
Visually Stunning: With its striking red and white swirls, it’s not just a dessert; it’s a centerpiece that brightens up any occasion.
Perfect for Any Celebration: Ideal for birthdays, holidays, or just because, this cake satisfies every sweet craving.
Easily Adaptable: Want to enhance the flavor? Try including additional variations to make it uniquely yours!
Simple Yet Impressive: Even beginner bakers can create this showstopper, ensuring you feel proud and accomplished when serving.
Red Velvet Cheesecake Swirl Cake Ingredients
For the Cake
• All-purpose flour – provides structure to the cake while ensuring a tender crumb.
• Granulated sugar – sweetens both batter and cheesecake; contributes to moisture.
• Unsweetened cocoa powder – introduces mild cocoa flavor without overpowering the cake.
• Baking soda – the leavening agent that contributes to the cake’s light texture.
• Salt – enhances sweetness and balances flavors.
• Buttermilk – adds tanginess and softness, characteristic of red velvet.
• Vegetable oil – helps maintain moisture in the cake.
• Eggs – bind ingredients, providing structure and stability.
• Vanilla extract – adds warmth and richness to flavors.
• Red food coloring – gives the cake its signature vivid red color.
• White vinegar – reacts with baking soda for lift while adding a slight tang.
For the Cheesecake Layer
• Cream cheese – the anchor of the cheesecake layer, offering a smooth, rich texture.
• Sour cream or heavy cream – creates a silkier cheesecake filling; swap for a creamier texture.
With these ingredients, you’ll be on your way to making a delectable Red Velvet Cheesecake Swirl Cake that everyone will adore!
How to Make Red Velvet Cheesecake Swirl Cake
-
Preheat your oven to 325°F (163°C). Grease a 9-inch springform pan, and don’t forget to line the bottom with parchment paper to ensure easy removal later.
-
Beat the cream cheese in a bowl until it’s nice and smooth. Mix in the granulated sugar, egg, vanilla extract, and sour cream until creamy. Set this aside to let those flavors blend beautifully.
-
Whisk together the all-purpose flour, cocoa powder, baking soda, and salt in a separate bowl. This dry mixture is essential for the cake’s structure, so be sure everything is well combined.
-
Combine the wet ingredients! In another bowl, whisk together the buttermilk, vegetable oil, eggs, vanilla extract, red food coloring, and white vinegar until smooth. The vibrant color will be a treat for your eyes!
-
Stir the wet and dry ingredients together gently, being careful not to overmix. You want to keep that tender crumb that makes the cake so delightful.
-
Spread more than half of the red velvet batter into your prepared pan. Then, lovingly spoon the cheesecake mixture over this layer, followed by topping it with the remaining red velvet batter.
-
Swirl the top of the cake gently with a knife to create a beautiful marbled effect. This adds an artistic touch!
-
Bake it in your preheated oven for 55 to 65 minutes. The edges should be set while the center remains slightly jiggly. It’ll fill your kitchen with an irresistible aroma!
-
Cool the cake completely at room temperature, then refrigerate it for at least 4 hours before slicing. This chilling time ensures every slice holds its beautiful shape.
Optional: Serve with fresh raspberries for a pop of color and flavor!
Exact quantities are listed in the recipe card below.
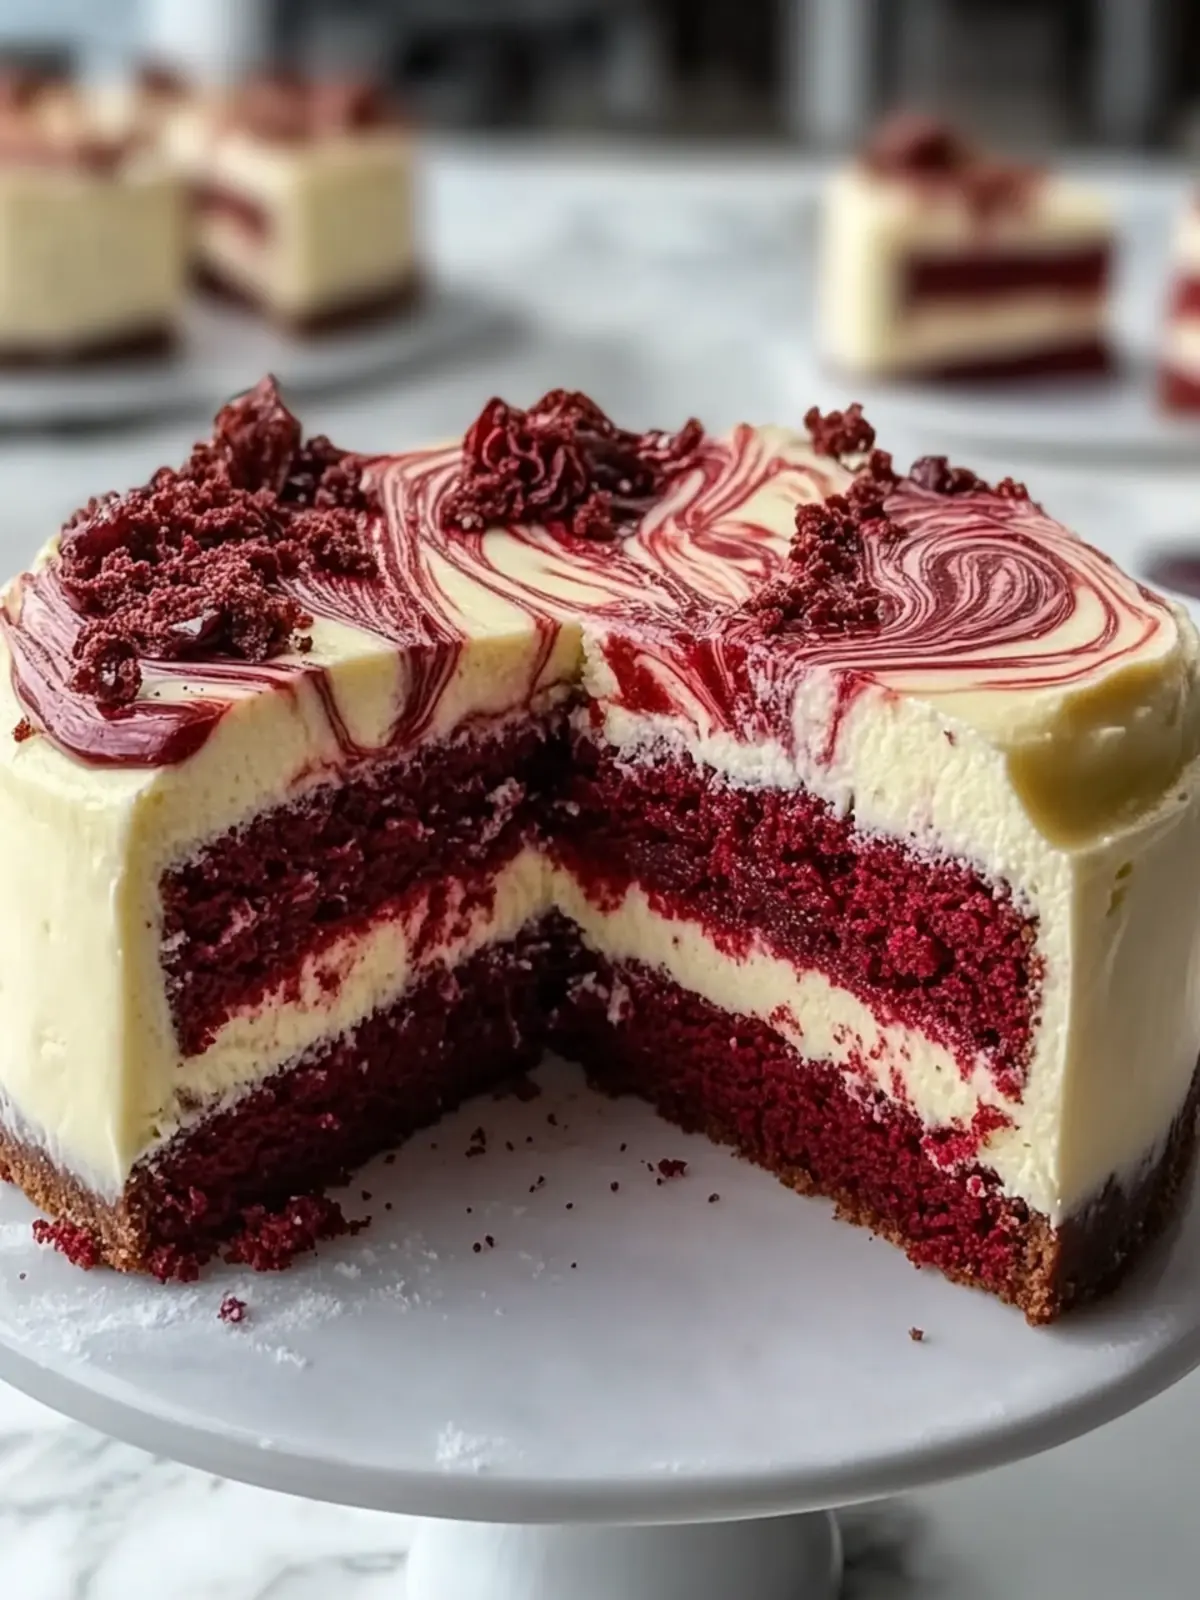
What to Serve with Red Velvet Cheesecake Swirl Cake?
Imagine the warmth of a gathering, where laughter and good company blend with the sweet aroma of baked goods. Creating the perfect atmosphere around your majestic cake will enhance your dessert experience.
-
Fresh Berries: Juicy strawberries or raspberries add a refreshing burst of flavor that balances the cake’s richness beautifully.
-
Whipped Cream: A dollop of softly whipped cream creates a luxurious texture, inviting everyone to indulge in every bite.
-
Chocolate Sauce: A drizzle of chocolate sauce elevates your cake, adding a touch of decadence for chocolate lovers.
-
Vanilla Ice Cream: The creamy melt of vanilla ice cream complements the cake’s flavors, providing a delightful contrast in temperature and texture.
-
Coffee or Espresso: A warm cup of brewed coffee or a shot of espresso enhances the cocoa notes of the cake, creating a heavenly pairing.
-
Milkshake: For an indulgent twist, serve with a creamy vanilla or chocolate milkshake, perfect for a festive treat.
-
Mint Tea: A soothing mint tea serves as a refreshing contrast, cleansing the palate between bites of rich cake.
Every pairing adds a unique twist, creating a delightful experience that brightens up your special occasion!
Make Ahead Options
Preparing the Red Velvet Cheesecake Swirl Cake ahead of time is a fantastic way to save precious moments on special occasions! You can make the red velvet batter and cheesecake mixture up to 24 hours in advance. Simply mix both components, store them separately in the refrigerator, and prevent any moisture from ruining the cheesecake by covering it tightly. When you’re ready to bake, spread the red velvet batter in the pan, layer in the cheesecake mixture, and top with the remaining batter. Bake as directed, allowing the beautiful swirls to come together. This prep-ahead method ensures your cake is just as delicious and beautifully fresh when it’s time to serve!
How to Store and Freeze Red Velvet Cheesecake Swirl Cake
Fridge: Store the cake tightly wrapped in plastic wrap or in an airtight container for up to 5 days. This keeps it fresh and moist while preserving those beautiful cheesecake swirls.
Freezer: If you want to enjoy your Red Velvet Cheesecake Swirl Cake later, wrap it well in plastic wrap and aluminum foil. It can be frozen for up to 2 months. Just remember to thaw it in the fridge to maintain its creamy texture.
Reheating: If you prefer your cake slightly warm, allow it to come to room temperature after thawing, then gently heat individual slices in the microwave for about 10-15 seconds.
Serving: For the best flavor, serve chilled slices with a dollop of whipped cream or fresh berries on the side.
Red Velvet Cheesecake Swirl Cake Variations & Substitutions
Feel free to get creative and personalize this dessert to suit your taste buds or dietary needs!
-
Gluten-Free: Substitute all-purpose flour with a 1:1 gluten-free baking blend for a safe and scrumptious version. This keeps the delightful texture and flavor intact.
-
Dairy-Free: Use coconut cream in place of cream cheese and dairy-free sour cream for a luscious cheesecake layer. The coconut adds a subtle sweetness that’s hard to resist.
-
Chocolate Boost: Fold chocolate chips into the red velvet batter for an extra layer of decadence. These melty morsels create a delightful surprise in every bite.
-
Nutty Delight: Incorporate finely chopped walnuts or pecans into the batter for a delightful crunch. The nuttiness pairs wonderfully with the soft texture of the cake.
-
Almond Flavor: Swap vanilla extract for almond extract in the cheesecake layer for a fragrant twist. This will elevate the flavors and give your cake a unique personality.
-
Lower Sugar: Use a sugar substitute like stevia or erythritol to cut down on sweetness without sacrificing flavor. Perfect for those watching their sugar intake!
-
Spice It Up: Add a pinch of cinnamon or nutmeg to the red velvet batter for a warm, aromatic touch. These spices can transform your cake into a cozy, comforting dessert.
-
Fruit Swirl: Replace some of the cheesecake mixture with fruit puree, like raspberry or strawberry, for a fruity twist that not only enhances the flavor but adds vibrant color too.
These variations keep your kitchen adventures exciting while making the Red Velvet Cheesecake Swirl Cake truly your own!
Expert Tips for Red Velvet Cheesecake Swirl Cake
• Avoid Overmixing: Gently combine wet and dry ingredients to keep the texture light and fluffy; overmixing can lead to a dense cake.
• Perfect Swirls: Use a clean knife to create swirls on the cake’s surface; it not only looks beautiful but prevents the cheesecake layer from sinking too much.
• Springform Advantage: A springform pan is ideal for this recipe, ensuring easy removal without damaging the cake’s lovely structure.
• Chill Time Matters: Allowing the cake to chill for at least 4 hours helps set the flavors and creates cleaner slices when serving your Red Velvet Cheesecake Swirl Cake.
• Slicing Tips: Use a sharp, wet knife for clean slices. Wiping the knife after each cut will maintain those gorgeous cheesecake swirls.
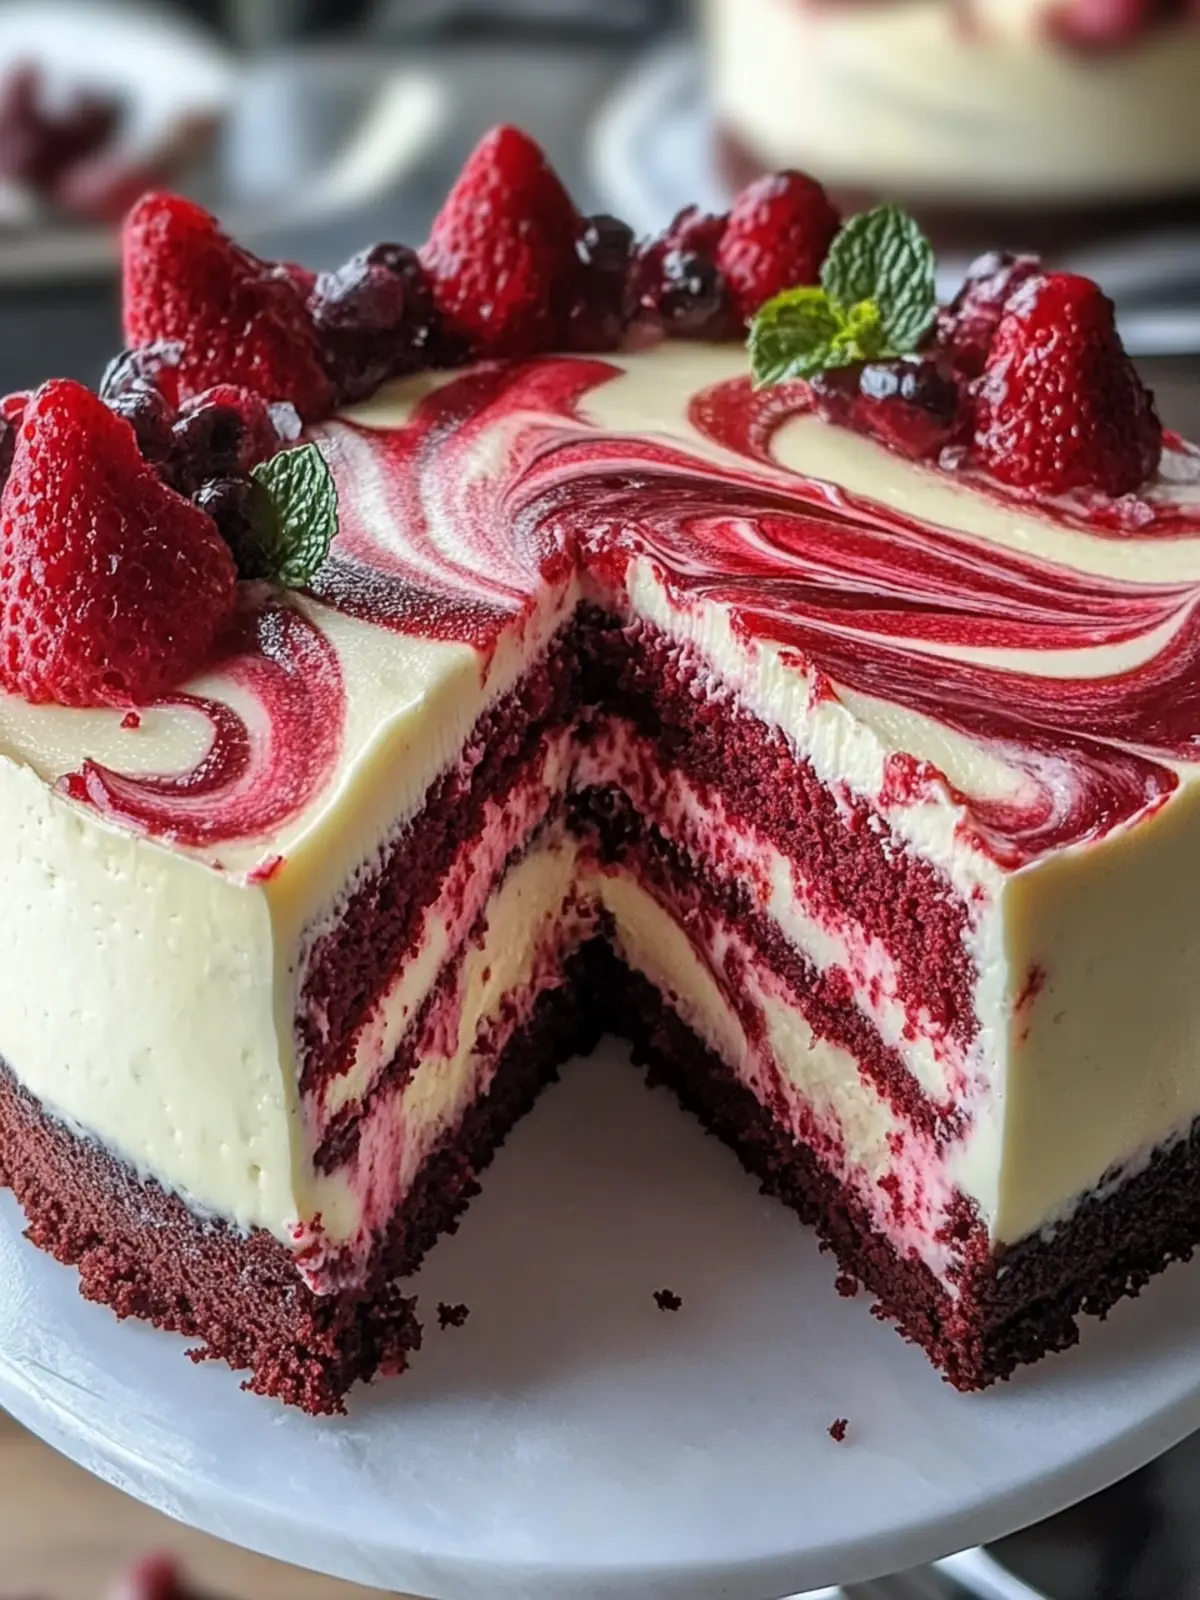
Red Velvet Cheesecake Swirl Cake Recipe FAQs
What should I look for when selecting ingredients for Red Velvet Cheesecake Swirl Cake?
Absolutely! Use fresh ingredients for the best flavor. For buttermilk, look for a thick and creamy consistency. When choosing red food coloring, opt for a high-quality gel for vibrant color without altering the texture.
How should I store my Red Velvet Cheesecake Swirl Cake after baking?
To keep your cake fresh in the fridge, tightly wrap it in plastic wrap or store it in an airtight container. It will stay delicious for up to 5 days! This method helps maintain the creamy texture of the cheesecake layer as well.
Can I freeze my Red Velvet Cheesecake Swirl Cake?
Yes, you can freeze it! Allow the cake to cool completely, then wrap it tightly in plastic wrap followed by aluminum foil. It can be safely frozen for up to 2 months. When you’re ready to enjoy it, thaw it in the refrigerator overnight to retain its creamy texture.
What if my cake turns out dense or dry?
Very! If your cake is dense, it might be the result of overmixing the batter. When combining wet and dry ingredients, stir gently until just mixed. For dryness, ensure your measurements are accurate, especially with flour; too much can lead to a drier crumb. A handy tip is to spoon flour into your measuring cup rather than scooping it directly.
Is Red Velvet Cheesecake Swirl Cake suitable for special dietary needs?
Absolutely! This recipe is vegetarian, but if you’re interested in accommodating dairy allergies, consider using dairy-free cream cheese and substitute buttermilk with a plant-based alternative mixed with vinegar for that tangy flavor without any dairy.
Can I make this Red Velvet Cheesecake Swirl Cake ahead of time?
Yes, you can! This cake is perfect for make-ahead desserts. After baking, simply store it in the refrigerator for at least 4 hours before serving; this chilling time helps the flavors meld beautifully and makes slicing easier. Enjoy impressing your guests with your pre-planned dessert!
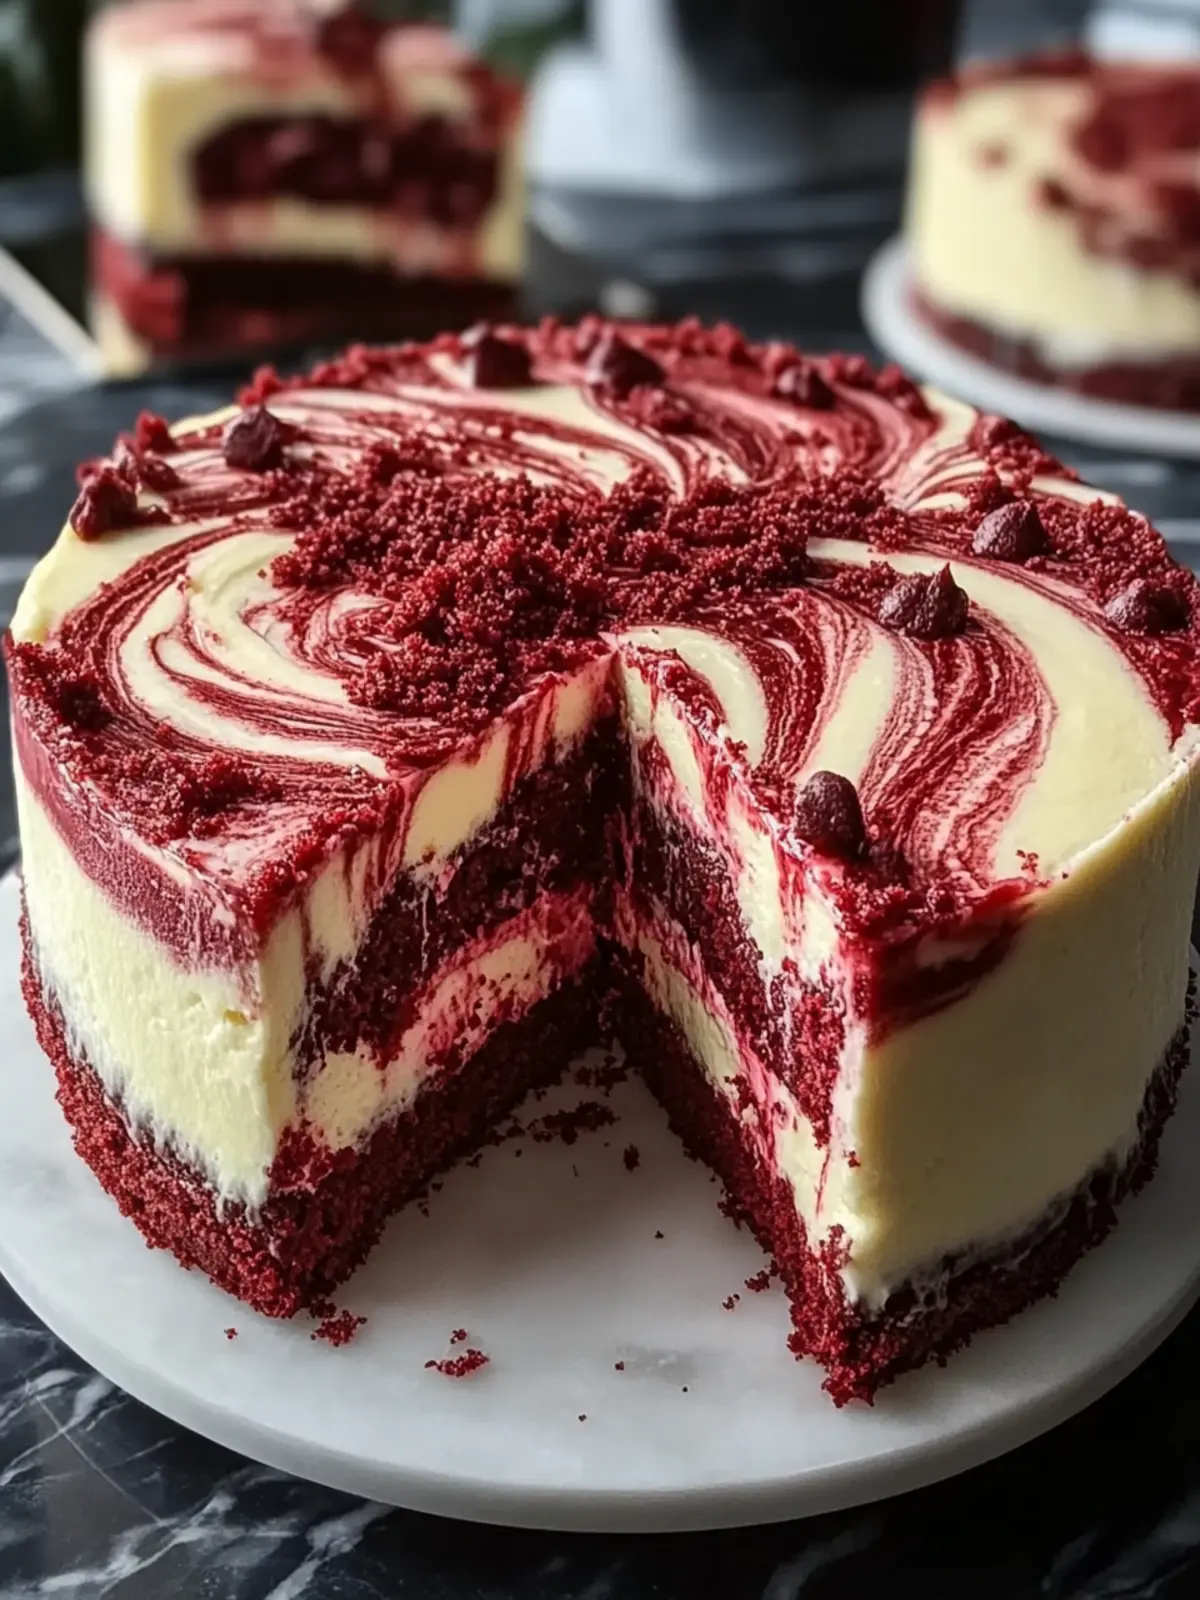
Decadent Red Velvet Cheesecake Swirl Cake You'll Adore
Ingredients
Equipment
Method
- Preheat your oven to 325°F (163°C). Grease a 9-inch springform pan, and line the bottom with parchment paper.
- Beat the cream cheese in a bowl until smooth. Mix in the granulated sugar, egg, vanilla extract, and sour cream until creamy. Set aside.
- Whisk together the all-purpose flour, cocoa powder, baking soda, and salt in a separate bowl.
- In another bowl, whisk together the buttermilk, vegetable oil, eggs, vanilla extract, red food coloring, and white vinegar until smooth.
- Gently combine the wet and dry ingredients, being careful not to overmix.
- Spread more than half of the red velvet batter into your prepared pan. Spoon the cheesecake mixture over this layer, followed by the remaining red velvet batter.
- Swirl the top of the cake with a knife to create a marbled effect.
- Bake in the preheated oven for 55 to 65 minutes, until the edges are set and the center is slightly jiggly.
- Cool the cake completely at room temperature, then refrigerate for at least 4 hours before slicing.