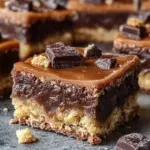

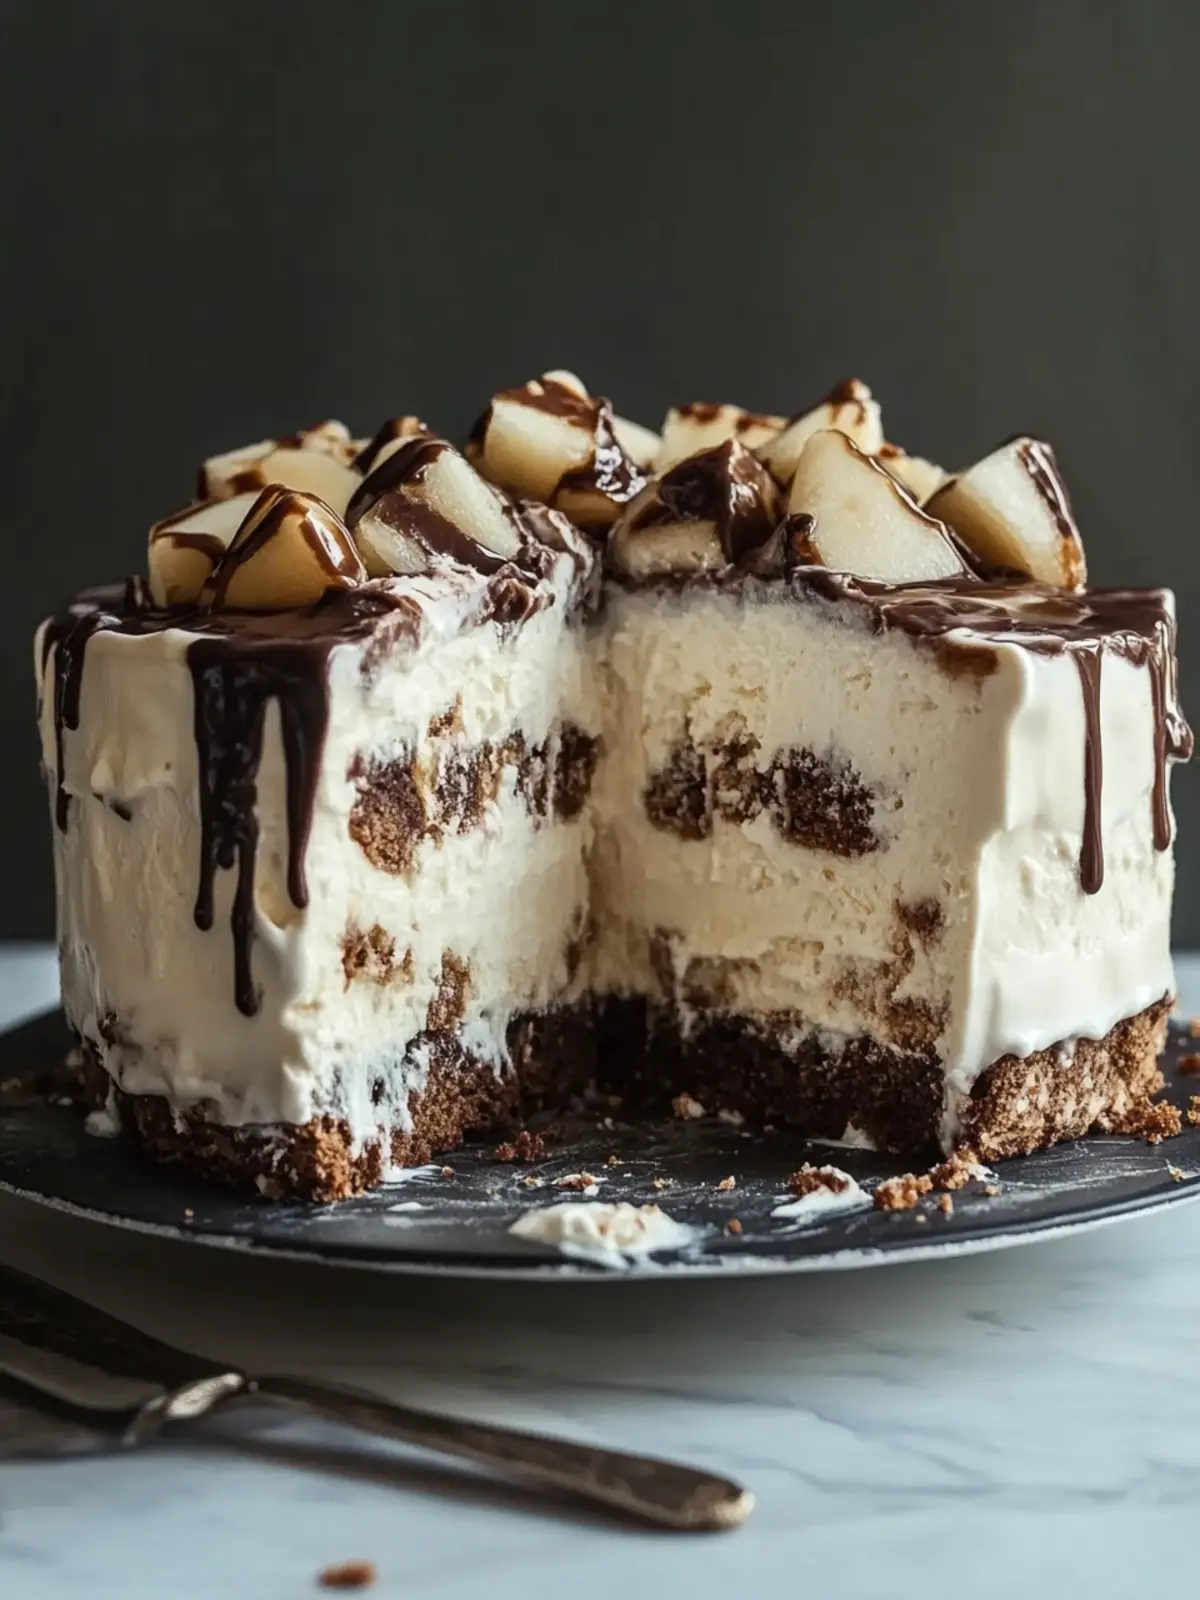
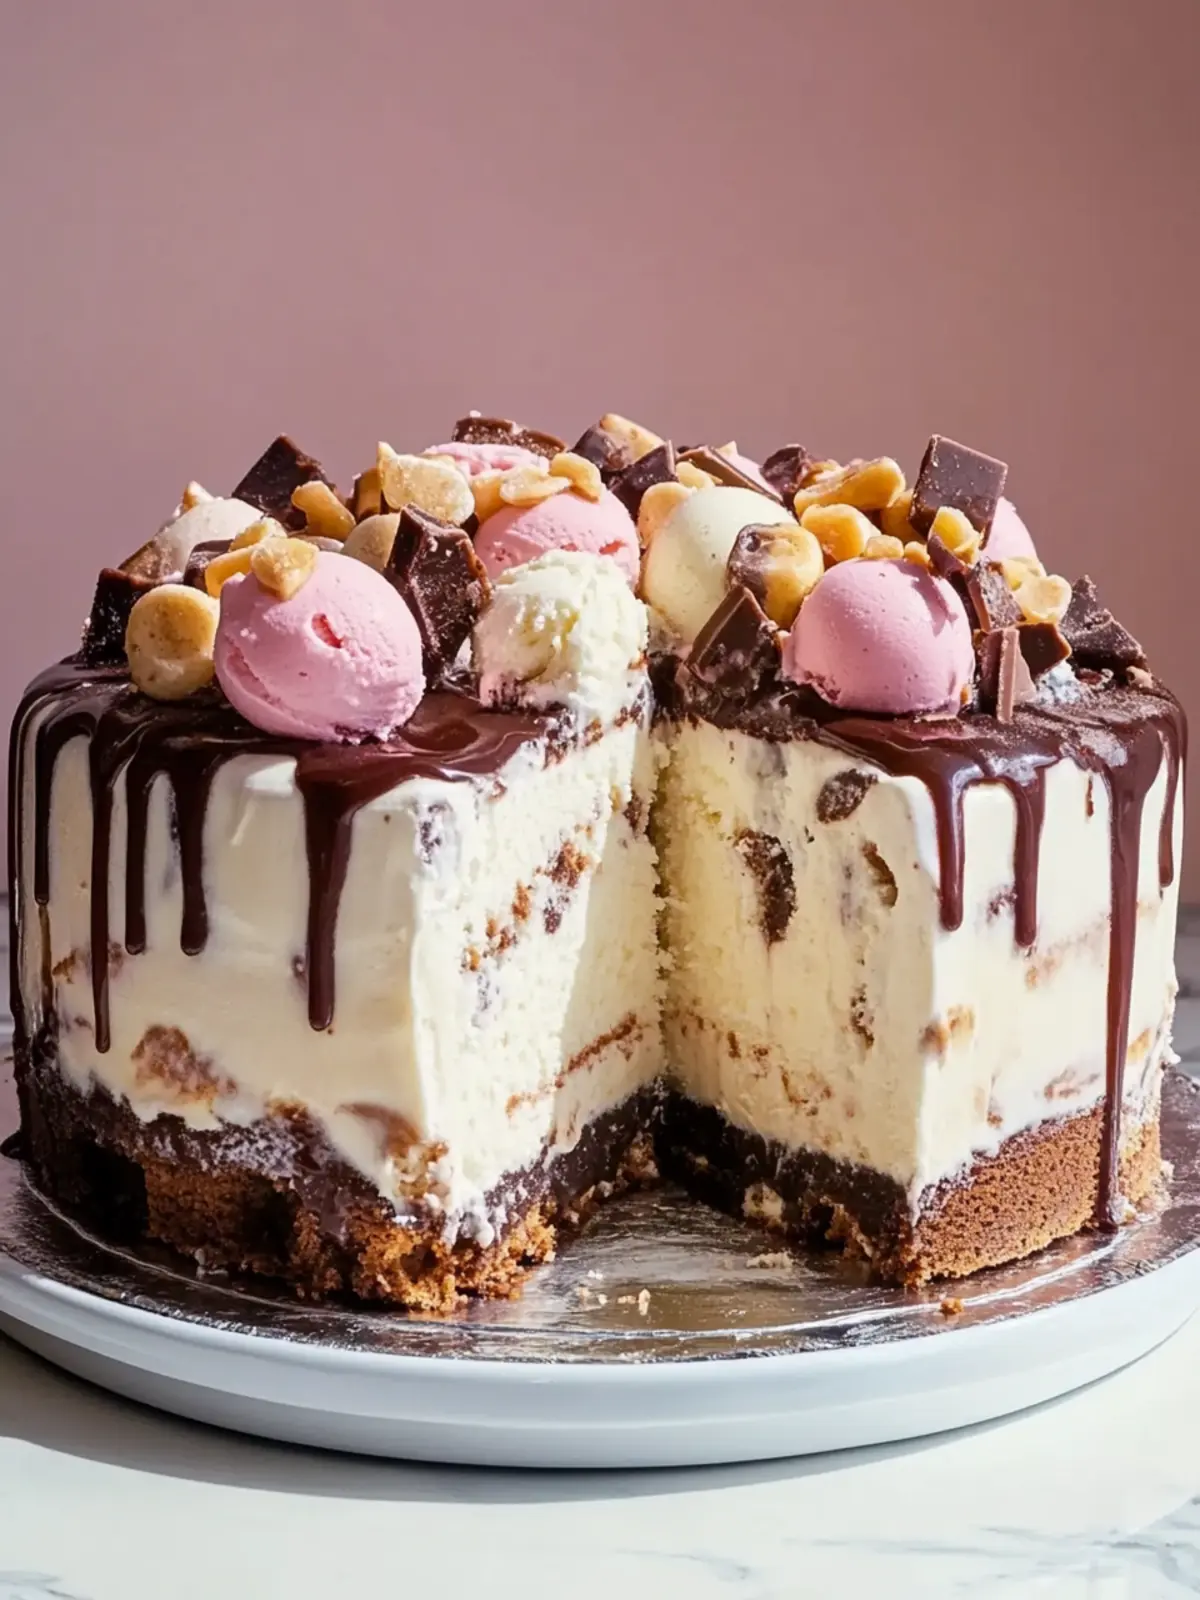
When the sun blazes down and summer gatherings are in full swing, the perfect dessert can make all the difference. That’s when I discovered my ultimate crowd-pleaser: the Buster Bar Ice Cream Cake. This no-bake wonder is not just simple to assemble but also brings back delightful memories of childhood ice cream bars. Each slice reveals layers of creamy vanilla ice cream, crunchy peanuts, and rich hot fudge, all encased in a glossy chocolate shell that looks as fabulous as it tastes.
What I love most about this dessert is its versatility; you can easily tailor it to your favorite flavors, whether that’s swapping out vanilla for something a little more adventurous like coffee or mixing in your nuts of choice. Whether you’re hosting a birthday party, enjoying a patio BBQ, or just craving a sweet treat at the end of a long day, this ice cream cake is sure to be the highlight of any table. Ready to dive into a slice of nostalgia? Let’s get started!
Why is Buster Bar Ice Cream Cake a Must-Try?
Decadent Layers: Each slice is a delightful blend of creamy vanilla ice cream, crunchy peanuts, and rich hot fudge, creating a truly satisfying dessert experience.
No-Bake Easy: No need for the oven! This cake is quick to assemble and perfect for busy summer days.
Nostalgic Flair: It brings back sweet childhood memories with every bite, making it a heartfelt treat for all ages.
Customizable Delight: Swap flavors or add different nuts to make it uniquely yours. Try it with coffee ice cream for a fun twist!
Perfect for Gatherings: Whether it’s a birthday party or a casual BBQ, this ice cream cake is guaranteed to impress your guests.
Make-Ahead Friendly: Prepare it days in advance; just freeze and serve when ready! You can also find more fantastic dessert ideas to inspire your creativity.
Buster Bar Ice Cream Cake Ingredients
For the Crust
• Chocolate Graham Crackers – Provides the crust; substitute with chocolate cookies for a richer flavor.
• Hot Fudge Sauce – Adds richness and sweetness to the crust; can be replaced with caramel sauce for a different flair.
For the Ice Cream Layers
• Vanilla Ice Cream – Forms the main body of the cake; feel free to swap with any desired ice cream flavor (e.g., coffee or chocolate).
• Red Skin Peanuts – Offers a delightful crunch and nutty taste; use unsalted peanuts or your preferred nut, like almonds.
For the Topping
• Hot Fudge Sauce – Drizzle half over the ice cream layers for added indulgence; more can be added before serving.
• Magic Shell Chocolate Coating – Creates a hard chocolate shell; substitute with melted chocolate that hardens when cooled for a homemade version.
Each layer contributes to the overall delight and nostalgia of the Buster Bar Ice Cream Cake, making it a perfect treat for any occasion!
How to Make Buster Bar Ice Cream Cake
-
Prepare Crust: Crush the chocolate graham crackers into fine crumbs in a bowl. Mix them with the hot fudge sauce until you achieve a texture reminiscent of wet sand.
-
Layer Crust: Grab your lined springform pan and press the crumb mixture firmly into the bottom. This will create a sturdy base for your cake.
-
Add Peanuts: Evenly sprinkle the red skin peanuts over the crust, ensuring a crunchy layer that will delight every bite.
-
Ice Cream Layer: Slightly soften the vanilla ice cream for easier spreading, then evenly spread half of it over the peanut layer.
-
Add Fudge and Peanuts: Drizzle half of the hot fudge sauce over the vanilla ice cream layer, followed by half of the peanuts for extra goodness.
-
Repeat Layers: Spread the remaining softened ice cream on top, then repeat with the leftover hot fudge sauce and peanuts to build delicious layers.
-
Chill: Cover your masterpiece with plastic wrap and freeze for at least 4 hours, or overnight if you want it at its best texture!
-
Finish Cake: To complete your cake, drizzle it with the Magic Shell chocolate coating, allow it to set, then slice and serve to eager friends and family.
Optional: Serve with whipped cream for an extra indulgent treat!
Exact quantities are listed in the recipe card below.
How to Store and Freeze Buster Bar Ice Cream Cake
-
Fridge: Store in the fridge for up to 3 days if you want to keep it soft and easily sliceable. Ensure it’s covered tightly to prevent freezer burn.
-
Freezer: Freeze for up to 2 weeks. Wrap the cake thoroughly in plastic wrap, followed by aluminum foil, to protect it from ice crystals.
-
Thawing: When you’re ready to enjoy, transfer it from the freezer to the fridge for about 2 hours before serving for the best texture.
-
Reheating: For a softer texture, let the Buster Bar Ice Cream Cake sit at room temperature for about 10-15 minutes before slicing and serving.
Make Ahead Options
These Buster Bar Ice Cream Cakes are perfect for busy weeknights and last-minute gatherings! You can assemble the entire cake up to 3 days in advance and keep it tightly wrapped in plastic and foil in the freezer to prevent freezer burn. For the best texture and flavor, let it chill overnight before serving. To maintain optimal quality, avoid adding the Magic Shell chocolate coating until just before serving, as this ensures it stays glossy and crisp. When you’re ready to treat your family or guests, simply drizzle the coating, allow it to set, and slice the cake for a delightful, nostalgic dessert experience that’s just as delicious as fresh!
What to Serve with Buster Bar Ice Cream Cake?
Enhance your dessert experience with delightful pairings that complement the rich flavors of this no-bake indulgence.
-
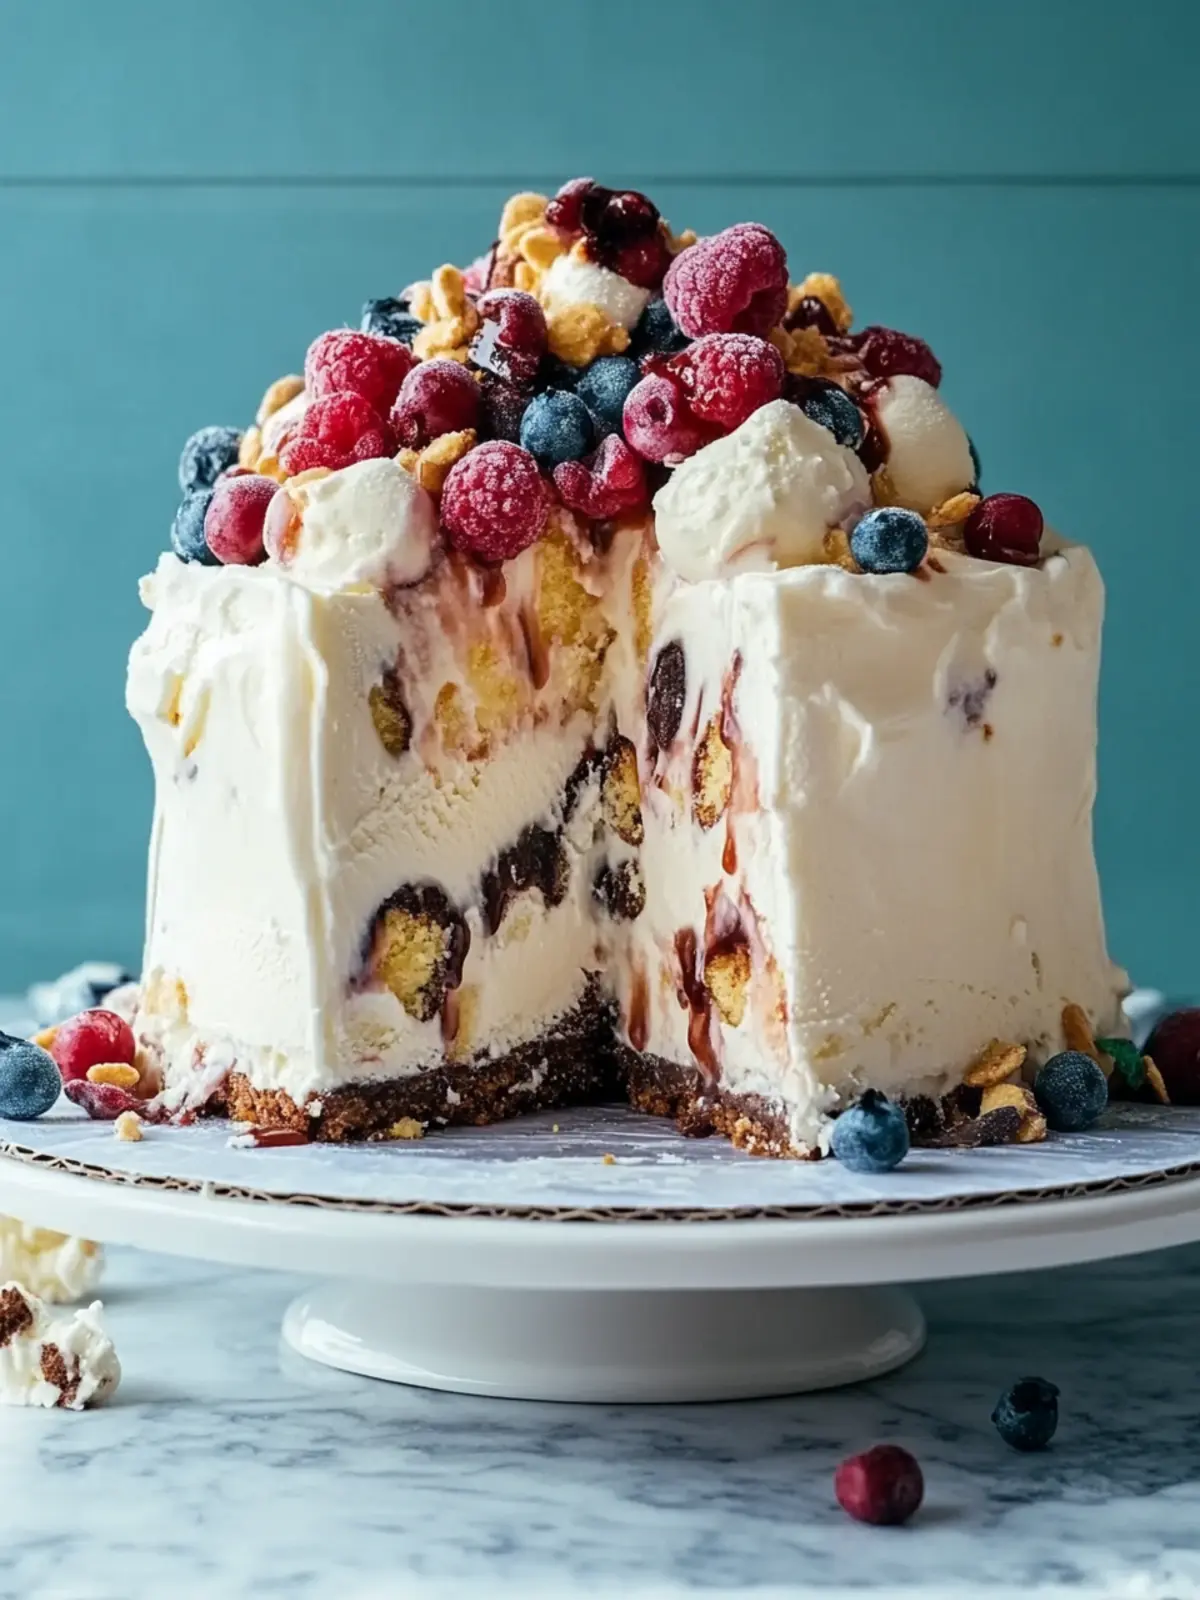
Fresh Berries: Juicy strawberries or raspberries offer a refreshing contrast to the creamy cake, adding a vibrant touch on the plate. Their tartness beautifully balances the sweetness of the ice cream.
-
Whipped Cream: Light and fluffy, a dollop of freshly whipped cream brings a luxurious creaminess that takes the cake to the next level of indulgence. It’s the perfect accompaniment for those who love extra decadence!
-
Chocolate Sauce: Drizzle a bit of extra hot fudge or chocolate sauce on each slice for those serious about their chocolate. This added richness enhances every bite, making it a true dessert lover’s delight.
-
Toasted Coconut: Sprinkle some toasted coconut flakes for a tropical flair. The crunchy texture and slight nuttiness create an exciting contrast against the smooth layers of the cake.
-
Ice Cream Sandwiches: Pair with a scoop of your favorite ice cream on the side for an extra treat! This makes each bite even more interactive and indulgent—perfect for ice cream lovers!
-
Mint Leaves: Garnish with fresh mint for a touch of freshness. It’s not only visually appealing but also adds a refreshing note that cuts through the rich flavors.
-
Coffee: Serve alongside brewed coffee or iced coffee for a delightful contrast. The bitterness of the coffee wonderfully complements the sweetness of the Buster Bar Ice Cream Cake.
-
Fruit Salad: A light fruit salad can provide a burst of freshness and a lovely contrast to the rich dessert. It’s a vibrant option for those seeking something lighter.
Embrace these ideas to elevate your dessert offering and create a memorable dining experience for family and friends!
Expert Tips for Buster Bar Ice Cream Cake
-
Quick Assembly: Work swiftly when layering to prevent the ice cream from melting too much; it keeps the layers firm and beautiful.
-
Smooth Slicing: Use a heated knife to cut the cake after freezing; this helps achieve clean slices through all layers of the Buster Bar Ice Cream Cake.
-
Springform Magic: Consider using a springform pan for easy removal; it allows for a seamless presentation. If using a standard pan, line it well with parchment paper.
-
Flavor Swaps: Don’t hesitate to experiment with your favorite flavors! Substituting vanilla ice cream with coffee or chocolate can give this classic dessert a fresh twist.
-
Make It Crunchy: Add extra crunch by layering crushed pretzels or different nut varieties; it’s a fun way to personalize your ice cream cake!
Buster Bar Ice Cream Cake Variations
Feel free to make this delightful cake your own with these fun substitutions and twists!
-
Dairy-Free: Use coconut milk ice cream and vegan hot fudge for a delicious dairy-free treat.
This way, everyone can enjoy a slice, regardless of dietary preferences! -
Gluten-Free: Swap chocolate graham crackers for a gluten-free cookie variety or ground almonds for the crust.
Your gluten-sensitive friends will be grateful for this tasty option! -
Nut-Free: Replace peanuts with sunflower seeds or omit them altogether for a nut-free version.
This keeps the crunch while ensuring it’s safe for those with nut allergies. -
Flavor Boost: Dive into seasonal spices like cinnamon or pumpkin pie spice for a fall twist.
This brings warmth and festive flavors that everyone will adore! -
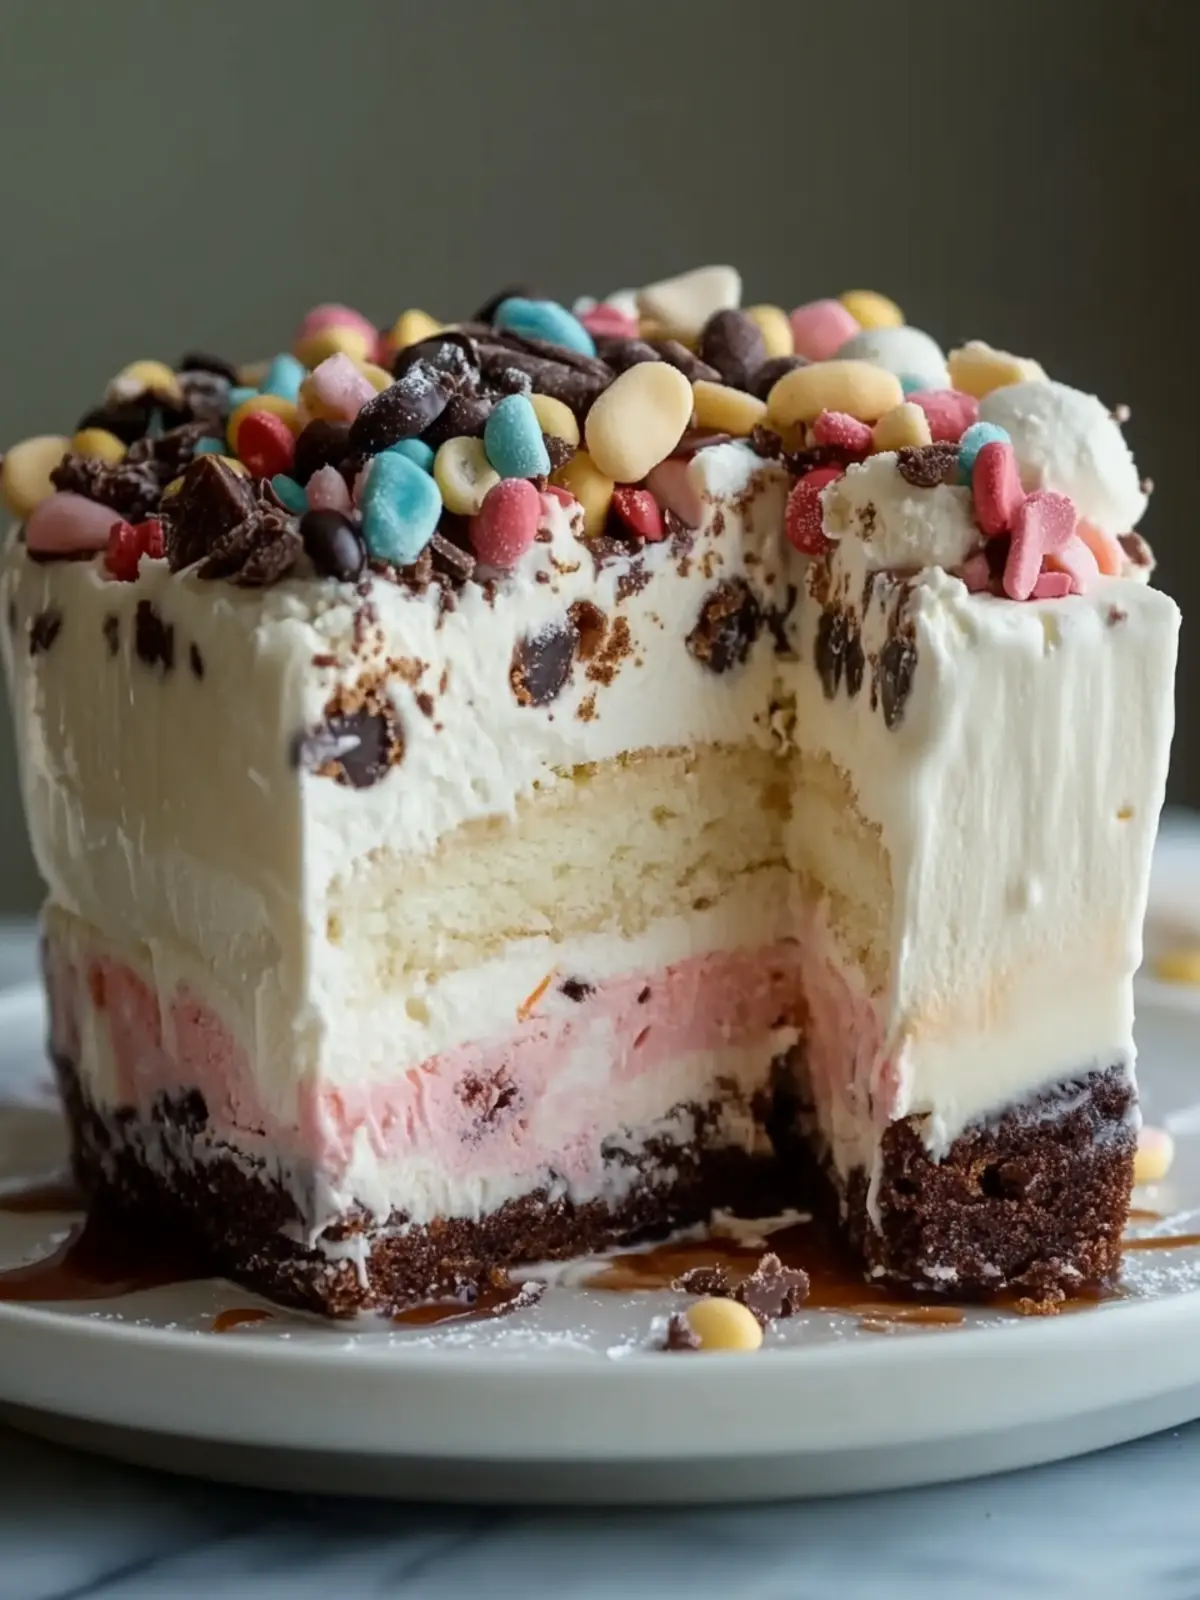
Decadent Chocolate: Layer in chocolate chip cookies or sprinkle chocolate shavings between the ice cream layers for an extra chocolatey treat.
Every bite will be a sweet surprise, perfect for chocoholics! -
Fruit Infusion: Add sliced fresh strawberries or bananas between ice cream layers for a fruity freshness.
This gives your cake a burst of color and flavor, making it even more inviting! -
Pretzel Crunch: Incorporate crushed pretzels into the crust for a salty twist that compliments the sweetness.
This unexpected addition creates a delightful contrast in textures and tastes. -
Spicy Kick: Mix in a touch of cayenne or chipotle powder into the hot fudge for a surprising heat!
This adventurous take will tantalize the taste buds of those who love a bit of spice!
Buster Bar Ice Cream Cake Recipe FAQs
What should I look for when selecting the ingredients?
Absolutely! When choosing chocolate graham crackers, look for those that are not broken or crushed—this will ensure a sturdy crust. For the vanilla ice cream, a high-quality brand typically has richer flavors and creamier textures, enhancing your cake. For the hot fudge sauce, ensure it’s thick and glossy; you can even make your own for a personal touch!
How long can I store my Buster Bar Ice Cream Cake in the freezer?
You can freeze your Buster Bar Ice Cream Cake for up to 3 months. Just wrap it tightly in plastic wrap and then in aluminum foil to prevent freezer burn. I often suggest labeling it with the date so you can enjoy it at its best before the flavor diminishes.
How do I properly thaw the cake for serving?
When you’re ready to dive into your ice cream cake, remove it from the freezer and place it in the refrigerator for about 2 hours. This gradual thaw allows the ice cream to soften just enough for easy slicing while still holding its shape. If you’re in a hurry, let it sit at room temperature for about 10-15 minutes before serving!
What can I do if the ice cream melts while I’m assembling the cake?
Very! If the ice cream begins to melt, use a spatula to quickly spread it back into even layers. If it melts too much, you can refreeze the cake for about an hour before serving to restore its firmness. Just remember, work quickly to keep it from melting excessively!
Can I make this cake allergy-friendly?
You sure can! If you’re catering to nut allergies, just omit the peanuts and substitute with crispy rice cereal for that delightful crunch. For dairy-free or vegan options, seek out dairy-free ice cream and sauces to ensure everyone can enjoy this nostalgic treat safely. Always double-check labels for allergens if you’re unsure!
Buster Bar Ice Cream Cake: A No-Bake Delight to Savor
Ingredients
Equipment
Method
- Crush the chocolate graham crackers into fine crumbs and mix with the hot fudge sauce to achieve a wet sand texture.
- Press the crumb mixture firmly into the bottom of a lined springform pan.
- Sprinkle the red skin peanuts evenly over the crust.
- Slightly soften the vanilla ice cream and spread half over the peanut layer.
- Drizzle half of the hot fudge sauce over the vanilla ice cream layer, followed by half of the peanuts.
- Spread the remaining ice cream on top and repeat with the leftover hot fudge sauce and peanuts.
- Cover with plastic wrap and freeze for at least 4 hours, or overnight.
- Drizzle with Magic Shell chocolate coating, allow to set, then slice and serve.