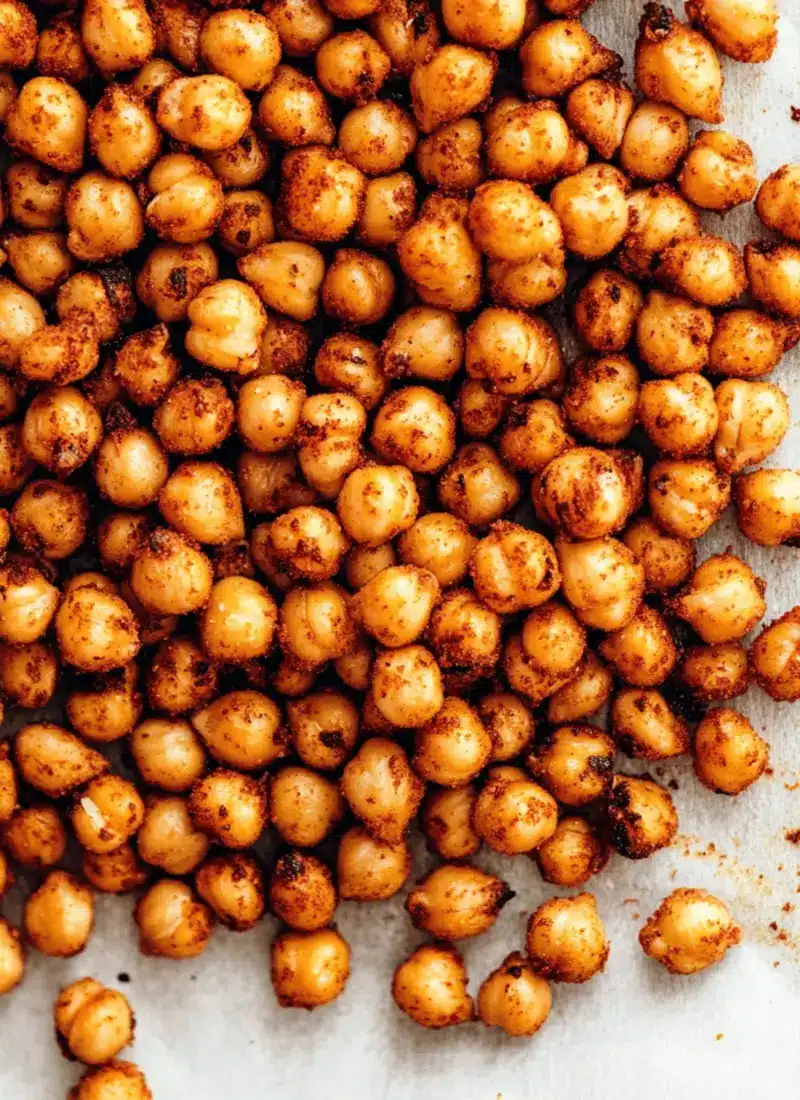
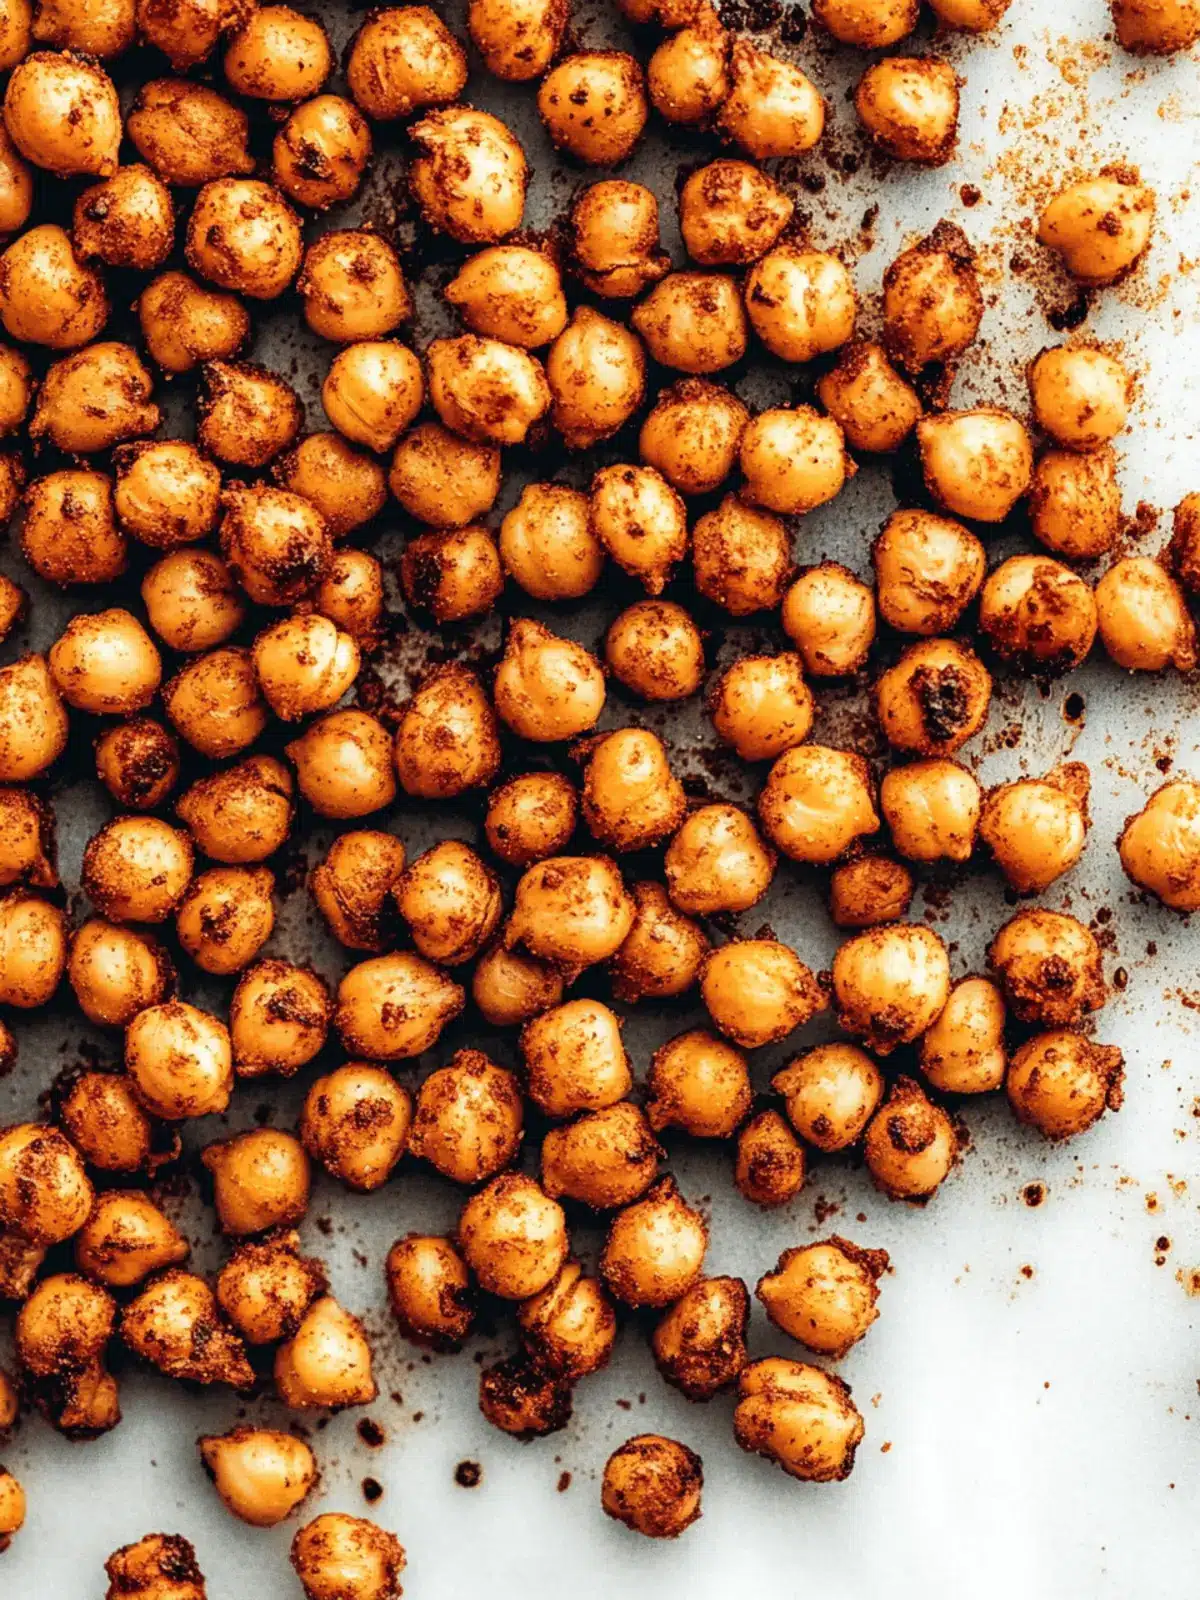
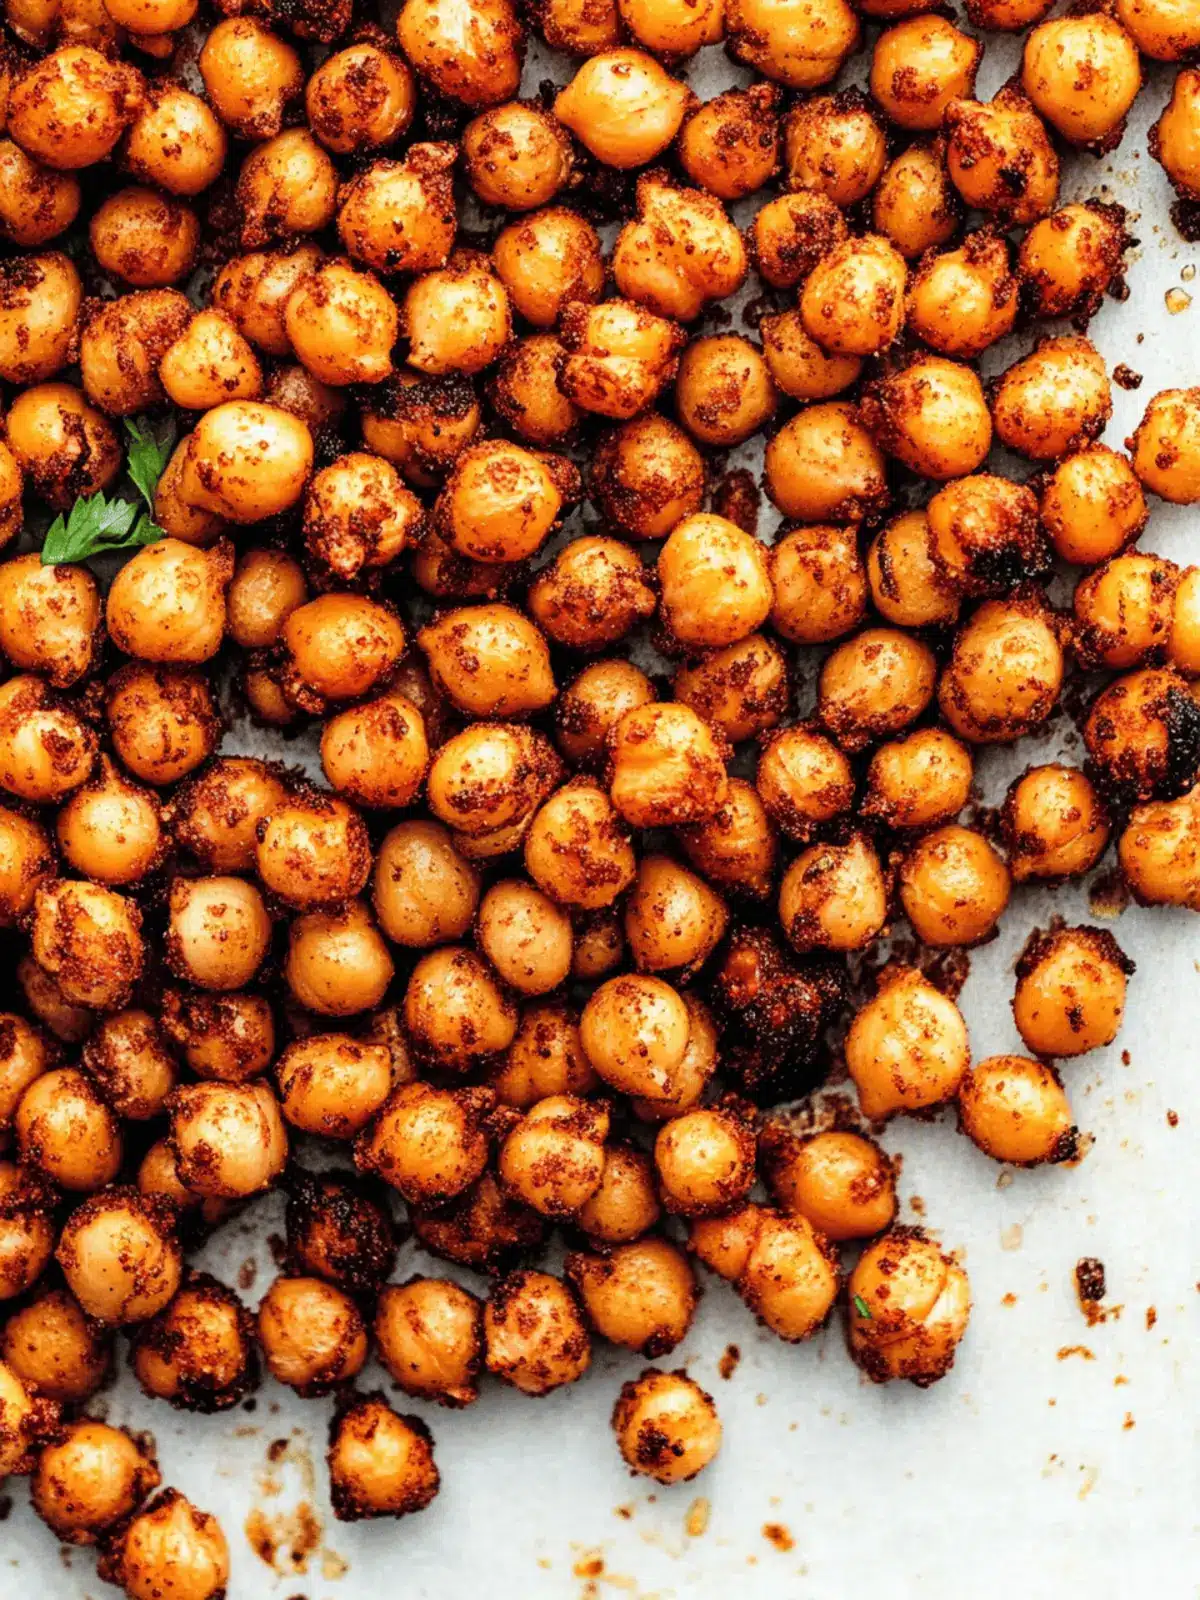
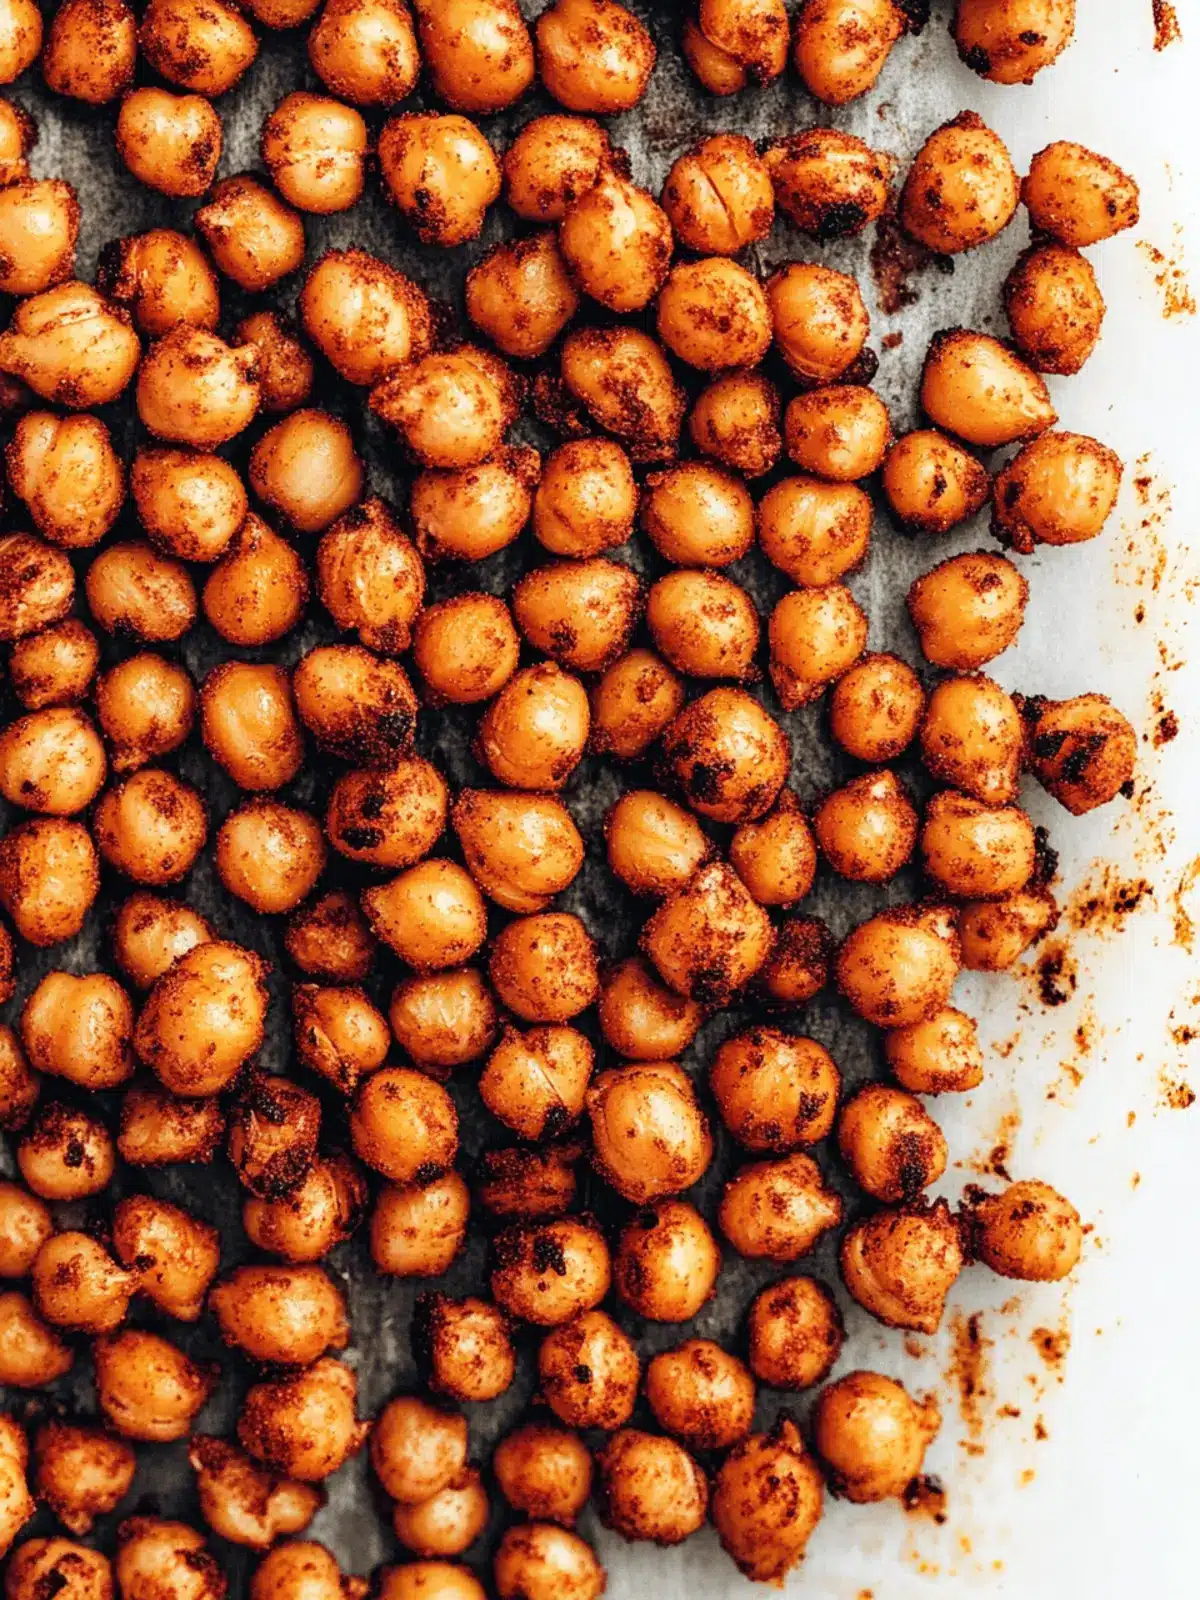
There’s a certain satisfaction that comes with popping a crunchy snack in your mouth, and when it’s both healthy and homemade, that’s a double win! I discovered oven-roasted chickpeas during one of those “I need something delicious to snack on that isn’t a bag of chips” moments. These little powerhouses of flavor quickly became my go-to treat, offering an unbeatable combination of protein, fiber, and zesty spices that keep boredom at bay.
Imagine savoring the warmth of smoky paprika and the subtle tang of sumac dancing on your palate, all while knowing you’re indulging in a gluten-free, vegan delight that fits perfectly into any budget. Whether you toss them in salads, sprinkle over grain bowls, or simply enjoy them straight from the pan, these roasted chickpeas are sure to impress. Ready to elevate your snacking game? Let’s dive into the recipe!
Why Are Roasted Chickpeas So Irresistible?
Crunchy Texture: The oven-roasting process transforms ordinary chickpeas into a crunchy snack, making each bite satisfying and enjoyable.
Flavor Explosion: With a blend of spices like smoked paprika and sumac, your taste buds will experience a delightful, zesty burst.
Healthy Snacking: Packed with protein and fiber, these chickpeas are a guilt-free alternative to chips, perfect for anyone embracing a healthier lifestyle.
Easy to Customize: Mix and match seasonings to create your favorite flavor profile or add a touch of nutritional yeast for a cheesy twist.
Quick Prep: With minimal ingredients and straightforward instructions, you’ll have a delicious snack ready in no time. Don’t forget to check out some make-ahead tips for perfect snacking throughout the week!
Roasted Chickpeas Ingredients
For the Chickpeas
• Chickpeas – The star of the show, offering plant-based protein and fiber for a healthy snack.
For the Seasoning
• Olive Oil – Adds richness and helps the spices stick; feel free to swap it with avocado oil for a different taste.
• Smoked Paprika – Infuses a smoky depth that takes these roasted chickpeas to the next level; use sweet paprika for a milder flavor.
• Ground Sumac – Adds a delightful tangy note that brightens your chickpeas; lemon zest can be used if sumac is unavailable.
• Garlic Powder – Provides a savory punch; fresh garlic works too, but adjust cooking time accordingly.
• Salt – Enhances overall flavor; kosher salt creates a different texture, so feel free to adjust to your liking.
• Black Pepper – Introduces a gentle heat; swap with cayenne pepper for an extra spicy kick.
Optional Add-Ons
• Nutritional Yeast – For a cheesy flavor that’s perfect for vegan diets; sprinkle it on after roasting for added taste.
• Fresh Herbs – Toss these in after baking for an extra dash of freshness and color to your crispy roasted chickpeas.
Now that you have the ingredients ready, let’s get started on creating this irresistible snack!
How to Make Roasted Chickpeas
- Preheat the Oven: Set your oven to 350°F (175°C) to create the perfect roasting environment for those chickpeas. It’s essential to line a baking sheet with parchment paper to prevent sticking, ensuring a smooth snack experience.
- Prepare Chickpeas: Rinse the canned chickpeas in a colander thoroughly until the water runs clear, then drain well. This step washes away excess sodium and makes for a healthier snack.
- Dry the Chickpeas: Spread them on a clean kitchen towel. Gently rub the chickpeas to remove excess moisture, discarding any loose skins, ensuring they get nice and crispy when roasted.
- Season: In a mixing bowl, combine the dried chickpeas with olive oil and your chosen spices—smoked paprika, ground sumac, garlic powder, salt, and black pepper. Toss until they’re evenly coated for a flavorful bite in every crunch!
- Bake: Transfer the seasoned chickpeas to the lined baking sheet, spreading them into a single layer. Bake for about 45 minutes, shaking the pan briefly at the 15-minute and 30-minute marks until they’re golden and crispy to the touch.
- Cool and Serve: Once done, let the chickpeas cool on the baking sheet; they will continue to crisp up as they cool. Serve them immediately, or store them properly to enjoy later!
Optional: Sprinkle with nutritional yeast for a cheesy flavor boost!
Exact quantities are listed in the recipe card below.
Make Ahead Options
These crispy oven-roasted chickpeas are ideal for meal prep and can save you valuable time during busy weeknights! You can rinse, dry, and season the chickpeas up to 24 hours in advance—just make sure to store them in an airtight container in the fridge to keep them fresh. When you’re ready to bake, simply spread them onto a baking sheet and roast for about 45 minutes until golden and crisp. For the best quality, avoid storing finished roasted chickpeas in an airtight container as moisture can make them soggy; instead, leave them uncovered for up to 3 days. Enjoy your perfectly seasoned and crunchy chickpeas at a moment’s notice!
What to Serve with Crispy Oven Roasted Chickpeas?
Elevate your snack experience with these delightful pairings that transform ordinary moments into extraordinary flavors.
- Fresh Salad: A crunchy, vibrant salad with mixed greens and cherry tomatoes adds freshness, balancing the smoky chickpeas perfectly. Try a light vinaigrette to enhance all the flavors.
- Hummus Dip: Creamy hummus pairs wonderfully, making each bite of roasted chickpeas even more satisfying. The smooth, nutty texture complements the crunchy bite beautifully.
- Grain Bowl: Serve over a hearty grain bowl with quinoa or brown rice for a filling meal. Add veggies and your favorite dressing for a colorful and nutritious feast.
- Veggie Sticks: Pair with carrot, cucumber, or bell pepper sticks for a refreshing crunch. A tahini dip would be a delicious complement to both.
- Cheese Plate: Create an elegant cheese platter with olives, nuts, and these roasted chickpeas for a balanced appetizer. Their bold flavors add a lively touch to any cheese selection.
- Fruit Smoothie: A refreshing fruit smoothie or yogurt bowl on the side can balance the savory flavors while also making for a delightful contrast in textures.
- Sparkling Water: A chilled glass of sparkling water with a squeeze of lemon adds a refreshing zing, complementing the zesty flavors of the roasted chickpeas.
Enjoy experimenting with these pairings, and watch how they enhance your love for these roasted chickpeas!
How to Store and Freeze Roasted Chickpeas
Room Temperature: Store leftover roasted chickpeas uncovered in a cool, dry place for up to 3 days to maintain their crunchy texture and flavor.
Fridge: If you must refrigerate them, place the roasted chickpeas in an airtight container for about 2 days. However, note that this may affect their crispiness.
Freezer: Roasted chickpeas can be frozen for up to 2 months. Place them in a freezer-safe bag, ensuring as much air is removed as possible. To enjoy, reheat them directly from the freezer in the oven.
Reheating: To restore their crunch, reheat the chickpeas in a preheated oven at 350°F (175°C) for about 10 minutes. Enjoy your flavorful roasted chickpeas again!
Roasted Chickpeas Variations
Explore the endless possibilities with your roasted chickpeas and make them truly your own!
- Spicy: Add cayenne pepper for that extra kick and heat in every bite. Adjust the amount based on your preference for spice!
- Italian Herb: Toss with dried Italian herbs like oregano, basil, and thyme for a fresh, Mediterranean twist. The aroma alone is enough to inspire delightful daydreams of sun-drenched Italian landscapes.
- Curry Flavor: Mix in curry powder before roasting to add an exotic, warm flavor. This delightful twist will transport you to a bustling market filled with enticing scents.
- Barbecue: Replace smoked paprika with a barbecue seasoning mix for a sweet and tangy flavor blast. This variation is perfect for those who love the taste of summer!
- Cheesy: Combine with nutritional yeast after roasting for a deliciously cheesy flavor without dairy. This is an excellent choice for vegan snack lovers seeking a burst of flavor.
- Lemon Zest: Add freshly grated lemon zest post-roasting for a bright and zesty touch. It will elevate the taste experience and leave you feeling invigorated.
- Sweet Chili: Coat chicks lightly with sweet chili sauce before baking for a sweet and spicy combination. It’s a surprising twist that will have your taste buds dancing!
- Sriracha: Drizzle with sriracha sauce before roasting for a fiery, flavorful snack. Perfect for those who crave fiery foods!
Customize these roasted chickpeas to match your mood or meal, and enjoy a refreshing snack that never gets boring!
Expert Tips for Roasted Chickpeas
- Dry Thoroughly: Ensure your chickpeas are completely dry after rinsing; any moisture will prevent them from achieving that satisfying crunch.
- Watch Baking Time: Keep an eye on the chickpeas during the last few minutes to avoid burning; oven temperatures can vary, so adjust as needed.
- Experiment with Flavors: Don’t hesitate to mix and match spices! Customizing your roasted chickpeas with different seasonings can keep your snacking experience exciting.
- Cool for Crispness: Allow the chickpeas to cool completely after baking; this will enhance their crispness even more, making them a perfect snack.
- Store Smartly: To maintain their crunch, store leftover roasted chickpeas uncovered in a container for up to three days, as airtight containers can create moisture.
Roasted Chickpeas Recipe FAQs
How do I choose the best chickpeas for roasting?
Absolutely! For optimal results, I recommend using canned chickpeas for convenience. Look for cans labeled “low sodium” or “no salt added” to keep your snack healthier. If you prefer dried chickpeas, soak them overnight, then cook until tender before proceeding with the roasting. They’re ready when they’ve reached that delightful softness.
How should I store leftover roasted chickpeas?
Very simple! To keep your roasted chickpeas crunchy, store them uncovered in a cool, dry place in a container or on a plate for up to 3 days. If you must use an airtight container, note that they may lose their crunch sooner. If you need to keep them fresher longer, consider refrigerating them for about 2 days instead, though this may soften their texture.
Can I freeze roasted chickpeas?
Absolutely, you can! To freeze, place the cooled roasted chickpeas in a freezer-safe bag, removing as much air as possible. They can be stored for up to 2 months. When you’re ready to enjoy them again, reheat directly from the freezer in a preheated oven at 350°F (175°C) for around 10 minutes to regain that crunch.
What should I do if my roasted chickpeas are soggy?
Not an uncommon issue! To avoid soggy chickpeas, remember to thoroughly dry them after rinsing and before roasting. If they’re already soggy, you can try returning them to the oven at a slightly higher temperature (around 375°F or 190°C) for an additional 10-15 minutes, checking frequently to avoid burning. Keep that moisture at bay for the ultimate crunch!
Are roasted chickpeas safe for people with allergies?
Very valid question! Roasted chickpeas are naturally gluten-free and vegan, making them a fantastic snack option for many diets. However, always check your seasoning ingredients for potential allergens, especially if using prepared spice blends. If you’re preparing for someone with food allergies, I suggest sticking to simple, whole spices to ensure safety.
Can I customize the seasoning for roasted chickpeas?
Absolutely, the more the merrier! Feel free to mix and match any spices you prefer. For example, try curry powder for an exotic flavor or add cayenne pepper for a spicy kick. The key is to find a combination that excites your taste buds, so don’t hesitate to experiment for the perfect roasted chickpeas tailored just for you!
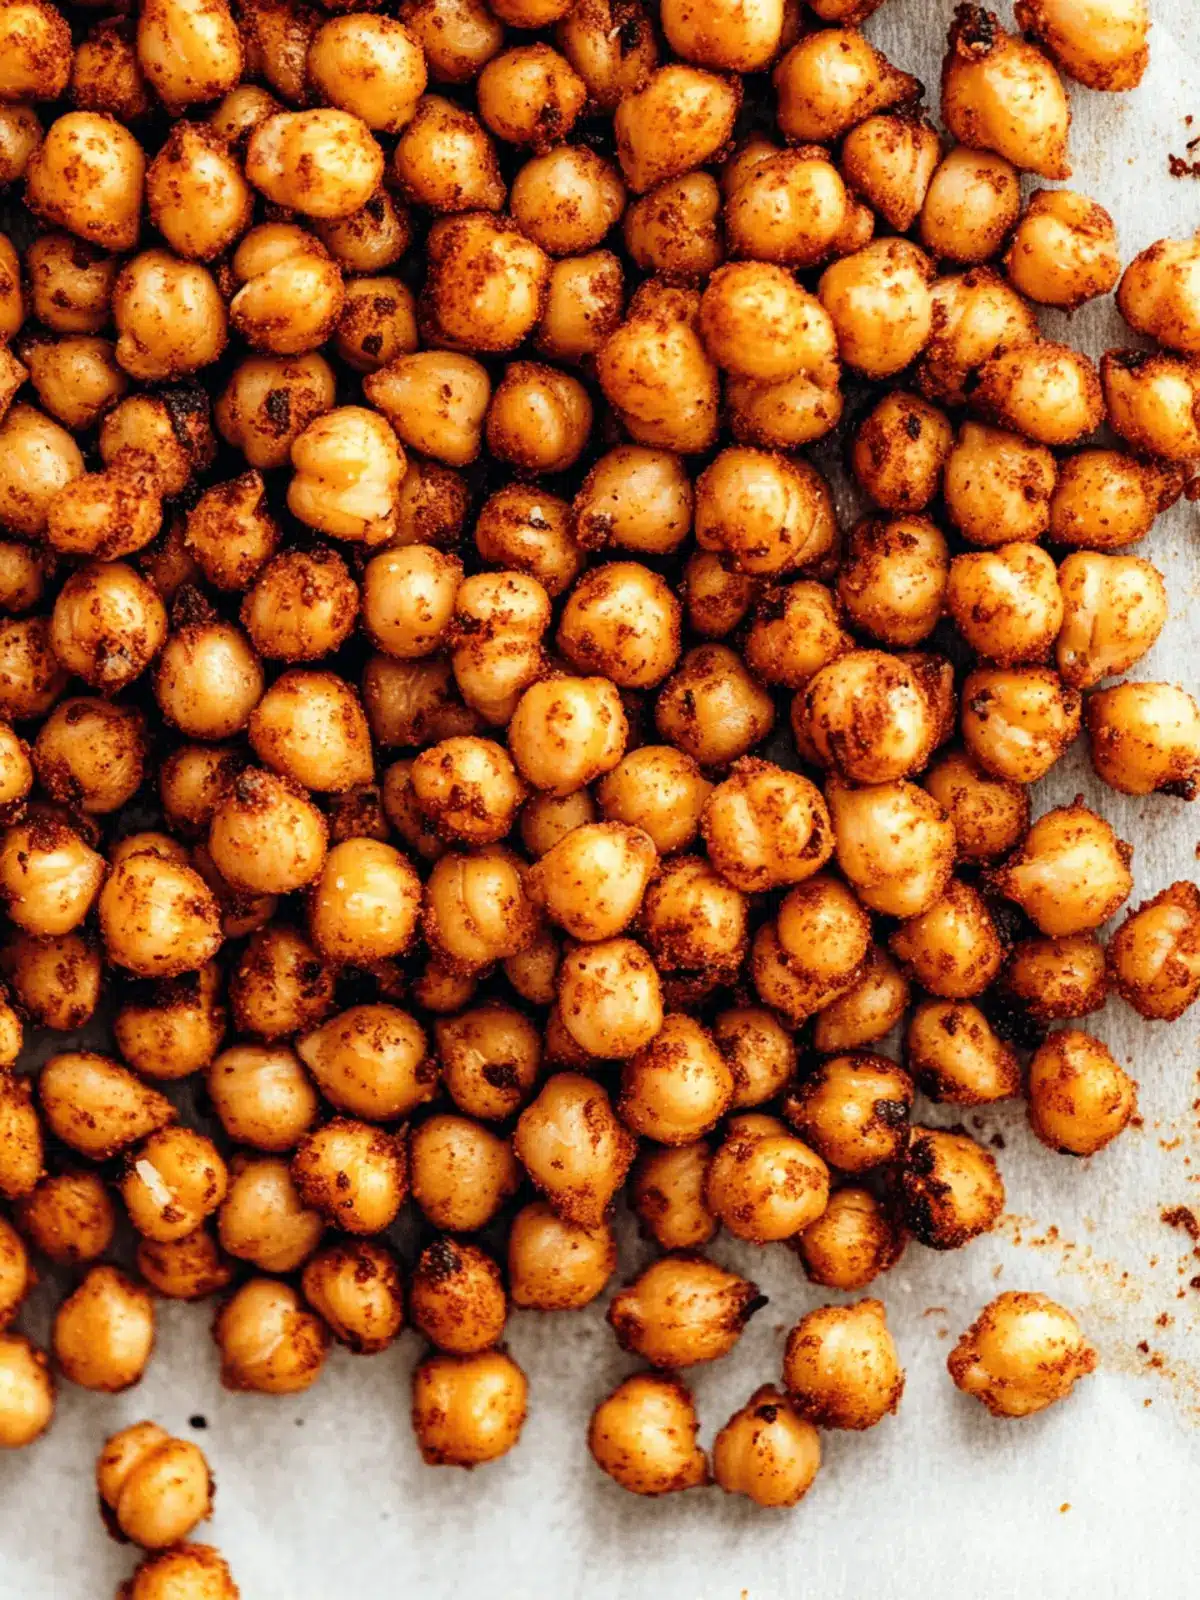
Crunchy Roasted Chickpeas - Your New Favorite Healthy Snack
Ingredients
Equipment
Method
- Preheat the oven to 350°F (175°C) and line a baking sheet with parchment paper.
- Rinse the canned chickpeas in a colander and drain well.
- Spread the chickpeas on a clean kitchen towel and gently rub to remove excess moisture.
- In a mixing bowl, combine chickpeas with olive oil and spices, tossing until evenly coated.
- Transfer to the baking sheet and bake for about 45 minutes, shaking the pan briefly at 15 and 30 minutes.
- Let cool on the baking sheet before serving.
- Optional: Sprinkle with nutritional yeast before serving.

