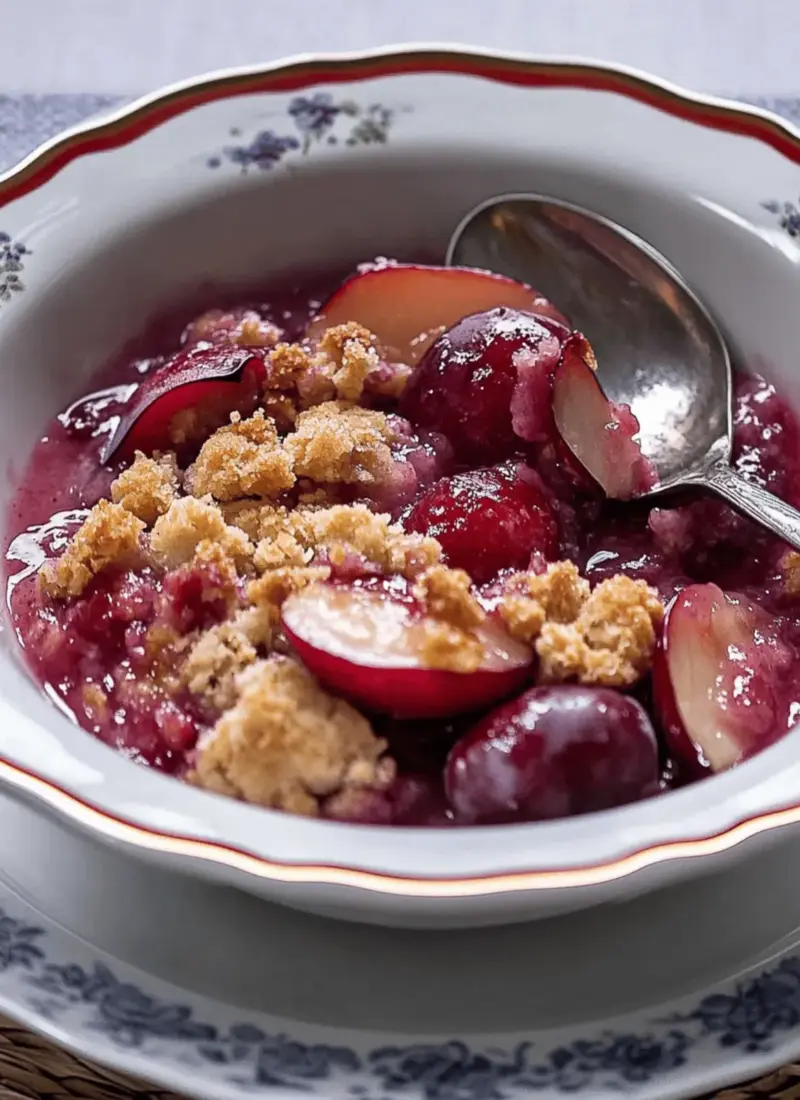
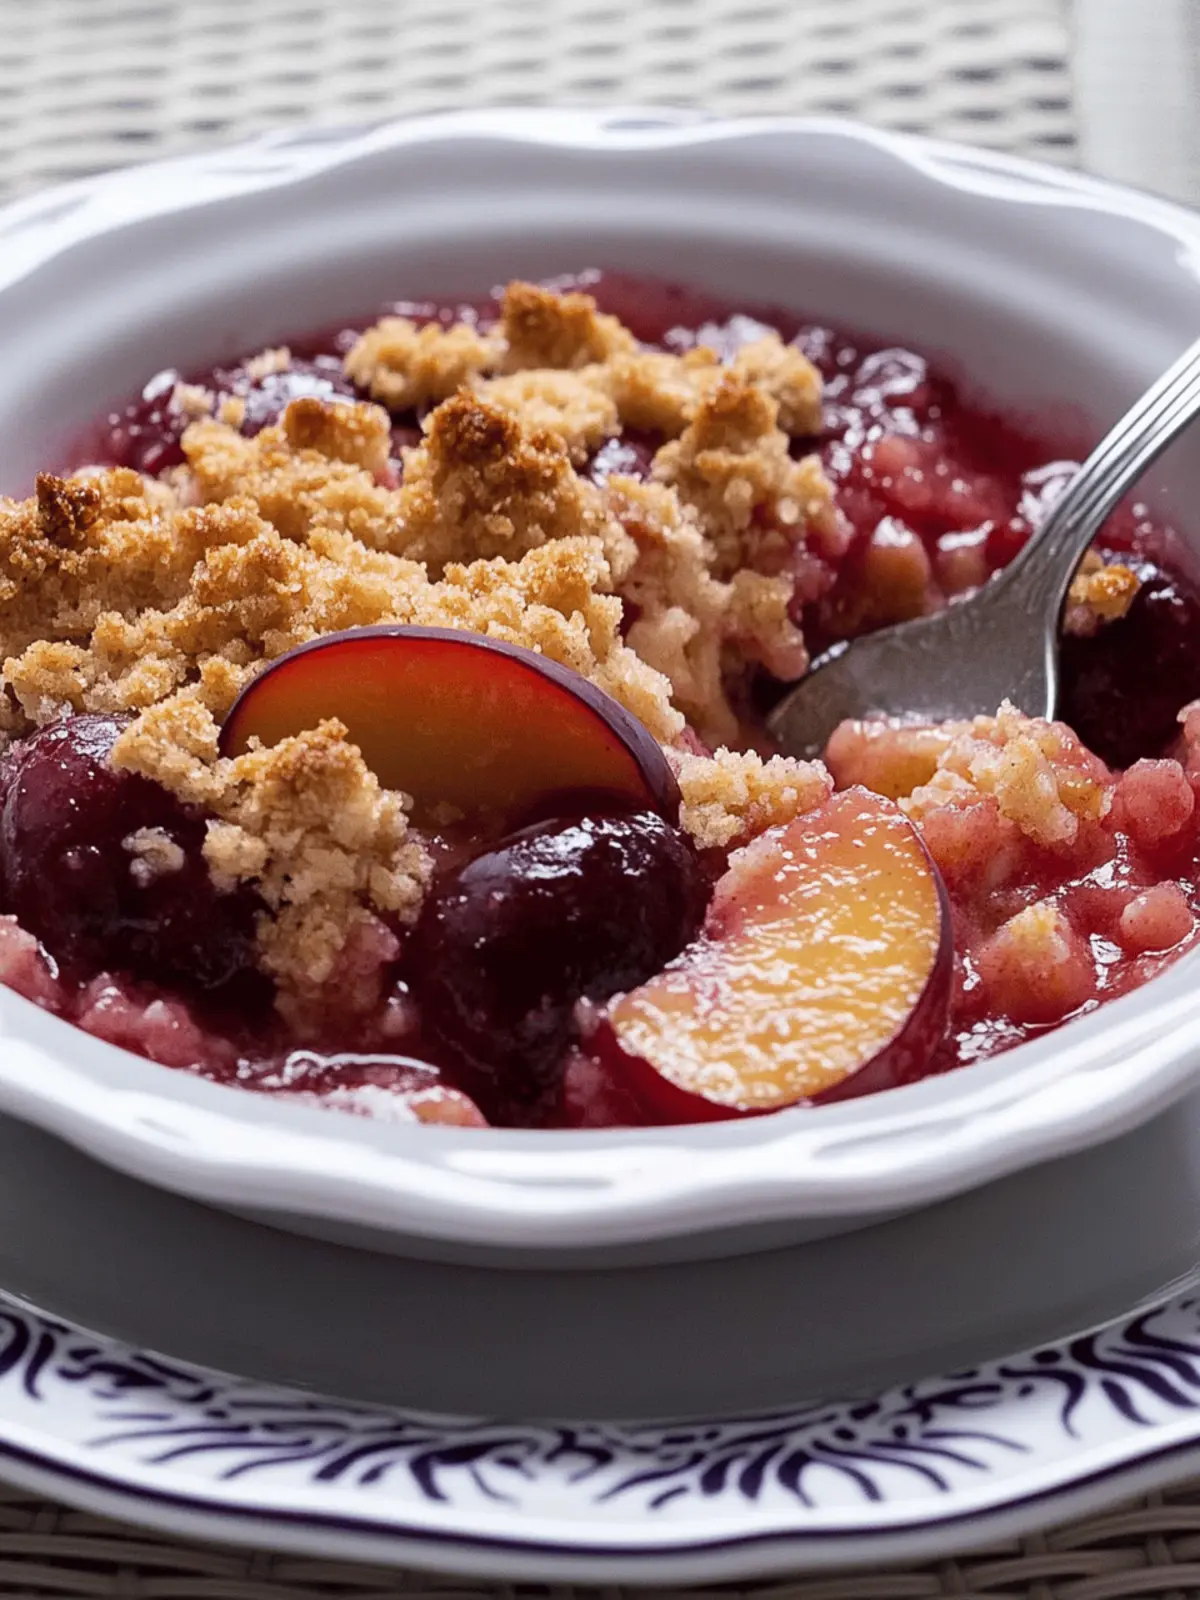
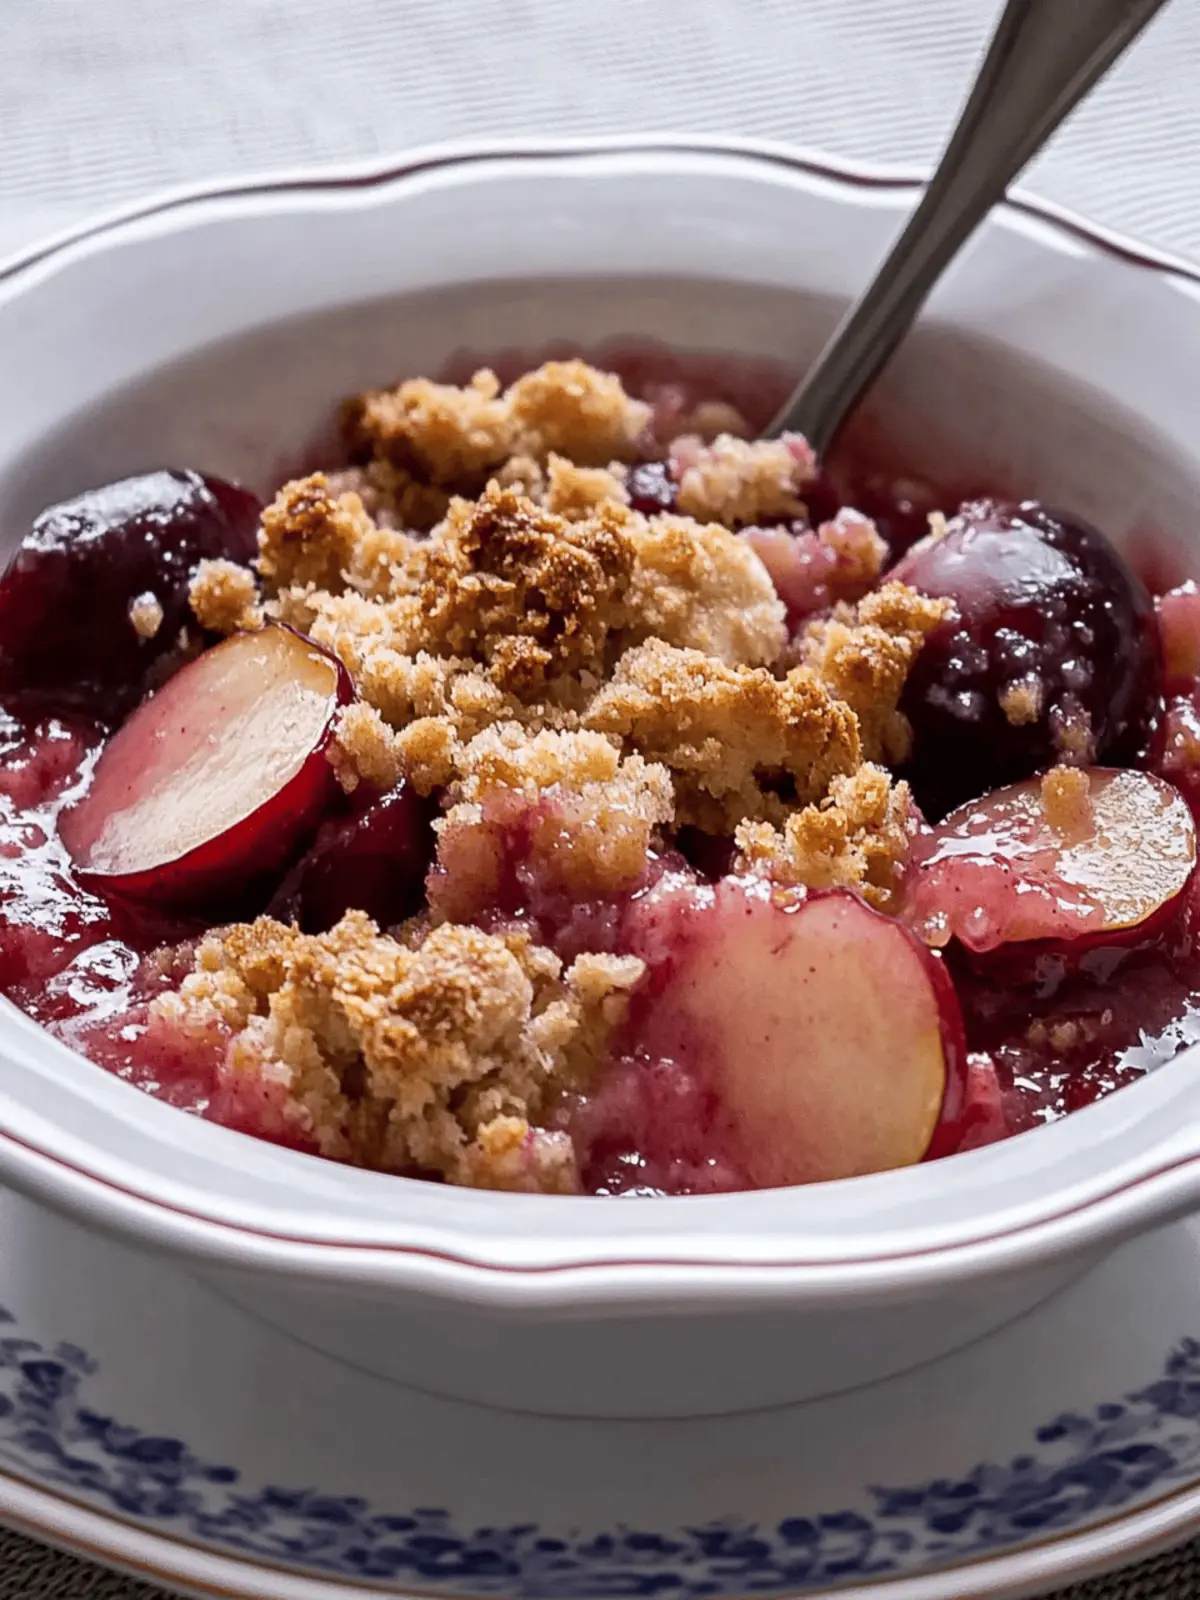
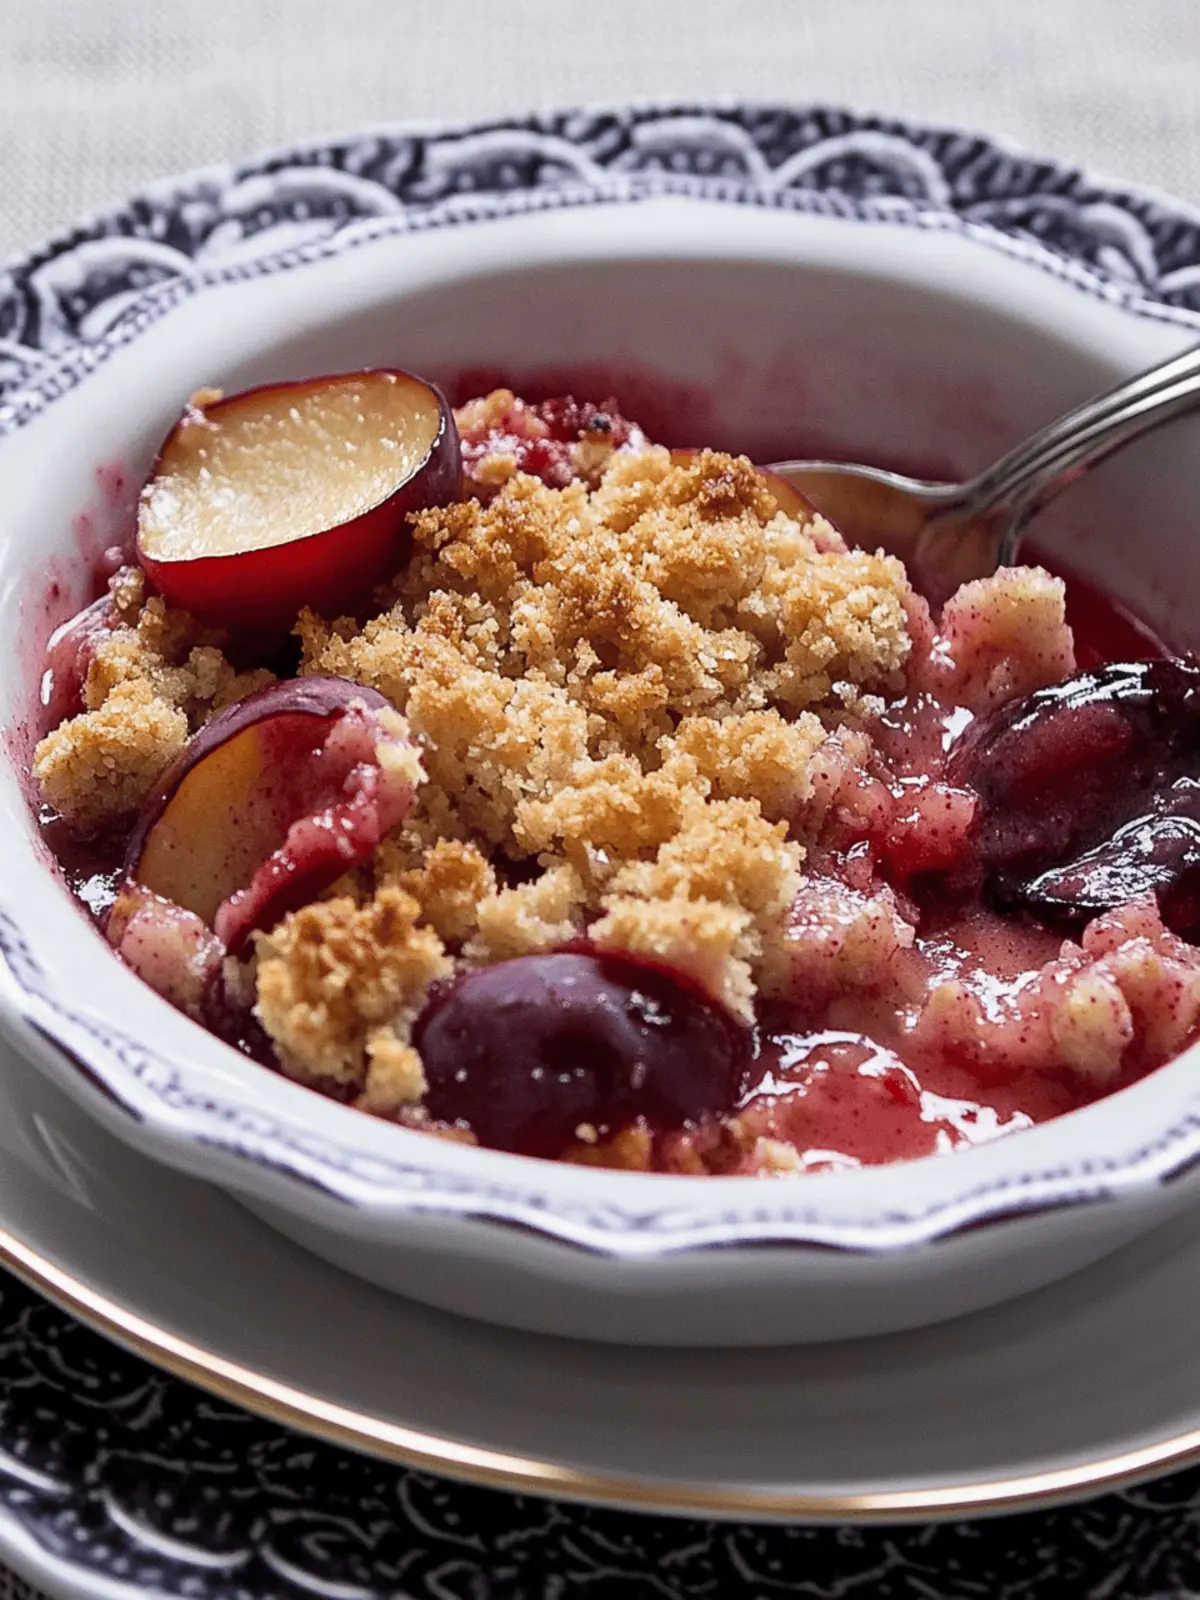
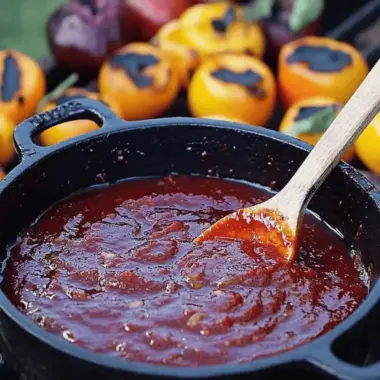
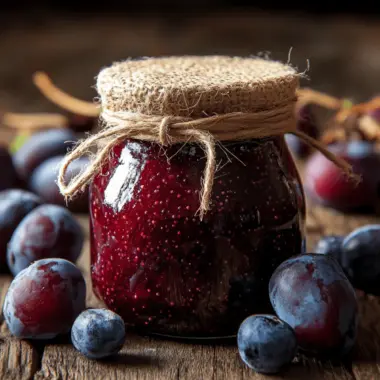
There’s a certain joy that comes with the first taste of a homemade dessert, especially one as comforting as a Plum Crisp. Picture this: the sweet-tart plums, perfectly nestled beneath a golden, crunchy topping, filling your kitchen with an irresistible aroma that beckons everyone to gather around the table. I discovered this easy Plum Crisp recipe during a leisurely afternoon of fruit-picking, and the vibrant plums inspired me to create a dessert that’s both indulgent and simple—ideal for any skill level.
This recipe is a delightful way to transform fresh, seasonal plums into a crowd-pleasing dish. Whether you’re a culinary novice or a seasoned chef looking for something new to impress your friends, this Plum Crisp is sure to become a favorite. With just a handful of ingredients and beginner-friendly steps, you’ll soon be savoring a slice warm from the oven, best enjoyed with a scoop of vanilla ice cream or a dollop of whipped cream. Let’s dive into this deliciously easy recipe that celebrates the delightful flavors of summer!
Why is Plum Crisp the Perfect Dessert?
Easy to Make: This Plum Crisp requires minimal cooking skills, making it beginner-friendly and foolproof.
Irresistible Aroma: Imagine your kitchen filled with the warm, inviting scents of baked plums and vanilla, calling everyone to the table.
Customizable Delight: Feel free to experiment by swapping plums for other fruits like peaches or nectarines for a unique twist!
Crunchy Topping: The golden brown, crisp topping beautifully contrasts the soft, juicy plums, resulting in a texture lovers’ dream.
Quick to Prepare: In under an hour, you can serve this delight—perfect for last-minute gatherings or weeknight treats. Whether enjoyed warm or at room temperature, it’s sure to impress your family and friends!
Plum Crisp Ingredients
• For the Filling
- Plums – 2 pounds black or Santa Rosa plums; choose slightly under-ripe for better structure when baked.
- Granulated Sugar – ½ cup (100 grams); adjust based on your sweetness preference.
- All-Purpose Flour – 3 to 4 tablespoons (40 grams); helps thicken the filling—use more for a tighter consistency.
- Salt – ¼ teaspoon; enhances the overall flavor.
- Vanilla Extract – 2 teaspoons; adds a delightful depth to the plums.
• For the Crisp Topping
- Old Fashioned Oats – ¾ cup (75 grams); provides crunch—do not substitute with quick oats for best results.
- Brown Sugar – ½ cup (100 grams); offers richness and can be swapped with granulated sugar if needed.
- Additional All-Purpose Flour – ¾ cup (105 grams); essential for the crisp topping’s texture.
- Baking Soda – ¼ teaspoon; helps the crisp rise beautifully.
- Baking Powder – ¼ teaspoon; works with baking soda for a fluffy topping.
- Unsalted Butter – 6 tablespoons (85 grams), softened; binds the topping and adds richness.
This Plum Crisp is a perfect beginner-friendly dessert that you’ll love sharing with family and friends!
How to Make Plum Crisp
- Preheat the oven: Start by warming your oven to 375°F (190°C) and prepare a 9×9-inch baking dish with a light layer of non-stick spray to prevent sticking.
- Prepare the plums: Cut the plums in half along the equator and gently twist to separate the halves, then use a serrated spoon to carefully remove the pits.
- Slice the plums: Slice the plums into ¼-inch thick pieces and place them in a large mixing bowl. Pour in the vanilla extract to enhance their flavor.
- Mix the filling: In a smaller bowl, combine flour, granulated sugar, and salt. Stir this mixture into the plums until well-coated, then set aside to let the flavors meld.
- Create the topping: In another bowl, mix oats, brown sugar, additional flour, baking soda, and baking powder. Add the softened butter, mixing with your hands or a mixer until crumbly and well combined.
- Assemble the crisp: Stir the plum mixture again; then, pour it into the prepared baking dish. Evenly distribute the crumble topping over the plums, ensuring complete coverage.
- Bake the crisp: Place the dish in the oven and bake for 35 to 45 minutes, or until the plums are tender, the topping is golden brown, and you see bubbling juices.
- Serve warm: Once baked, allow your Plum Crisp to cool slightly before serving warm or at room temperature.
Optional: Serve with a scoop of vanilla ice cream for a decadent touch.
Exact quantities are listed in the recipe card below.
What to Serve with Plum Crisp?
Imagine indulging in a warm slice of Plum Crisp, surrounded by delightful flavors and aromas that make every bite feel like home.
- Vanilla Ice Cream: A scoop of creamy vanilla ice cream melds beautifully with the warm, juicy plums, creating a harmonious contrast that’s pure bliss.
- Whipped Cream: Light and fluffy, whipped cream adds a sweet, airy touch that enhances the crisp’s rich textures. It’s the perfect complement for a cozy dessert.
- Caramel Sauce: Drizzling homemade or store-bought caramel over the crisp elevates the dish with additional sweetness and an enticing sheen, inviting everyone to indulge.
- Coffee: The rich, bold flavor of coffee pairs wonderfully with the sweet-tart notes of the plums, making it a delightful combination for your afternoon treat.
- Chai Tea: Warm chai tea brings comforting spices into play, balancing the sweetness of the Plum Crisp with a fragrant touch that warms the soul.
- Fresh Berries: A side of tart raspberries or strawberries adds a burst of freshness, providing a bright contrast to the rich flavors of the crisp.
- Chocolate Drizzle: A light drizzle of dark chocolate can elevate the Plum Crisp to new heights, adding a luxurious finish that makes it irresistible.
Let your imagination run wild with these pairings; they’ll transform your Plum Crisp into an unforgettable feast for the senses!
Make Ahead Options
These delightful Plum Crisp bars are perfect for busy home cooks looking to save time without sacrificing flavor! You can prepare the plum filling by slicing the plums and mixing them with sugar, flour, and vanilla up to 24 hours in advance. Just refrigerate the mixture in an airtight container to maintain its freshness. For the crisp topping, you can assemble it separately and store it in the fridge for a similar timeframe. When you’re ready to bake, simply spoon the plum mixture into your prepared baking dish, top it with the crumble, and bake as directed. This way, you’ll enjoy the same delicious, warm dessert with minimal effort on your busy night!
How to Store and Freeze Plum Crisp
Room Temperature: Store the Plum Crisp covered at room temperature for up to 2 days to maintain its delightful crunch and flavor.
Fridge: If you need to keep it longer, refrigerate the Plum Crisp for up to 5 days, but note that the topping may lose some of its crispness.
Freezer: For longer storage, wrap the cooled Plum Crisp tightly in plastic wrap, then aluminum foil, and freeze for up to 3 months.
Reheating: To enjoy your Plum Crisp, reheat it in a preheated oven at 350°F (175°C) for about 15-20 minutes, until warmed through and crisp on top.
Expert Tips for Plum Crisp
• Choose the Right Plums: Opt for slightly under-ripe black or Santa Rosa plums to maintain their structure and balance the sweetness when baked.
• Prevent a Soggy Crisp: Avoid over-mixing the plum filling; too much agitation can lead to excess juice, resulting in a soggy bottom instead of a delightful crunch.
• Baking Time Matters: Keep an eye on your Plum Crisp while it bakes. Adjust the time based on your oven for a perfectly golden topping—feel free to peek toward the end!
• Flavor Boost: For an extra burst of flavor, consider adding a pinch of cinnamon or nutmeg to the crumble topping—this elevates the rustic charm of your dessert.
• Storage Tips: If you have leftovers, store the crisp covered at room temperature for up to 2 days. Reheat gently before serving to restore that delightful crunch.
Plum Crisp Variations
Feel free to make this Plum Crisp your own and explore delightful twists that will surprise your taste buds!
- Fruit Swap: Try different fruits like peaches, nectarines, or even mixed berries for a vibrant colorful twist. Each fruit brings its unique sweetness, creating a delightful medley.
- Spice it Up: Add a teaspoon of cinnamon or nutmeg to the topping for a warm, aromatic flavor. The added warmth makes the crisp even more comforting and delicious.
- Nutty Crunch: Incorporate ½ cup of chopped pecans or almonds into the topping for added texture and a rich, nutty flavor. This modification can elevate the crunch while balancing the sweetness of the plums.
- Gluten-Free: Substitute the all-purpose flour with a gluten-free blend to make a gluten-free version of your Crisp. It still remains delicious without compromising taste!
- Dairy-Free: Use coconut oil or vegan butter in place of regular butter for a dairy-free alternative. This simple adjustment allows everyone to enjoy this delightful dessert!
- Extra Crispy Topping: Mix in some shredded coconut or crushed graham crackers for an extra crunchy topping. These ingredients will provide an unexpected but delightful texture.
- Sweetener Choices: Experiment with different types of sweeteners like honey, maple syrup, or coconut sugar in the filling for varied flavors and a unique depth of sweetness.
- Add Zest: A bit of lemon or orange zest mixed into the plums can brighten up the flavors, making the dish even more refreshing and aromatic!
Plum Crisp Recipe FAQs
What type of plums should I use for the best Plum Crisp?
Absolutely! For the best results, choose slightly under-ripe black or Santa Rosa plums. They hold their shape better when baked and provide that perfect sweet-tart balance. If under-ripe plums aren’t available, slightly ripened ones will still work but may result in a softer filling.
How should I store leftover Plum Crisp?
You can keep your Plum Crisp covered at room temperature for 1 to 2 days. If you wish to extend its freshness, refrigerate it for up to 5 days. Be mindful that the crisp topping might soften in the fridge, so enjoy it sooner rather than later for that delightful crunch!
Can I freeze Plum Crisp, and if so, how?
Certainly! To freeze your Plum Crisp, first let it cool completely. Wrap it tightly with plastic wrap, then with aluminum foil, ensuring there are no air pockets. It can be stored in the freezer for up to 3 months. When you’re ready to enjoy it, simply thaw overnight in the fridge and reheat in a preheated oven at 350°F (175°C) for about 15-20 minutes until warmed through and the topping regains its crunch.
What can I do if my Plum Crisp turns out too juicy?
If your Plum Crisp ends up a tad too juicy, it could be due to overly ripe plums or too much mixing of the filling. In the future, consider adding extra flour to the filling mixture to help absorb some moisture. Additionally, if you prefer not to have excess juices, let it sit after baking for about 10-15 minutes before serving. This will allow some juices to settle.
Can pets eat Plum Crisp? Are there any allergies I should consider?
While plums are generally safe for dogs, the sugar and butter in Plum Crisp are not ideal for their diet. Always keep this dessert out of reach of pets, and ensure that anyone with allergies related to stone fruits or gluten stays clear of this recipe. You can also experiment by substituting gluten-free flour, if necessary, but maintain caution regarding individual ingredient allergies.
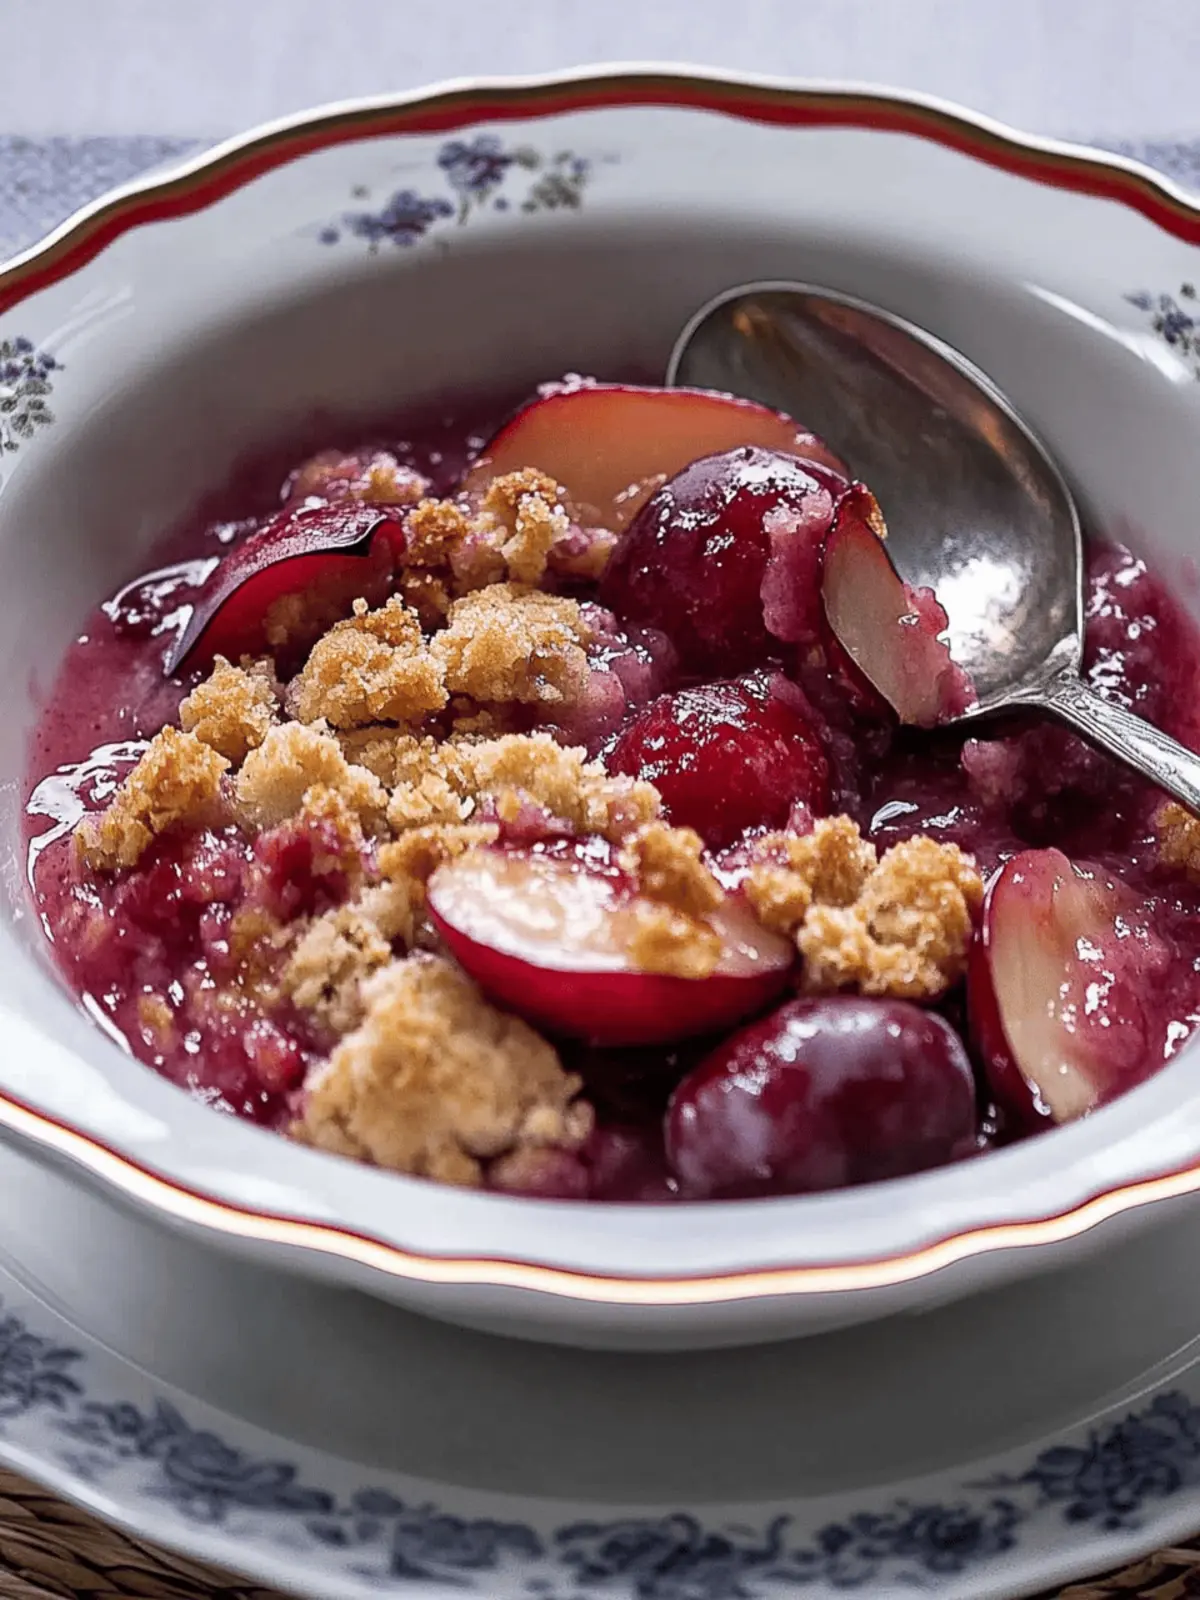
Delicious Plum Crisp: Your New Favorite Easy Dessert
Ingredients
Equipment
Method
- Preheat the oven to 375°F (190°C) and prepare a 9x9-inch baking dish with non-stick spray.
- Cut the plums in half and twist to separate the halves, removing the pits with a serrated spoon.
- Slice the plums into ¼-inch thick pieces and place them in a large mixing bowl, then pour in the vanilla extract.
- In another bowl, combine flour, granulated sugar, and salt. Stir this mixture into the plums until well-coated.
- In a separate bowl, mix oats, brown sugar, additional flour, baking soda, and baking powder. Add softened butter and mix until crumbly.
- Pour the plum mixture into the prepared dish and evenly distribute the crumble topping over the plums.
- Bake for 35 to 45 minutes, or until the plums are tender and the topping is golden brown.
- Allow the Plum Crisp to cool slightly before serving warm or at room temperature.

