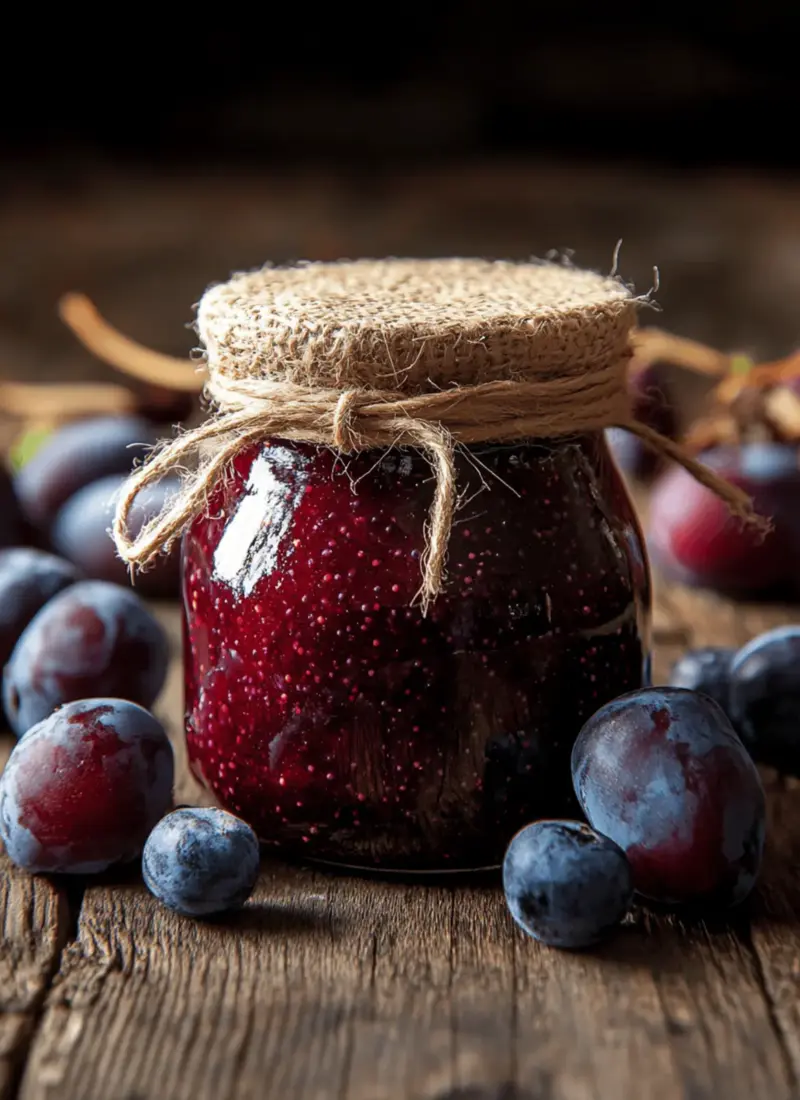
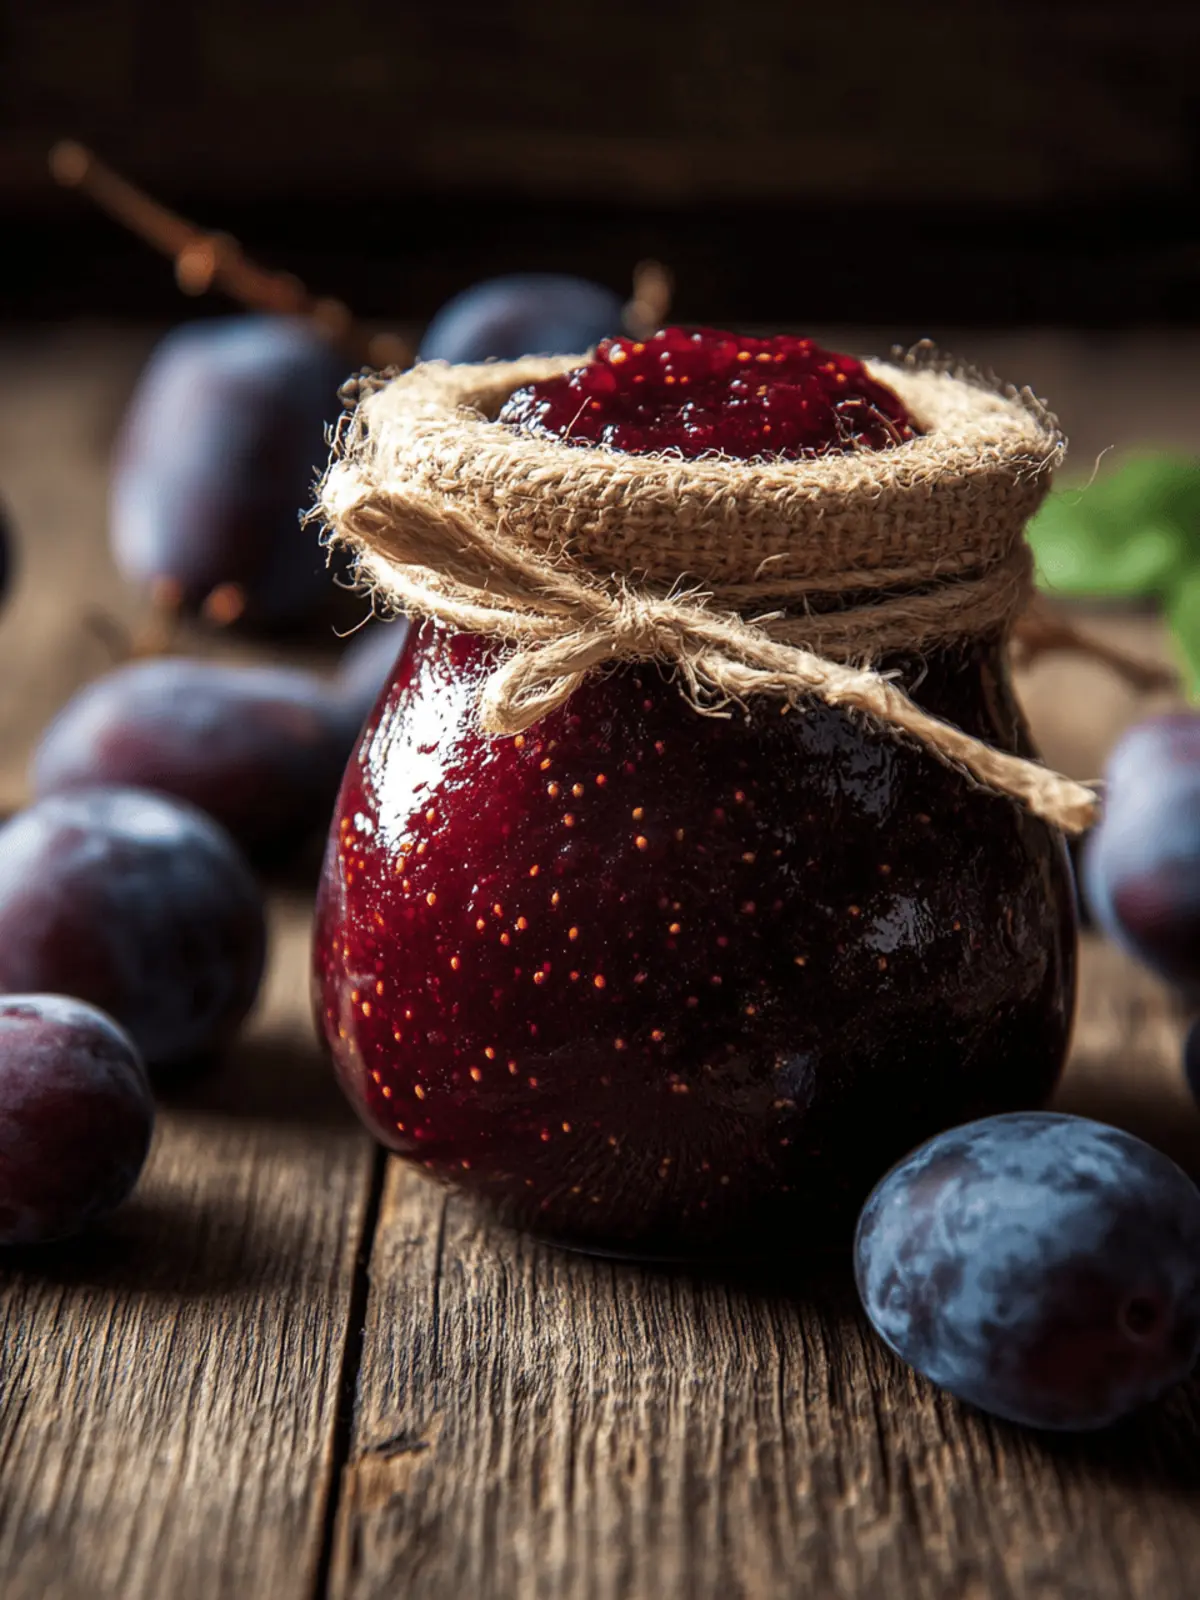
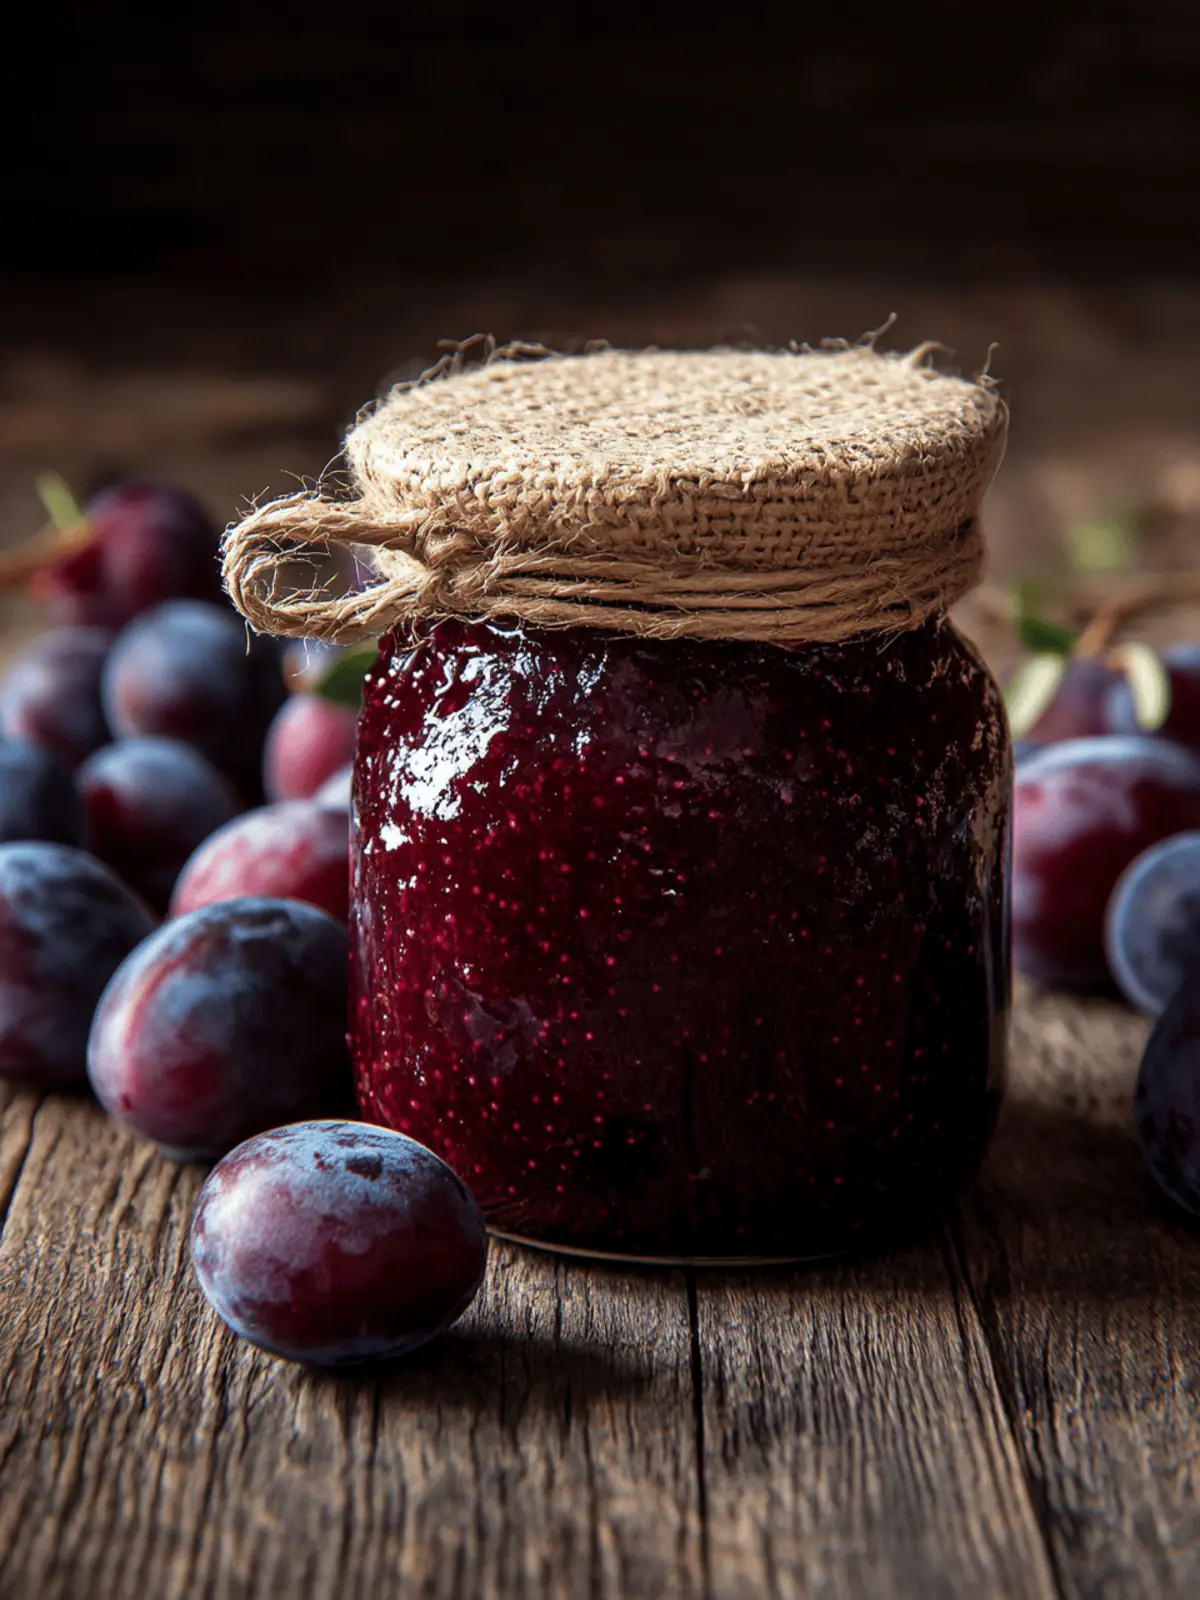
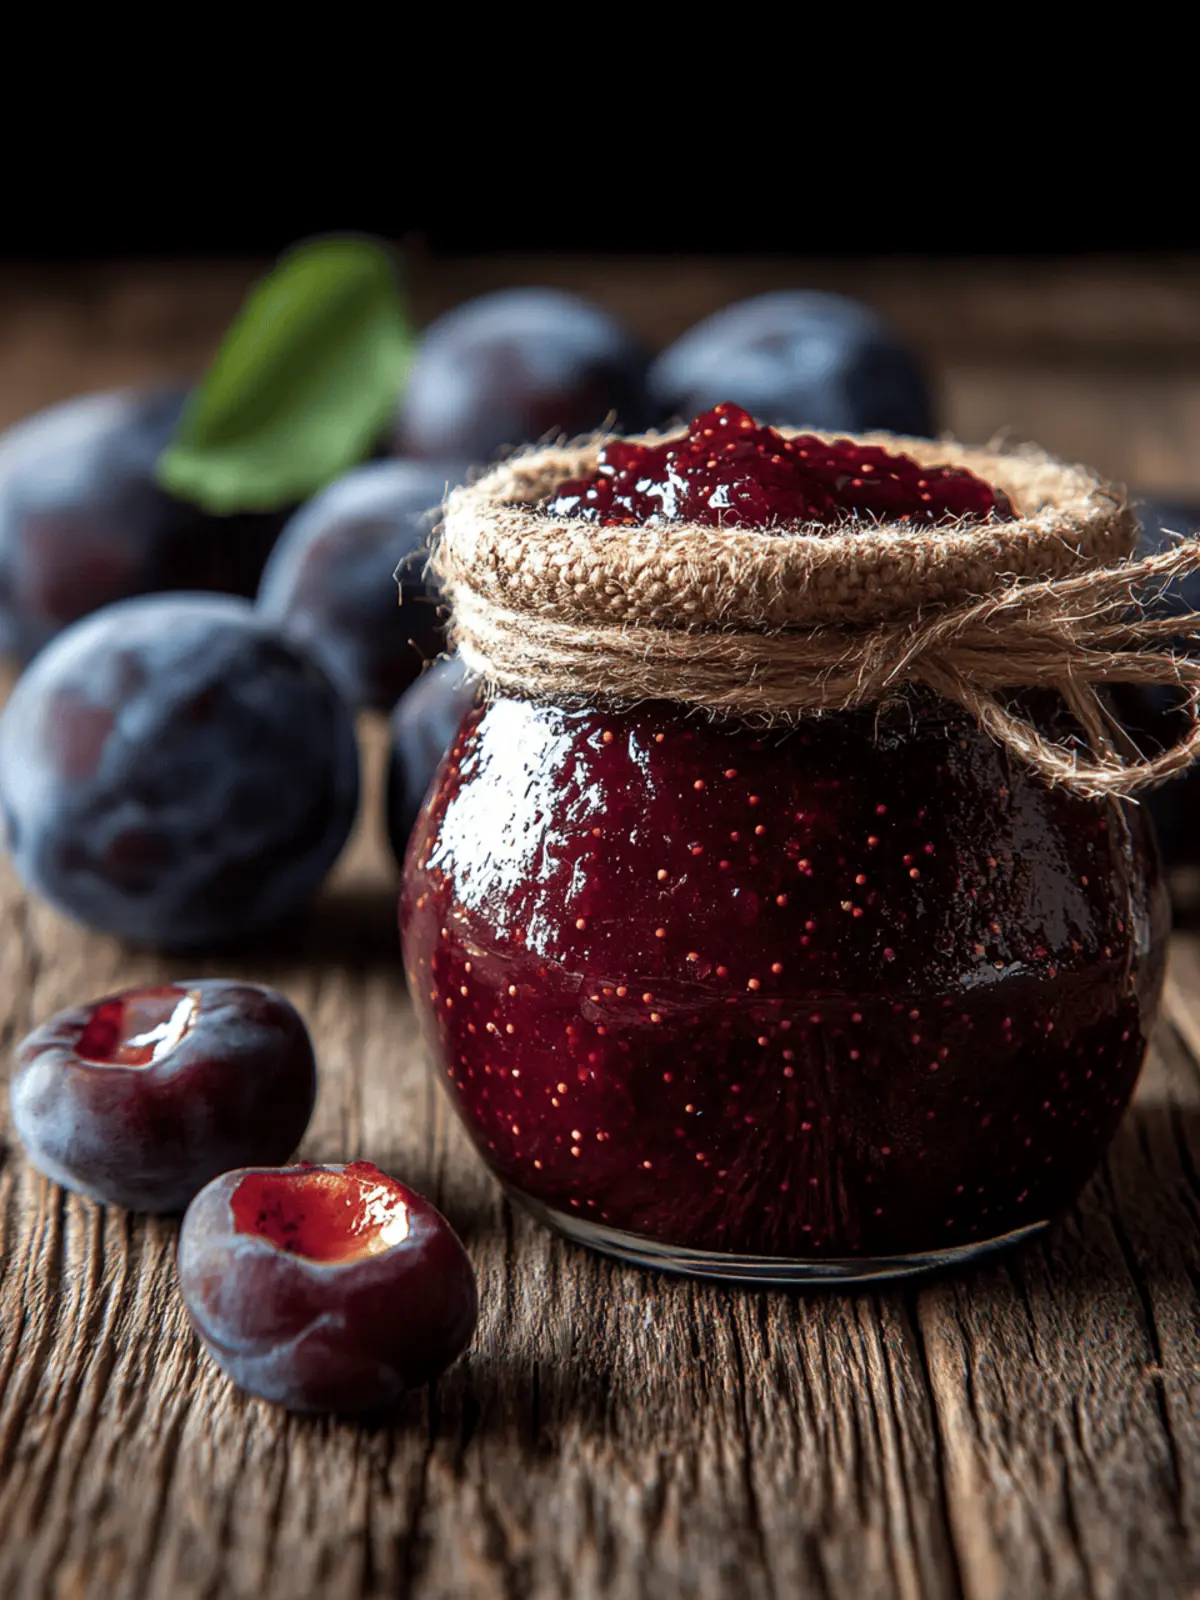
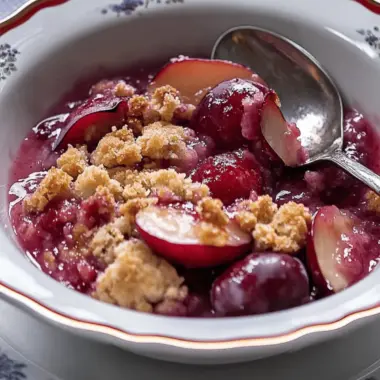
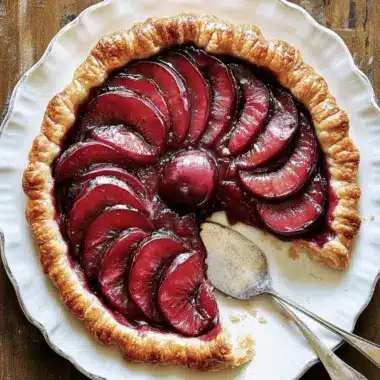
The sweet, intoxicating aroma of ripe plums simmering gently on the stove can instantly transform any kitchen into a cozy haven. I discovered my love for plum chutney one afternoon while rummaging through my pantry, searching for ways to breathe life into my favorite dishes. Who would have thought that this simple, delicious condiment would become a staple for cheese boards, grilled meats, and even a twist in my stir-fries?
Whether you’re looking to elevate your sandwich game or seek a unique touch for your next dinner party, my easy Plum Chutney recipe will not only impress but also inspire creativity in your cooking. With a burst of sweet, tangy, and slightly spicy flavors, this chutney celebrates seasonal fruits and offers endless variations, from spicy to sugar-free. Join me as we delve into each easy step to create this delightful chutney that not only showcases the beauty of plums but also makes the most of overripe fruit.
Why is Plum Chutney a Must-Try?
Deliciously adaptable: This Plum Chutney recipe allows you to customize flavors with various spices and sweetness levels. Unique flair: Elevate simple dishes like grilled meats and sandwiches into gourmet experiences with just a spoonful. Easy to follow: Designed for anyone, this recipe simplifies the chutney-making process into manageable steps. Time-saving goodness: Make a big batch in under an hour and enjoy it for weeks! Sustainable choice: It’s a fantastic way to use seasonal or overripe plums, reducing food waste in your kitchen.
Plum Chutney Ingredients
• Create your delicious Plum Chutney with this simple list of ingredients!
For the Chutney Base
- Plums – Use ripe or slightly overripe for enhanced flavor.
- Red Onion – Adds sweetness and depth; yellow onion works too.
- Garlic – Introduces savory notes; substitute with garlic powder if needed.
- Fresh Ginger – Grates finely for warmth and spice!
- Chili (optional) – For a spicy kick; jalapeños for milder heat, cayenne for more.
For the Sweetness and Flavor
- Brown Sugar – Sweetens and caramelizes the chutney; honey is a great substitute.
- Apple Cider Vinegar – Balances sweetness with acidity; use white vinegar in a pinch.
- Cinnamon – Adds warm spice notes.
- Cloves & Allspice – Enhance the aromatic profile beautifully.
- Salt – A pinch to balance the flavors.
Optional Add-Ins
- Raisins – Adds extra sweetness and texture; dried cranberries can be used for a tart twist!
How to Make Plum Chutney
- Prepare the Ingredients: Start by washing, pitting, and chopping the ripe plums. Finely dice the red onion and garlic, grate the ginger, slice the chili if you’re using it, and measure out the remaining ingredients for ease.
- Sauté the Base: In a large heavy-bottomed pan, heat a tablespoon of oil over medium heat. Add the diced onion, garlic, ginger, and chili. Sauté for about 5–7 minutes until softened and golden, filling your kitchen with delightful aromas.
- Combine Ingredients: Next, add the chopped plums, brown sugar, apple cider vinegar, cinnamon, cloves, allspice, salt, and raisins if you’re using them. Stir everything together until the sugar dissolves and the mixture starts to bubble.
- Simmer to Perfection: Lower the heat and let it simmer uncovered for 40–50 minutes, stirring every 5–10 minutes. The chutney will thicken to a jam-like consistency, and it’s done when it leaves a clear trail when dragged with a spoon.
- Cool and Store: Remove the chutney from heat and let it cool for 10–15 minutes. Once it’s cooled slightly, transfer the chutney to sterilized jars and seal tightly. It can be stored in the refrigerator for up to three weeks.
Optional: Serve your chutney with cheese platters for a delightful pairing!
Exact quantities are listed in the recipe card below.
Plum Chutney Variations
Get ready to explore the endless delicious possibilities to customize your plum chutney!
- Spicy Twist: Add more chili or a dash of cayenne for a fiery kick that’ll make your taste buds dance.
- Earthy Essence: Stir in ground cumin or turmeric for a deeper, savory layer that beautifully contrasts the sweetness.
- Sugar-Free Delight: Substitute brown sugar with stevia or monk fruit sweetener for a lighter, guilt-free option.
- Ginger Boost: Intensify the spice by incorporating more fresh ginger or even some minced crystallized ginger for an exciting zing!
- Fruit Fusion: Mix in chopped apples or pears to enrich the chutney with additional texture and contrasting sweetness.
- Citrus Zing: Add a splash of fresh orange or lemon juice to brighten the flavor profile with zesty overtones.
- Nutty Crunch: Toss in toasted walnuts or almonds for a delightful crunch that adds a new textural dimension.
- Smoky Flavor: Introduce smoked paprika or chipotle powder for a rustic, smoky element that enhances the overall profile.
How to Store and Freeze Plum Chutney
Fridge: Store your plum chutney in sterilized jars in the refrigerator. It will stay fresh for up to three weeks, and the flavors will improve after a few days.
Freezer: For longer preservation, freeze the chutney in airtight containers or freezer-safe bags. It will maintain its best quality for up to 3 months.
Thawing: When ready to enjoy, thaw the chutney in the fridge overnight. Stir well before serving to restore its texture.
Reheating: If you prefer it warm, gently reheat in a saucepan over low heat until warmed through, stirring occasionally. Enjoy your delicious plum chutney on various dishes!
Make Ahead Options
Preparing your Plum Chutney ahead of time is a fantastic way to save precious moments during busy weeknights! You can chop the plums, onions, and garlic up to 24 hours in advance, storing them in the refrigerator to maintain freshness and prevent browning. Additionally, you can sauté the base ingredients (onion, garlic, ginger, and chili) and refrigerate for up to 3 days before mixing in the plums and spices. When you’re ready to finish your chutney, simply add the prepped ingredients to your pan, combine, and simmer until thickened. This way, you’ll have a delicious homemade chutney ready to elevate your meals with minimal effort!
Expert Tips for Perfect Plum Chutney
- Choose Ripe Plums: Use plums that are ripe or slightly overripe for the best flavor. Under-ripe plums will result in a tart chutney rather than a balanced one.
- Keep Stirring: Remember to stir the chutney every 5–10 minutes while simmering. This prevents the mixture from sticking or burning, ensuring your plum chutney is cooked evenly.
- Taste as You Go: Don’t hesitate to taste your chutney while it’s simmering. Adjust the sweetness or spices to match your preference, creating a personalized plum chutney.
- Storage Conditions: Store the chutney in sterilized jars and keep it in the refrigerator. Allow the flavors to meld over 2–3 days for the best taste.
- Try Variations: Feel free to experiment with spices and sweetness levels. Adding hints of cumin or mustard seeds can create a delightful twist in your plum chutney recipe.
What to Serve with Plum Chutney?
Elevate your meal with delightful pairings that enhance the sweet and tangy qualities of your chutney.
- Cheese Platter: Pair with creamy cheeses like brie or goat cheese for a delightful balance of flavors.
- Grilled Meats: Serve alongside grilled chicken or pork; the chutney provides a zesty contrast that enhances the savory meat.
- Savory Sandwiches: Spread on turkey or ham sandwiches; the sweet and spicy notes add exciting depth to each bite.
- Roasted Vegetables: Drizzle over roasted broccoli or Brussels sprouts to bring out their natural sweetness and add an irresistible zing.
- Rice Dishes: Mix into fluffy basmati or jasmine rice for a flavorful twist; it turns a simple side into a taste sensation.
- Sizzling Stir-Fries: Incorporate into stir-fries for a unique sweet-spicy kick; it elevates everyday meals to gourmet status.
- Crispy Crackers: Serve with your favorite crackers for a quick and cozy snack that everyone will enjoy.
- Ice Cream Topping: Drizzle warm chutney over vanilla ice cream for an unexpected but delicious dessert twist.
Each pairing showcases the delightful versatility of plum chutney, inviting you to explore endless culinary possibilities!
Plum Chutney Recipe FAQs
What type of plums should I use for the chutney?
Absolutely! Use ripe or slightly overripe plums for the best flavor in your chutney. Look for plums that are firm but give slightly to pressure; this indicates ripeness. Avoid any plums with dark spots all over, as they may be overripe and could negatively affect the chutney’s flavor.
How should I store my plum chutney once made?
After preparing your chutney, transfer it into sterilized jars and store it in the refrigerator. It will stay fresh for up to 3 weeks. Be sure to seal the jars tightly, and remember, the flavors continue to improve after a couple of days, making it even more delicious!
Can I freeze plum chutney for later use?
The more the merrier! To freeze your chutney, pour it into airtight containers or freezer-safe bags, making sure to leave a little space at the top for expansion. It can be frozen for up to 3 months. When you’re ready to enjoy it, simply thaw it in the fridge overnight before serving.
What can I do if my chutney is too thick?
If your chutney turns out too thick after cooking, simply add a splash of water or apple cider vinegar while stirring it over low heat. This will help loosen the mixture and bring it back to your desired consistency. Taste and adjust the seasoning as needed!
Are there any dietary considerations I should be aware of?
Definitely! This chutney is naturally vegan and gluten-free, making it suitable for a variety of diets. Be cautious with any add-ins like raisins if you have allergies, as they can contain sulfites. If making variations, always check your spices and sweeteners for allergens, especially if serving it to guests with dietary restrictions.
How long does the chutney actually take to make?
You can whip up a batch of plum chutney in less than an hour! The prep work only takes about 15–20 minutes, followed by 40–50 minutes of simmering on the stove until it reaches that perfect jam-like consistency. Make sure to stir it regularly to keep things just right!
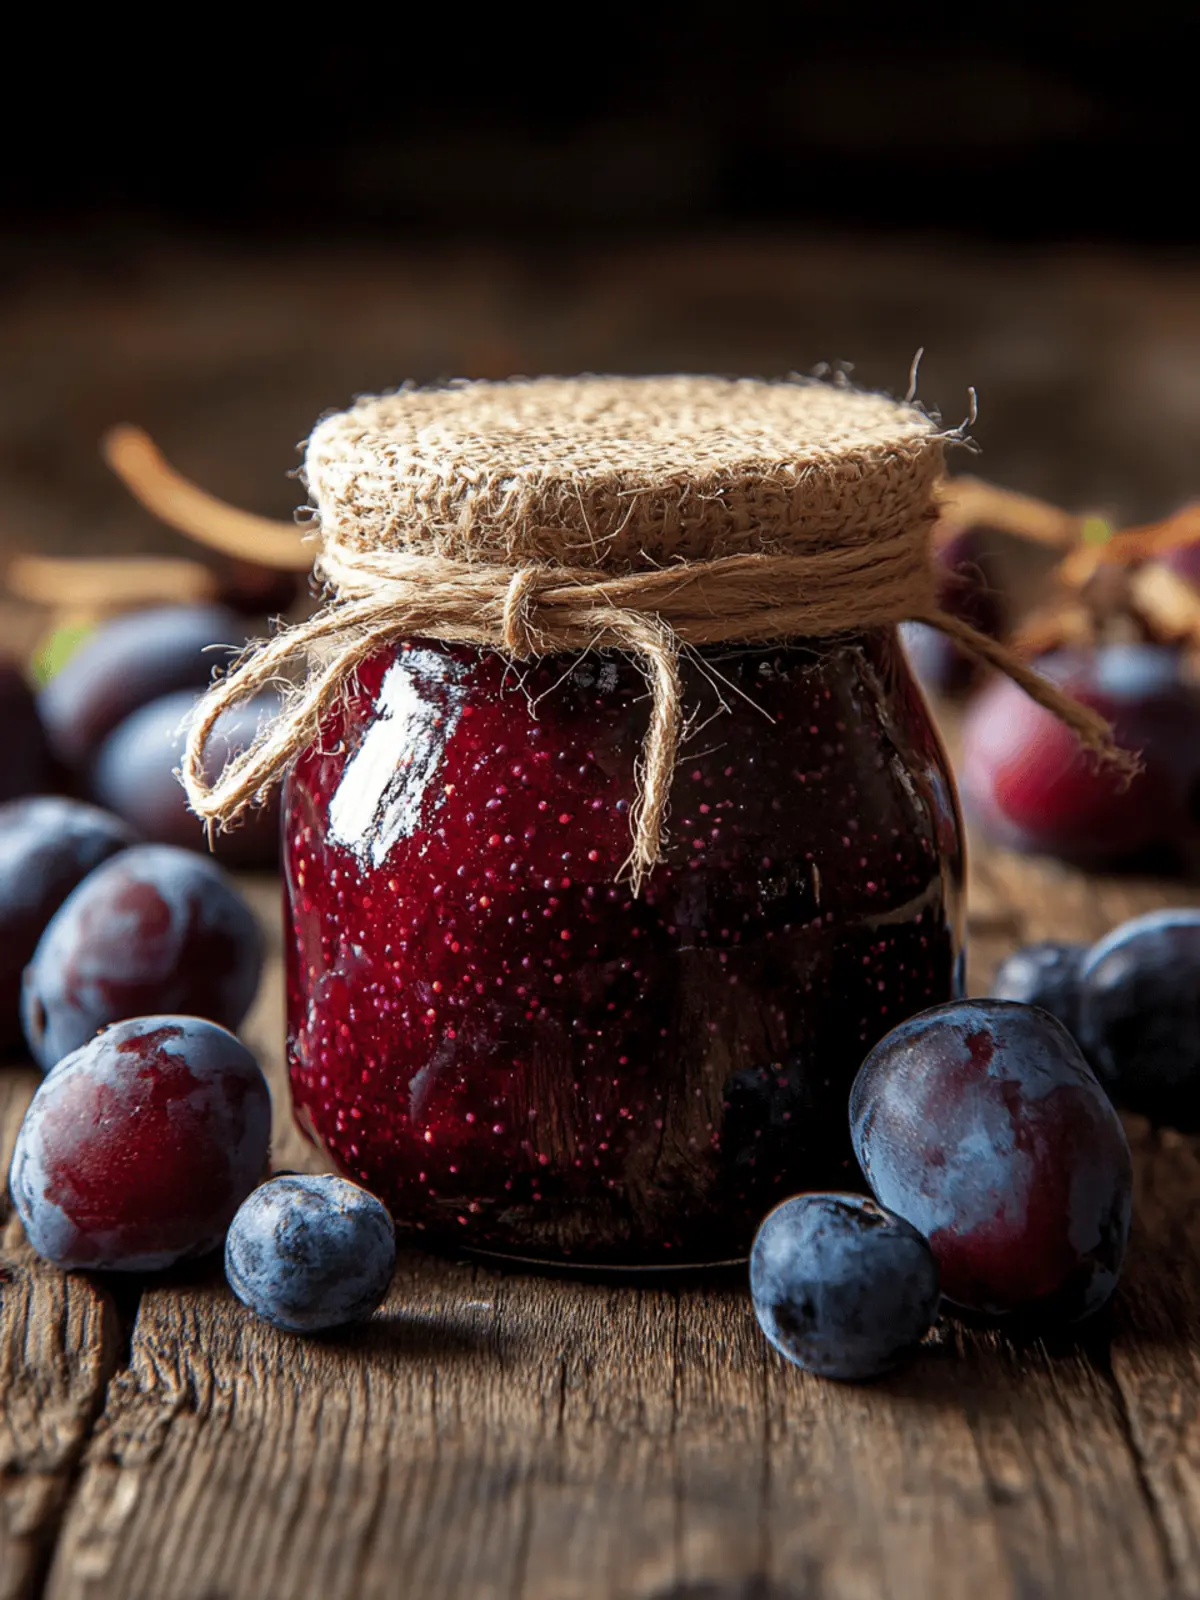
Delicious Plum Chutney Recipe with Easy Steps & Fun Variations
Ingredients
Equipment
Method
- Prepare the Ingredients: Start by washing, pitting, and chopping the ripe plums. Finely dice the red onion and garlic, grate the ginger, slice the chili if you're using it, and measure out the remaining ingredients for ease.
- Sauté the Base: In a large heavy-bottomed pan, heat a tablespoon of oil over medium heat. Add the diced onion, garlic, ginger, and chili. Sauté for about 5–7 minutes until softened and golden.
- Combine Ingredients: Add the chopped plums, brown sugar, apple cider vinegar, cinnamon, cloves, allspice, salt, and raisins. Stir until the sugar dissolves and the mixture starts to bubble.
- Simmer to Perfection: Lower the heat and let it simmer uncovered for 40-50 minutes, stirring every 5-10 minutes until it thickens to a jam-like consistency.
- Cool and Store: Remove from heat and let cool for 10-15 minutes. Transfer to sterilized jars and seal tightly. Store in the refrigerator for up to three weeks.

