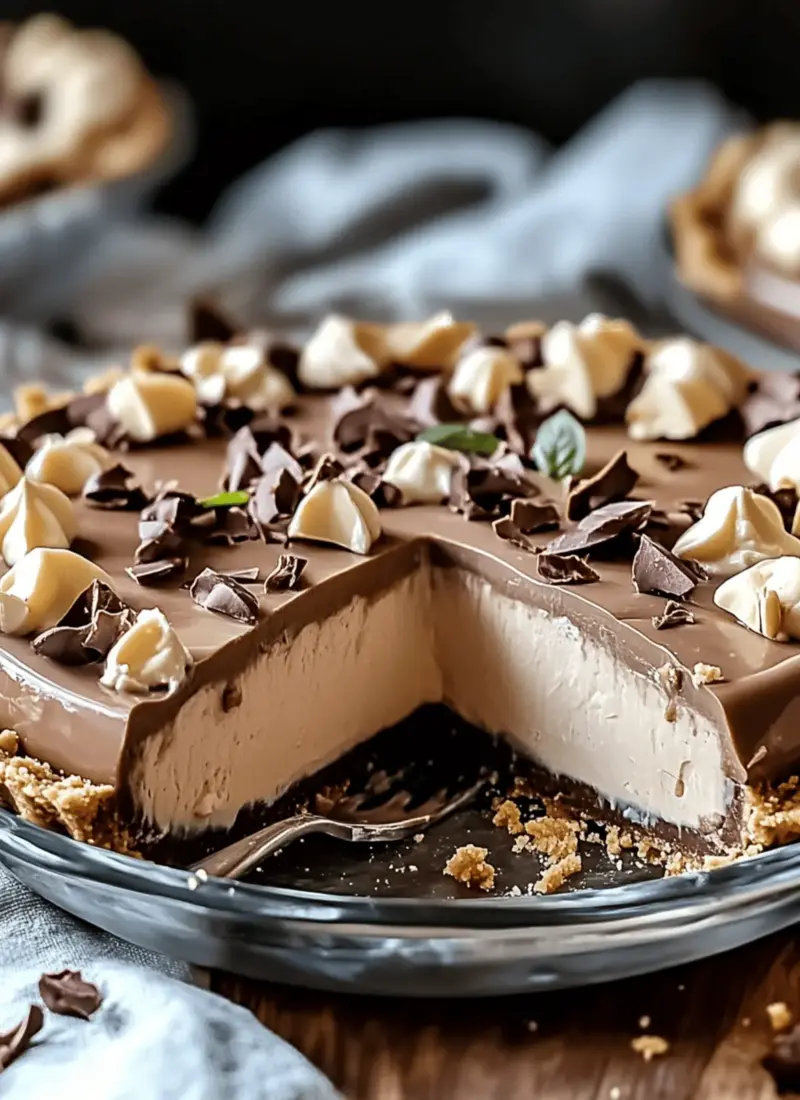
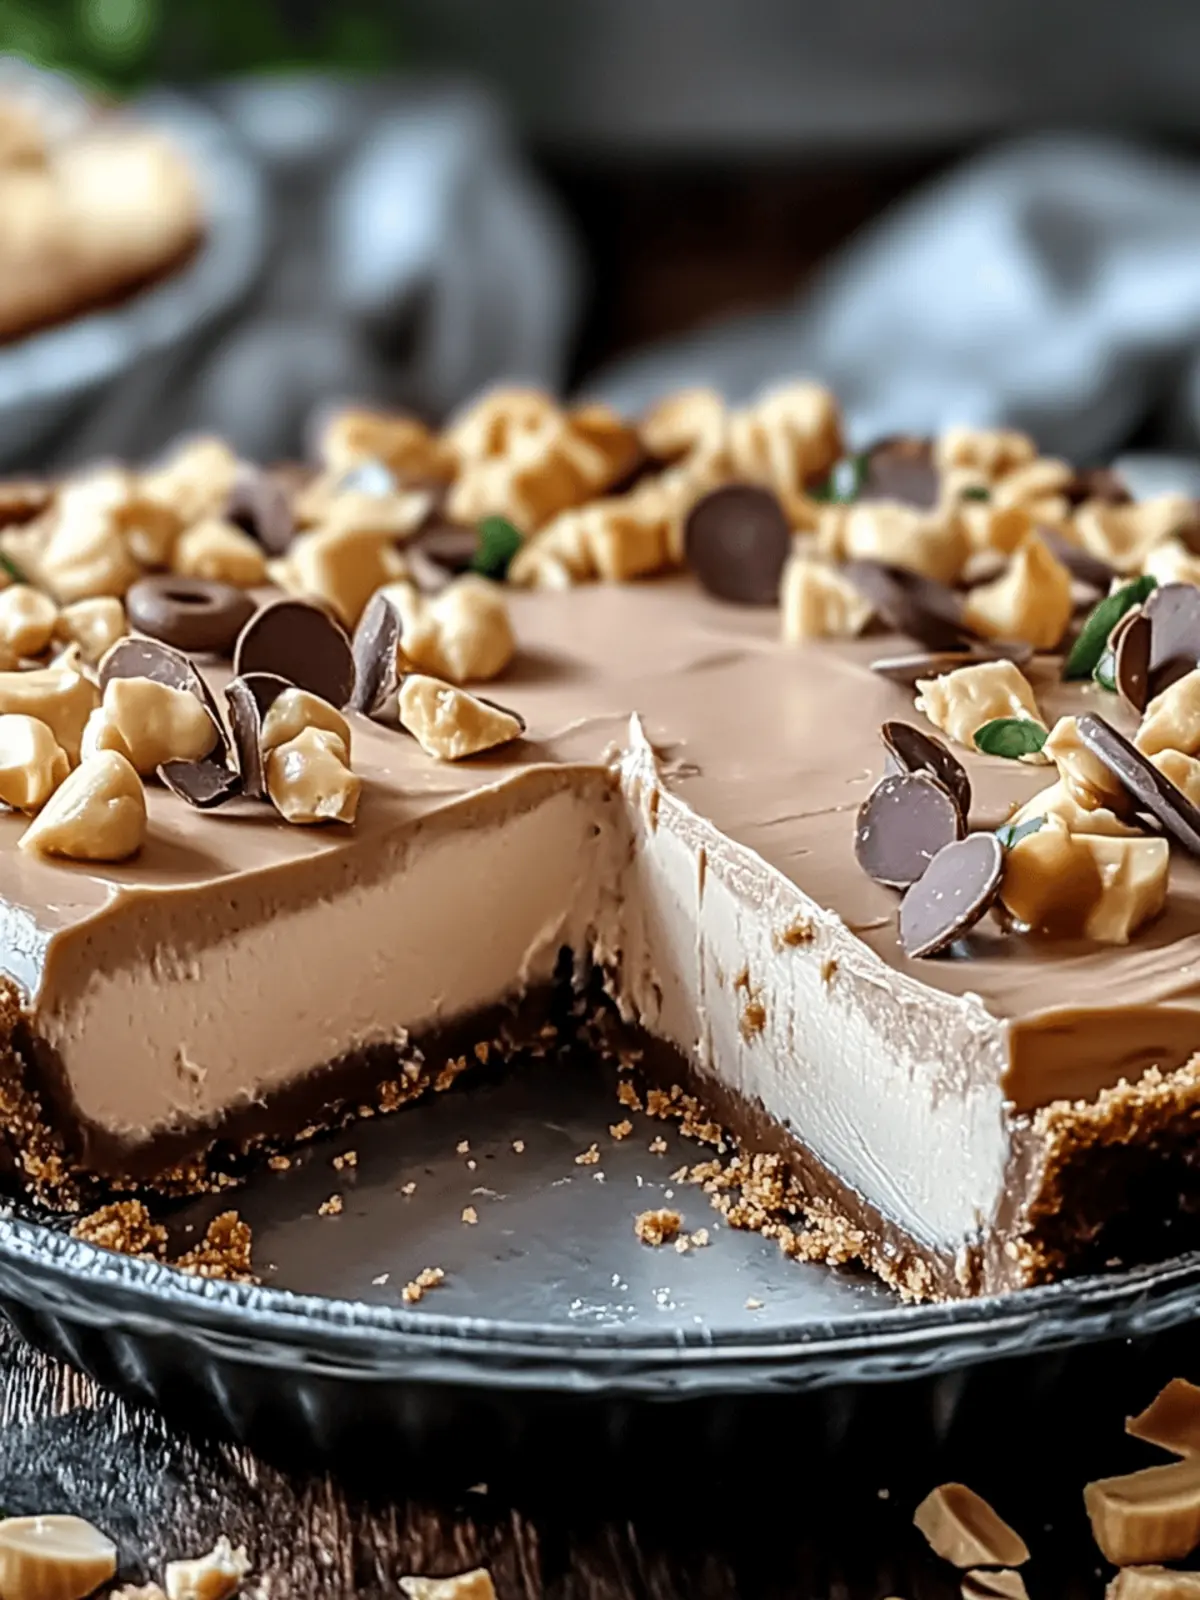
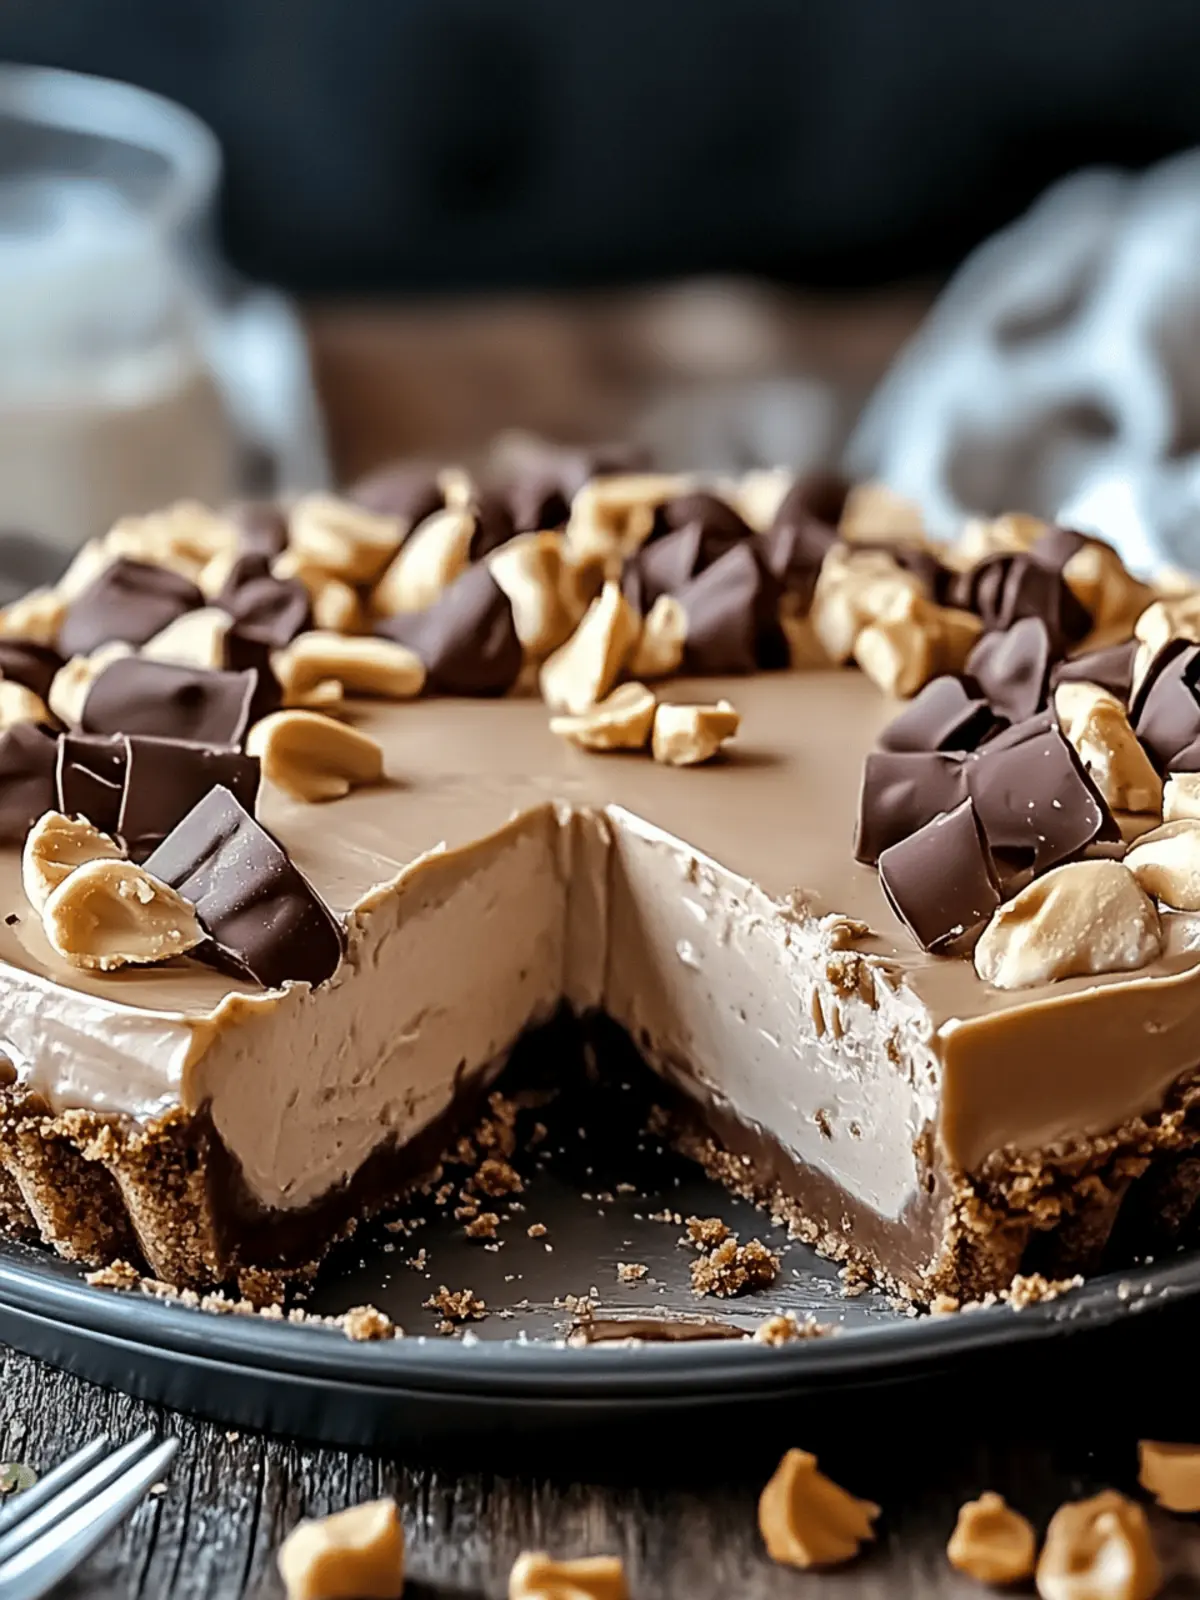
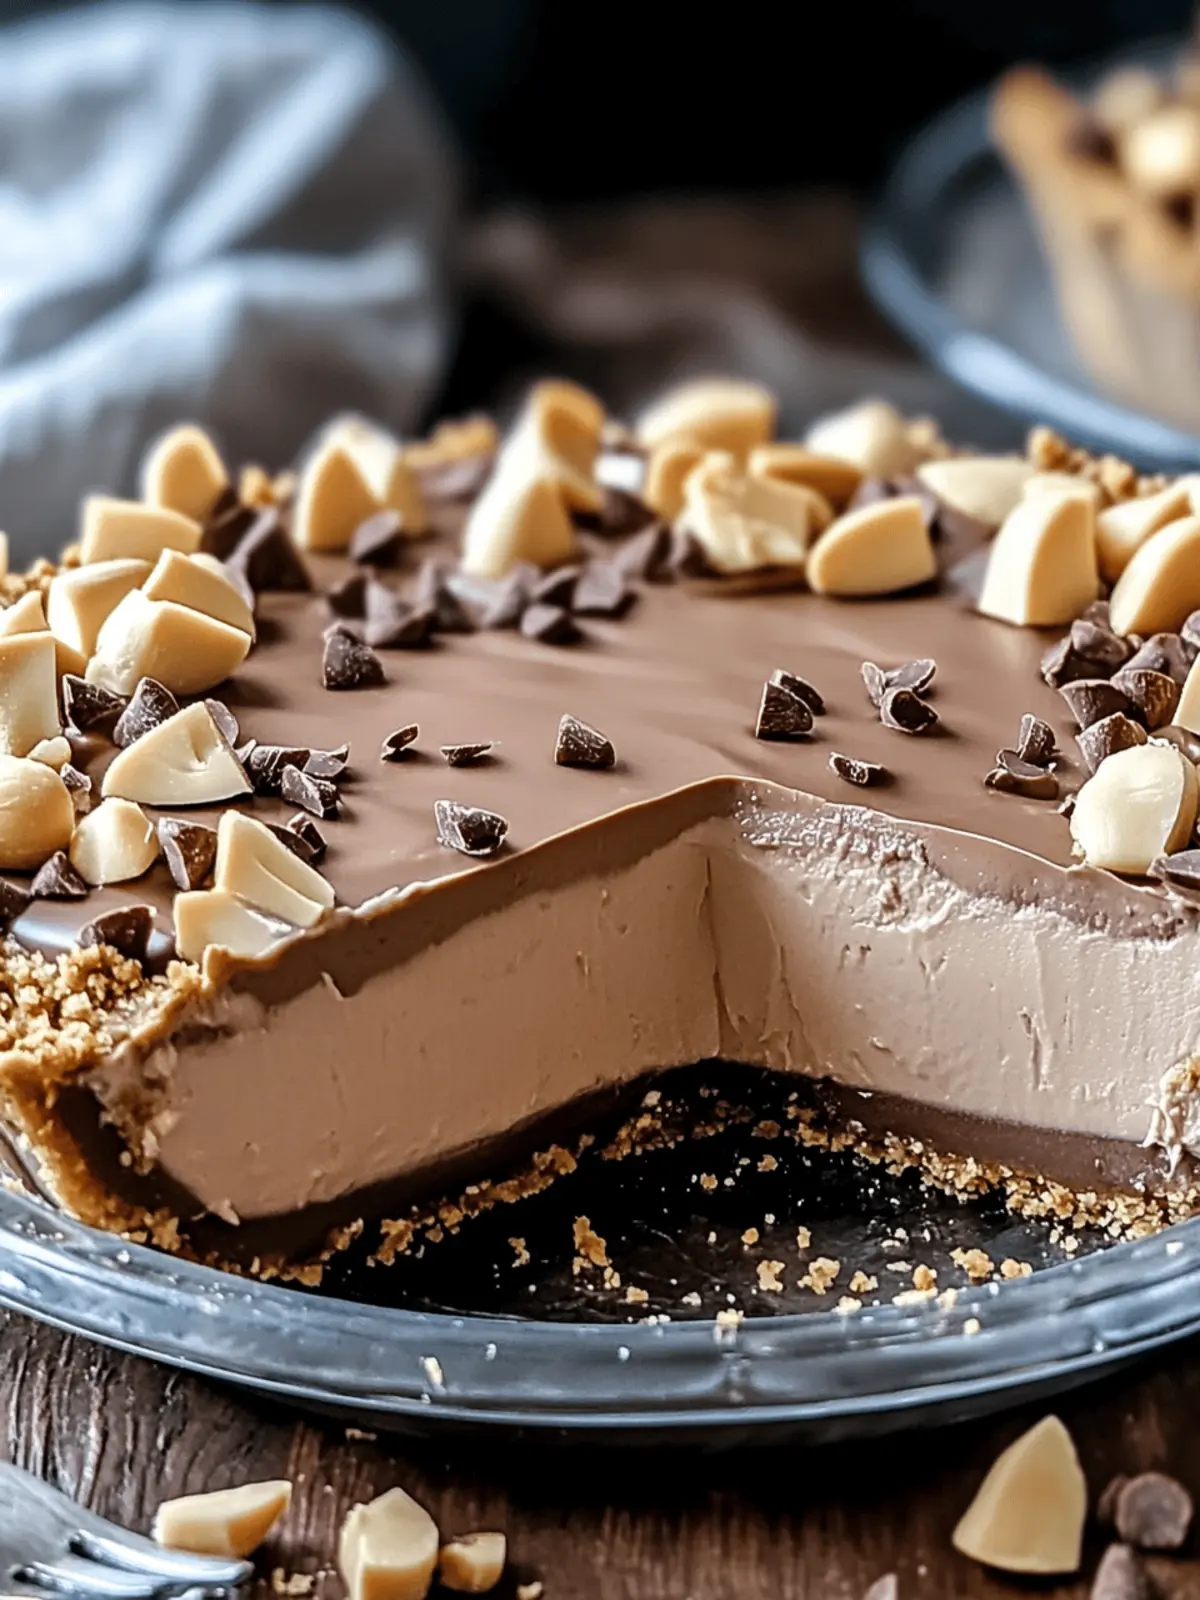
There’s nothing quite like the thrill of creating a dessert that combines nostalgia with ease, and my No-Bake Cream Cheese Peanut Butter Pie with Chocolate Whipped Cream does just that. Picture this: a rich, creamy filling that brings the delightful taste of peanut butter to life, all nestled in a crunchy graham cracker crust. With each bite, I’m transported back to simpler times, enjoying sweet treats that tasted like love.
The beauty of this dessert is that it requires no baking, allowing you to whip it up in no time, perfect for those busy evenings or last-minute gatherings when you want to impress without the stress. Plus, with the option to substitute peanut butter for almond or cashew butter, it’s a versatile delight ready to please every palate. So, grab your ingredients, and let’s dive into this indulgent experience that promises to become a staple in your dessert repertoire!
Why is No-Bake Cream Cheese Peanut Butter Pie so special?
Irresistible Creaminess: The luscious cream cheese and peanut butter filling creates a velvety texture that melts in your mouth.
Quick to Prepare: No baking means you can whip this dessert up in under 30 minutes.
Versatile Flavors: Feel free to swap peanut butter for almond or cashew butter to cater to different tastes.
Crowd-Pleaser: Perfect for gatherings, this pie is sure to impress both kids and adults alike.
Childhood Nostalgia: Each bite is reminiscent of delightful childhood treats, making it a comforting option for any occasion.
Simple Ingredients: With easy-to-find components, you can create this indulgent pie without hassle! Dive into this delicious treat that promises to be a hit every time.
No-Bake Cream Cheese Peanut Butter Pie Ingredients
For the Filling
- Cream Cheese – provides a creamy base for the filling; ensure it’s softened for easy blending.
- Creamy Peanut Butter – adds flavor and richness; substitute with almond or cashew butter for variety.
- Powdered Sugar – sweetness enhancer for the filling; adjust based on taste preference.
- Vanilla Extract – enhances overall flavor profile; use pure vanilla for best results.
For the Topping
- Heavy Whipping Cream – base for the chocolate topping, creating a light and airy texture; be sure to chill the bowl for better whipping.
- Cocoa Powder – adds chocolate flavor to the whipped cream topping; use unsweetened for a balanced taste.
For the Crust
- Graham Cracker Crust – forms the base of the pie, providing crunch; a pre-made crust simplifies the process.
Optional Toppings
- Crushed Peanuts – for added texture and a nutty finish.
- Chocolate Shavings – elevates the visual appeal and chocolate flavor.
This No-Bake Cream Cheese Peanut Butter Pie is sure to become your go-to dessert for quick indulgence!
How to Make No-Bake Cream Cheese Peanut Butter Pie
- Prepare the Crust: In a mixing bowl, combine graham cracker crumbs with melted butter until fully blended. Firmly press this mixture into the bottom of a pie dish to create a sturdy base.
- Make the Filling: In a large bowl, blend softened cream cheese until smooth and creamy. Gradually mix in the creamy peanut butter and powdered sugar until fully combined, ensuring a delightful and fluffy texture.
- Assemble the Pie: Evenly spread the cream cheese mixture over the prepared crust, smoothing the top with a spatula for a beautiful finish.
- Whip Up Chocolate Cream: Using a chilled bowl, beat heavy whipping cream until soft peaks begin to form. Gradually add cocoa powder and continue whipping until you achieve stiff peaks, creating a luscious chocolate topping.
- Top the Pie: Generously spread or pipe the chocolate whipped cream over the top of the pie, allowing it to swirl beautifully for that extra indulgence.
- Chill: Place the pie in the refrigerator and chill for at least 4 hours, or overnight if possible, to allow the flavors to meld and the filling to set perfectly.
Optional: Add crushed peanuts or chocolate shavings on top for an extra crunchy garnish.
Exact quantities are listed in the recipe card below.
No-Bake Cream Cheese Peanut Butter Pie Variations
Feel free to get creative with your pie and explore delightful twists that excite your taste buds!
- Nut Butter Swap: Substitute peanut butter with almond or cashew butter for a fresh, nutty flavor. The change brings a unique richness to each bite.
- Mix-in Crunch: Add crushed nuts or mini chocolate chips into the filling for added texture and surprises. It’s a delightful contrast that keeps things interesting.
- Caramel Bliss: Drizzle warm caramel sauce over the chocolate topping for a rich, sweet twist that elevates flavor to a whole new level. It’s a melty joy you won’t want to miss.
- Fruit Infusion: Top your pie with fresh raspberries or sliced bananas to add a fruity element. The tartness from berries or sweetness from bananas complements the creaminess perfectly.
- Chocolate Lovers: Fold in chocolate pudding mix to the filling for a deeper chocolate flavor. This creates an even more decadent experience with every spoonful.
- Zesty Citrus: Incorporate lemon or orange zest into the filling for a refreshing citrus note. This brightens the pie and adds a lovely aromatic kick.
- Spicy Heats: Add a pinch of cayenne pepper or chili powder for a surprising sweet-heat combination. This can ignite your taste buds and create an exciting balance in flavors.
- Dairy-Free Delight: Use vegan cream cheese and coconut whipped cream for a delicious dairy-free alternative. The flavor remains rich while catering to your dietary needs.
How to Store and Freeze No-Bake Cream Cheese Peanut Butter Pie
- Fridge: Store any leftovers in an airtight container in the refrigerator for up to 5 days. This keeps the pie fresh and ready for indulgent snacking!
- Freezer: For longer storage, you can freeze individual slices wrapped tightly in plastic wrap for up to 2 months. Thaw in the fridge before serving for the best texture.
- Reheating: There’s no need to reheat this pie. Simply allow it to come to room temperature after freezing for a few minutes before serving. Enjoy every creamy bite!
Make Ahead Options
These No-Bake Cream Cheese Peanut Butter Pies are perfect for busy cooks looking to save time! You can prepare the crust and filling up to 24 hours in advance. Simply mix the graham cracker crumbs with melted butter and press them into the pie dish, then blend the cream cheese, peanut butter, and powdered sugar until smooth and creamy. Once you’ve assembled the pie, cover it tightly with plastic wrap or foil to ensure it stays fresh. When you’re ready to serve, whip up the chocolate cream and spread it over the top for that delightful finishing touch. This way, you’ll have a delicious, stress-free dessert ready to enjoy without sacrificing quality!
Expert Tips for No-Bake Cream Cheese Peanut Butter Pie
- Fresh Ingredients: Always use fresh cream cheese and peanut butter for the best flavor and creaminess in your no-bake cream cheese peanut butter pie.
- Chill Your Bowl: For whipping cream, chilling your mixing bowl beforehand helps achieve a light and airy texture that holds up beautifully.
- Avoid Overmixing: When blending the filling, stop mixing as soon as it’s smooth to prevent a grainy texture in your pie.
- Customize Your Toppings: Get creative with different toppings like crushed nuts or chocolate shavings to add texture and visual appeal.
- Refrigerate Thoroughly: Allow your pie to chill for at least 4 hours, or overnight, to set properly and enhance the flavors.
- Use a No-Fuss Crust: If short on time, opt for a pre-made graham cracker crust to simplify the preparation process without compromising taste.
What to Serve with No-Bake Cream Cheese Peanut Butter Pie?
Looking to create the perfect meal around your delicious pie? Here are some scrumptious pairings to consider.
- Fresh Berries: The tartness of fresh berries like raspberries or strawberries offsets the rich creaminess, adding a refreshing contrast to each bite.
- Chocolate Drizzle: A simple chocolate sauce drizzled over the pie can amplify the dessert’s flavors and add an elegant touch.
- Vanilla Ice Cream: Creamy vanilla ice cream serves as a delightful contrast to the pie’s texture, creating a blissful bite of indulgence. Serve it on the side for a classic combination.
- Coffee or Espresso: A warm cup enhances the dessert experience, balancing the sweetness while providing a cozy vibe perfect for gatherings. Simmer your coffee and let the aroma fill the room.
- Whipped Cream: Light, airy whipped cream on top adds an extra layer of decadence and is a delightful complement to the chocolate layer. A dollop brings back memories of homemade treats!
- Chocolate-Covered Pretzels: These salty-sweet snacks add a crunchy element that contrasts beautifully with the creamy pie. Set them on the table for your guests to enjoy.
- Mint Leaves: A sprig of fresh mint not only adds a pop of color but also a refreshing breath that brightens each sweet bite.
- Caramel Sauce: Drizzling a bit of caramel provides a rich flavor that pairs perfectly with the nuttiness of the peanut butter. It’s an irresistible blend of sweet and salty!
- Nutty Granola: Serve some nutty granola on the side for a delightful crunch that enhances your dessert experience. The added texture keeps every bite exciting!
No-Bake Cream Cheese Peanut Butter Pie Recipe FAQs
How do I choose ripe ingredients for this pie?
Absolutely! For the best flavor, ensure your cream cheese is soft and at room temperature. This allows for a smooth blend with the peanut butter and powdered sugar. When selecting peanut butter, go for a creamy variety without added sugars for the best taste. If you’re using fresh toppings like crushed peanuts, choose ones that are unsalted and crunchy to complement the pie’s creamy texture.
How should I store my No-Bake Cream Cheese Peanut Butter Pie?
I recommend placing any leftovers in an airtight container and storing them in the refrigerator. Your pie will stay fresh for up to 5 days, maintaining that delightful creaminess. Just ensure the pie is covered to avoid odors from other foods.
Can I freeze slices of this pie?
Very! You can freeze individual slices of your No-Bake Cream Cheese Peanut Butter Pie. Wrap each slice tightly in plastic wrap and place them in a freezer-safe container. They’ll last for up to 2 months. When you’re ready to enjoy, transfer the slice to the fridge for a few hours to thaw and regain its creamy texture.
What if my whipped cream doesn’t thicken properly?
Oh no! This can happen if your bowl or the heavy whipping cream isn’t cold enough. For the best results, chill your mixing bowl in the freezer for about 10-15 minutes prior to whipping. If you notice soft peaks forming but not getting any stiffer, try adding a little more cocoa powder while you whip—it can help intensify the chocolate flavors while encouraging better thickening!
Are there any dietary considerations for this pie?
Yes! If you have allergies, be mindful that this pie contains dairy and peanuts. For a nut-free version, substitute the peanut butter with sunflower seed butter or soy nut butter. If you’re accommodating someone with lactose intolerance, look for dairy-free cream cheese and whipped cream alternatives to keep the same delightful texture and flavor without compromising on taste.
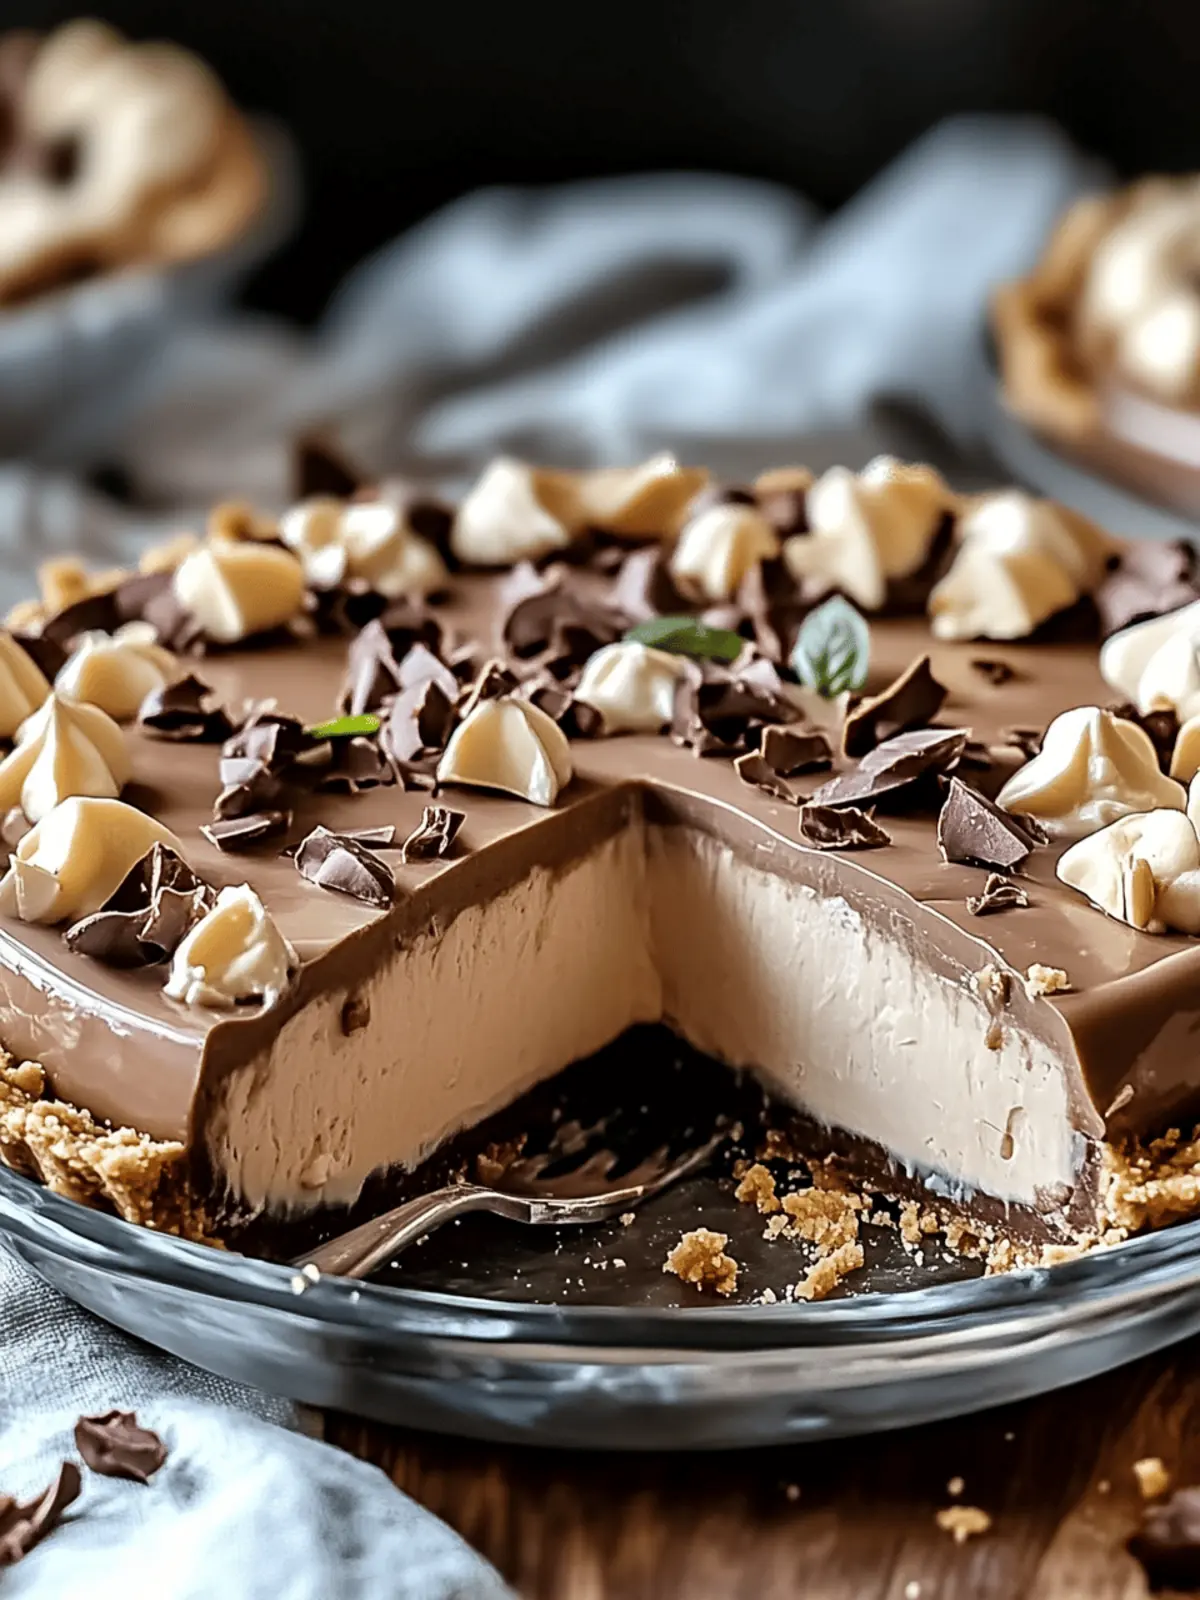
Decadent No-Bake Cream Cheese Peanut Butter Pie You’ll Love
Ingredients
Equipment
Method
- Prepare the Crust: In a mixing bowl, combine graham cracker crumbs with melted butter until fully blended. Firmly press this mixture into the bottom of a pie dish to create a sturdy base.
- Make the Filling: In a large bowl, blend softened cream cheese until smooth and creamy. Gradually mix in the creamy peanut butter and powdered sugar until fully combined, ensuring a delightful and fluffy texture.
- Assemble the Pie: Evenly spread the cream cheese mixture over the prepared crust, smoothing the top with a spatula for a beautiful finish.
- Whip Up Chocolate Cream: Using a chilled bowl, beat heavy whipping cream until soft peaks begin to form. Gradually add cocoa powder and continue whipping until you achieve stiff peaks.
- Top the Pie: Generously spread or pipe the chocolate whipped cream over the top of the pie, allowing it to swirl beautifully.
- Chill: Place the pie in the refrigerator and chill for at least 4 hours, or overnight if possible.

