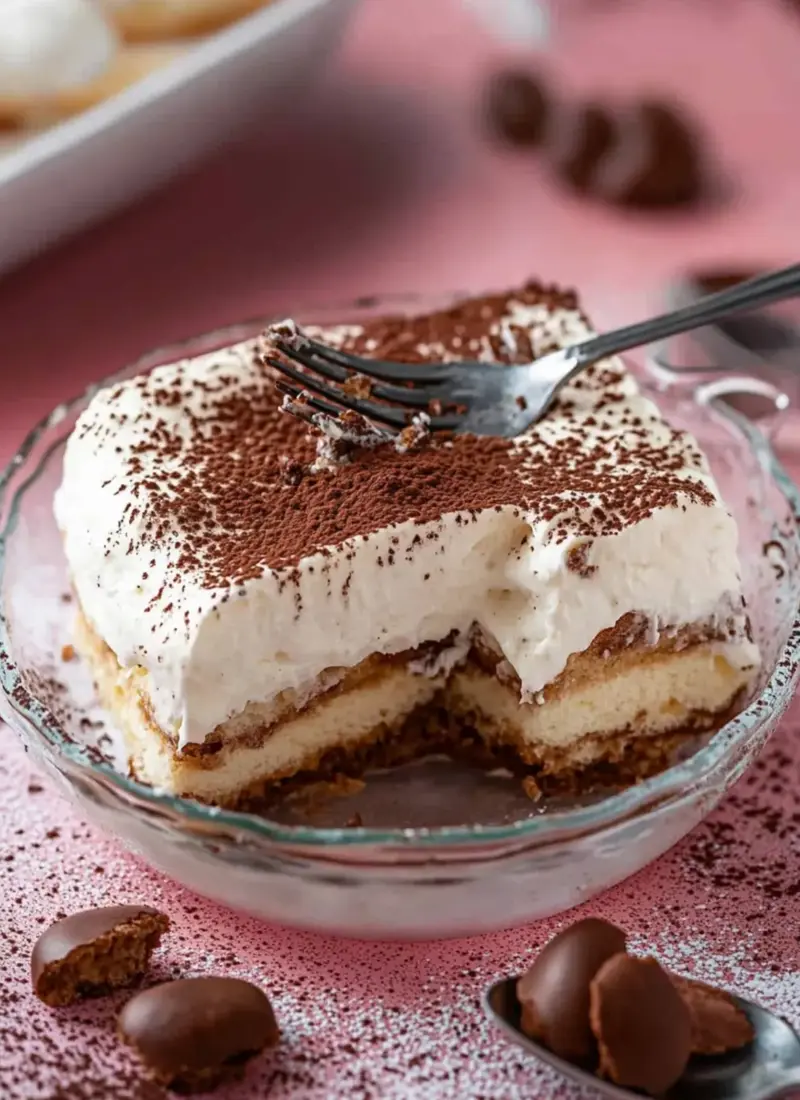
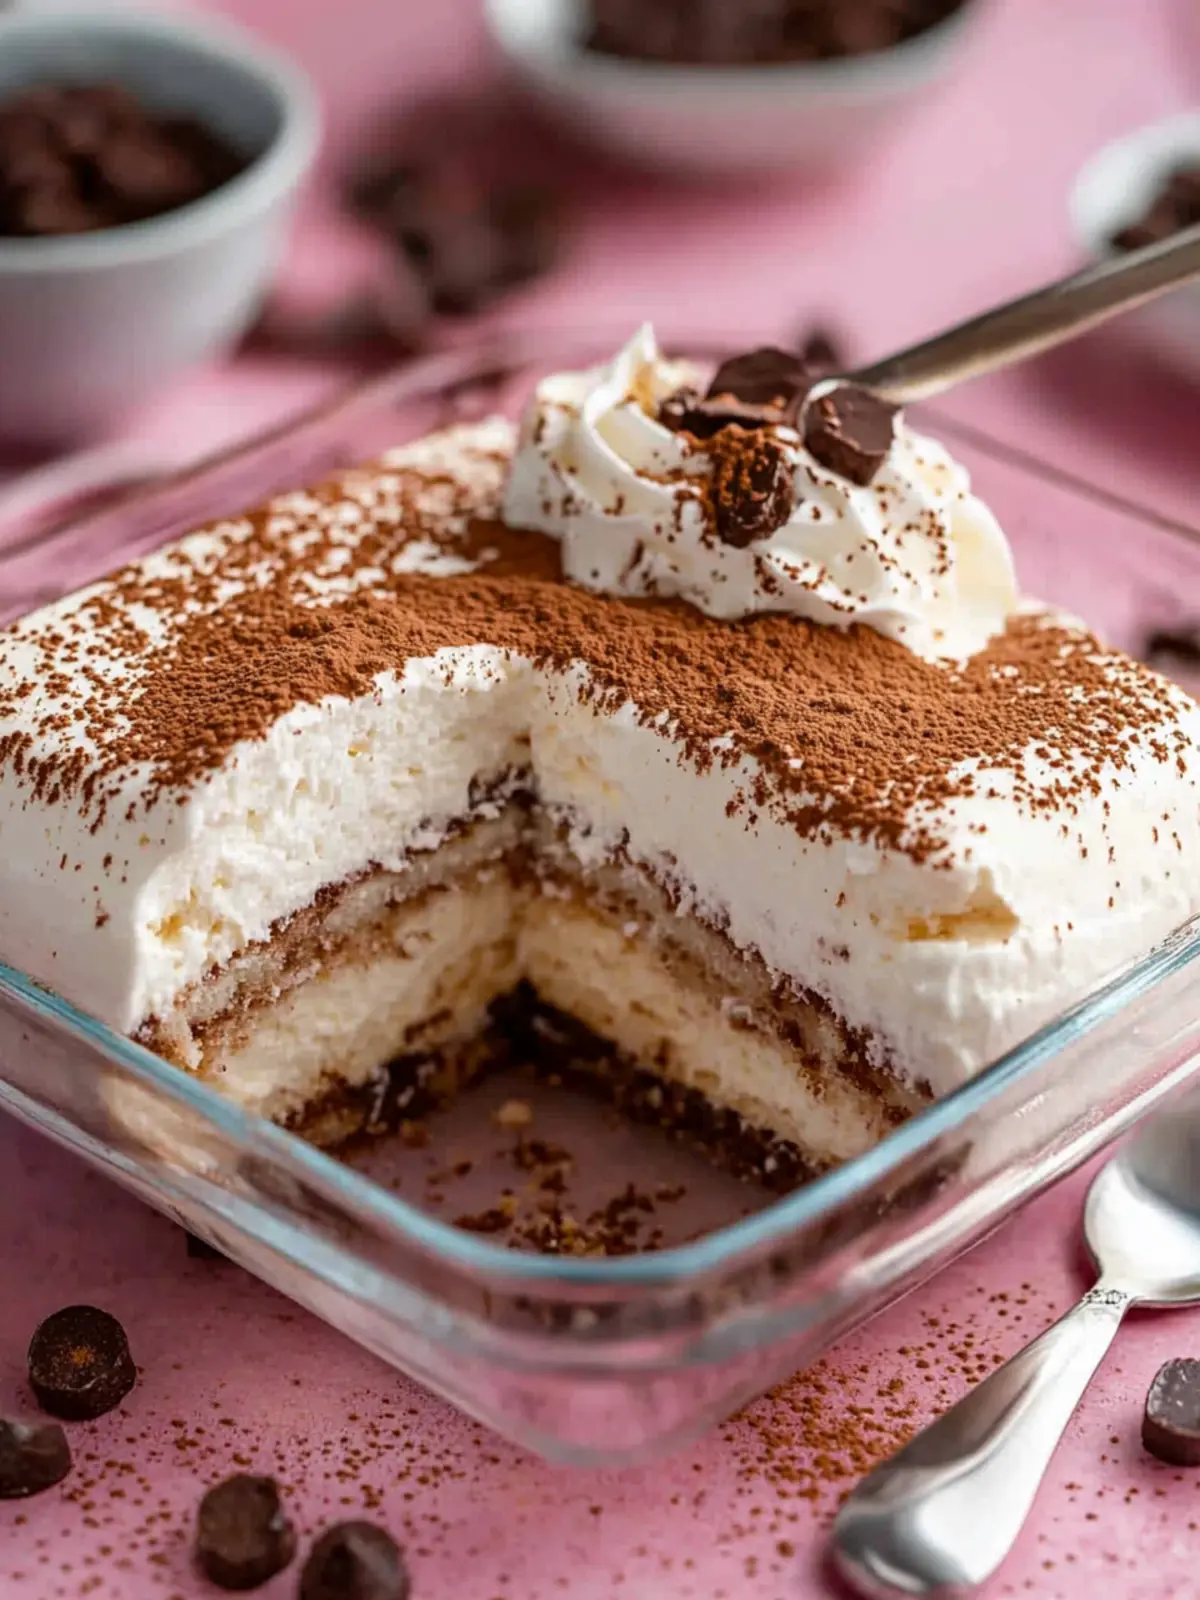
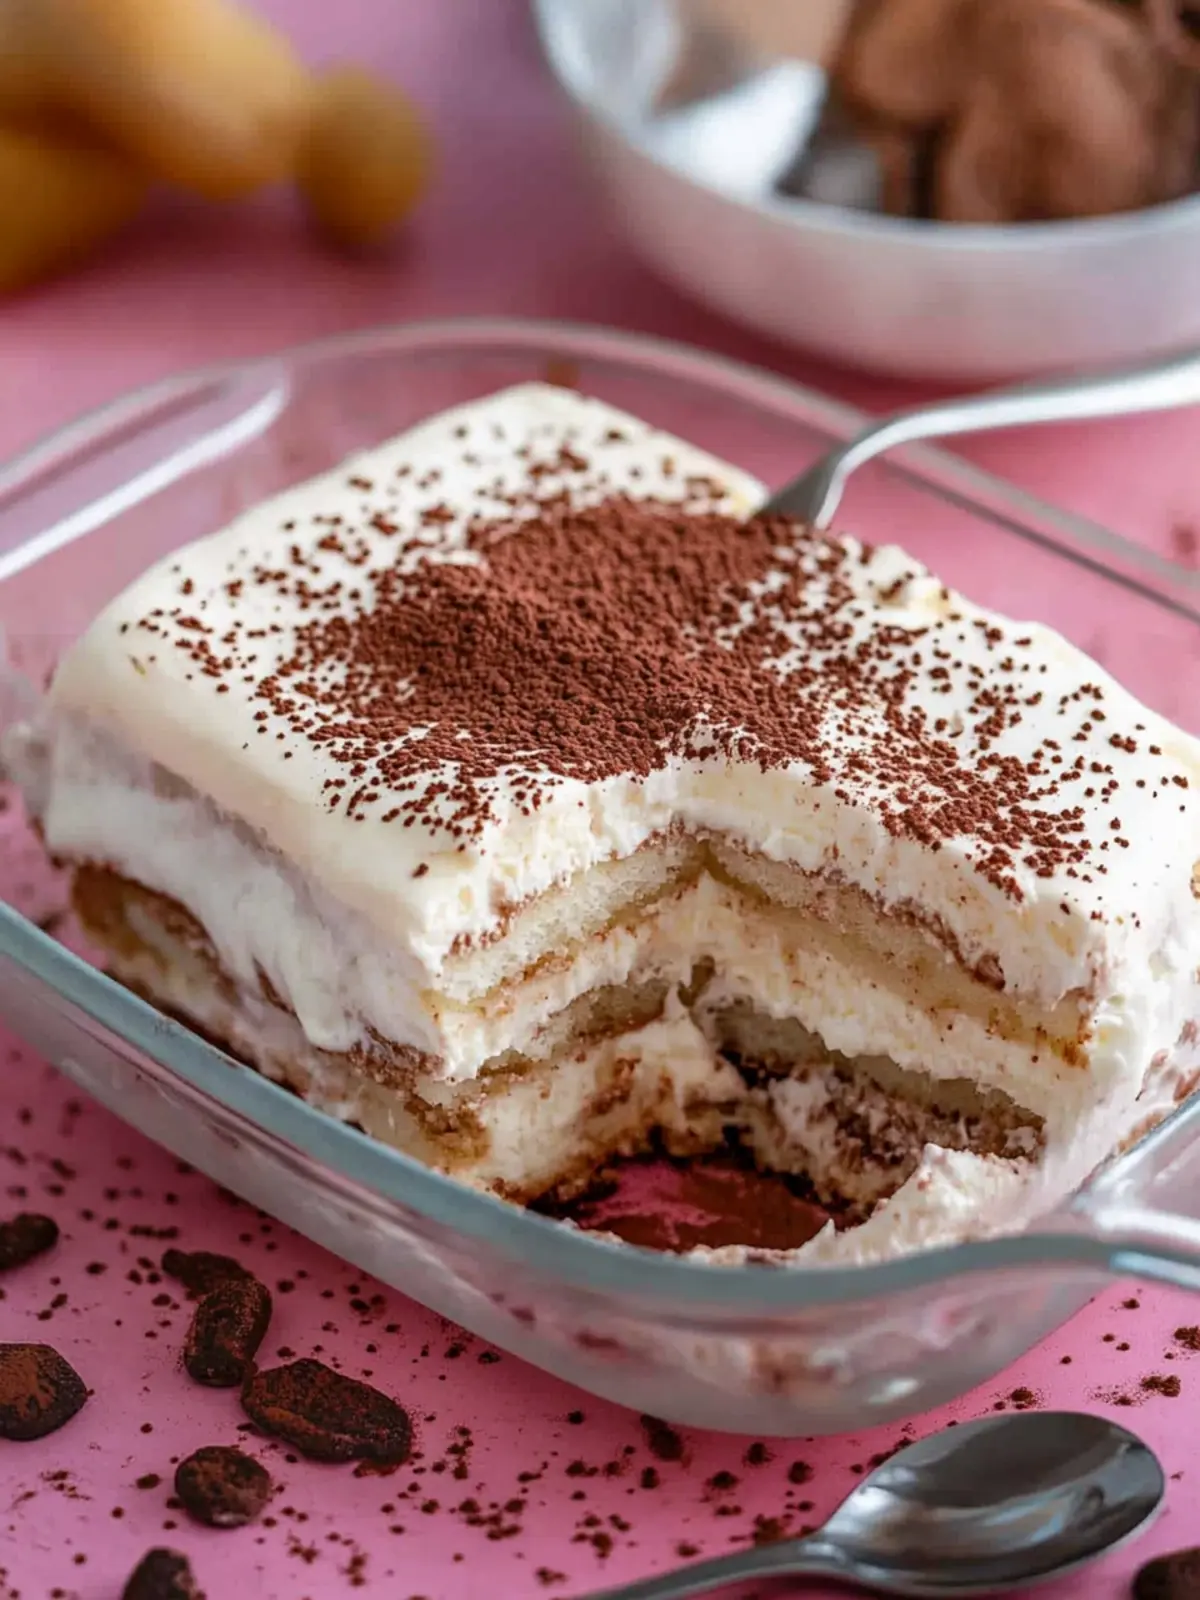
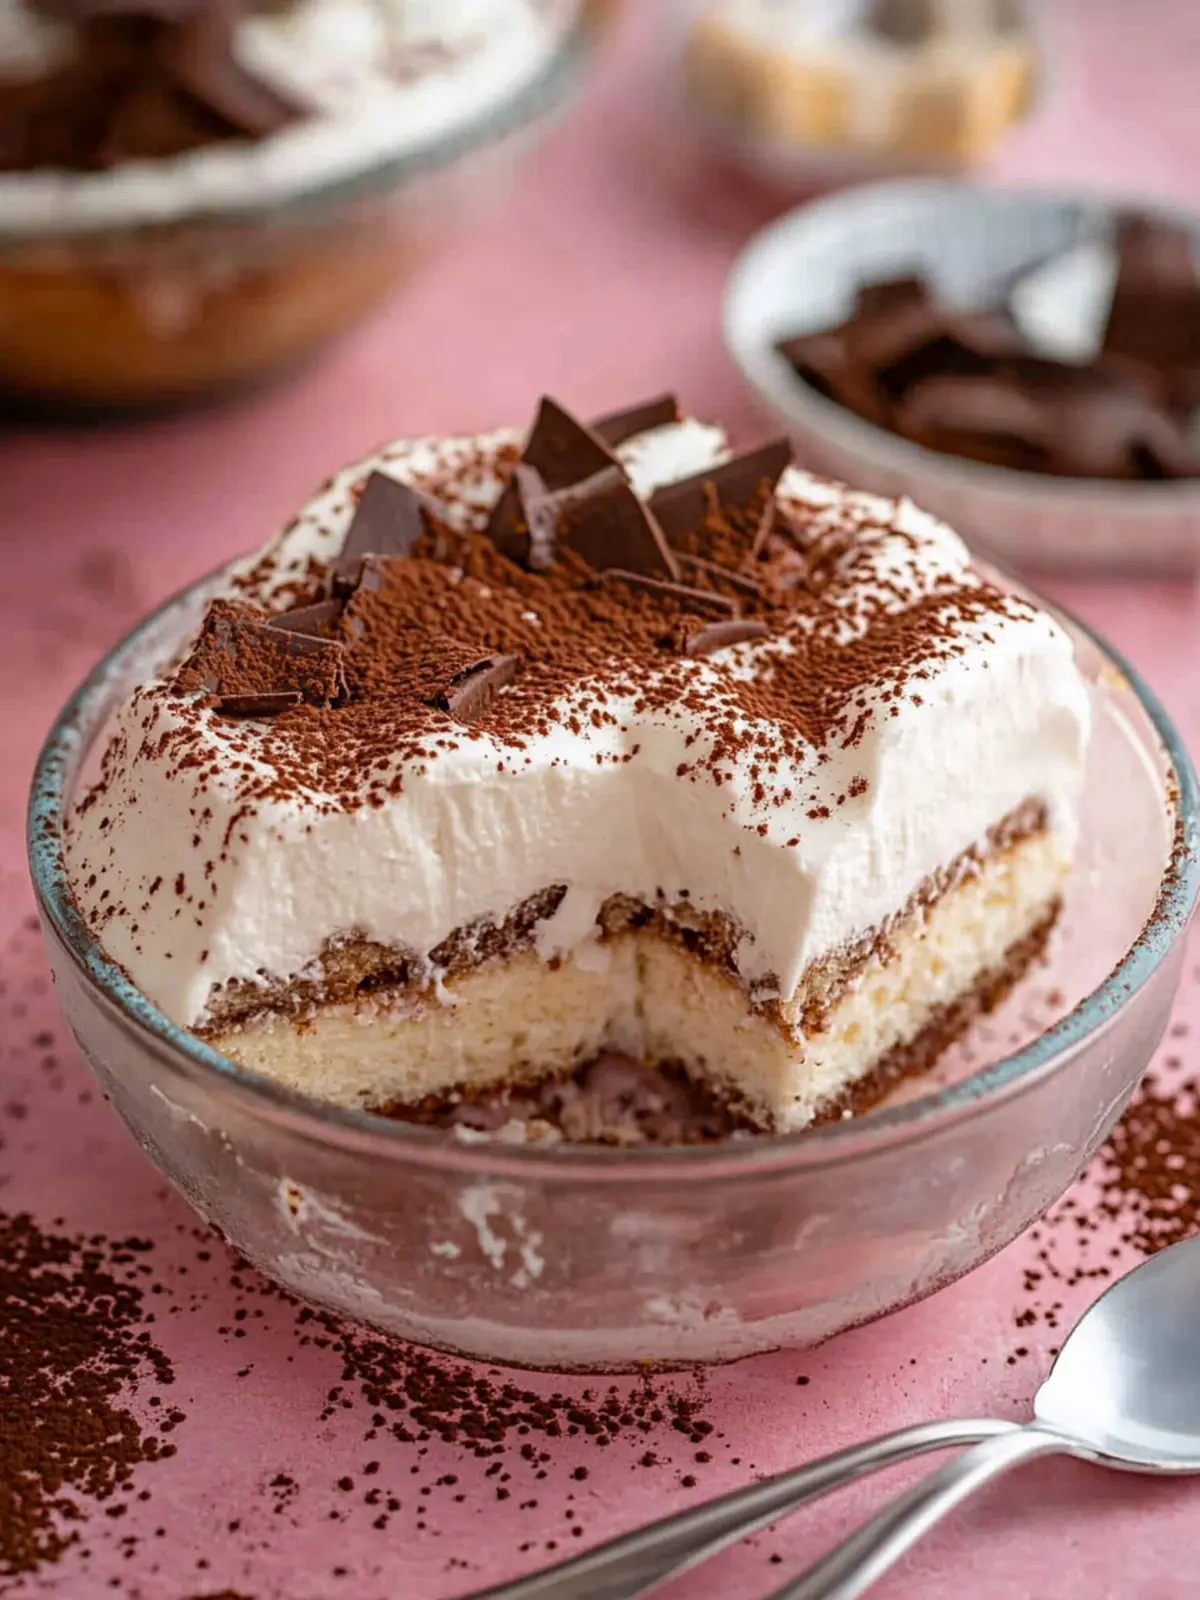
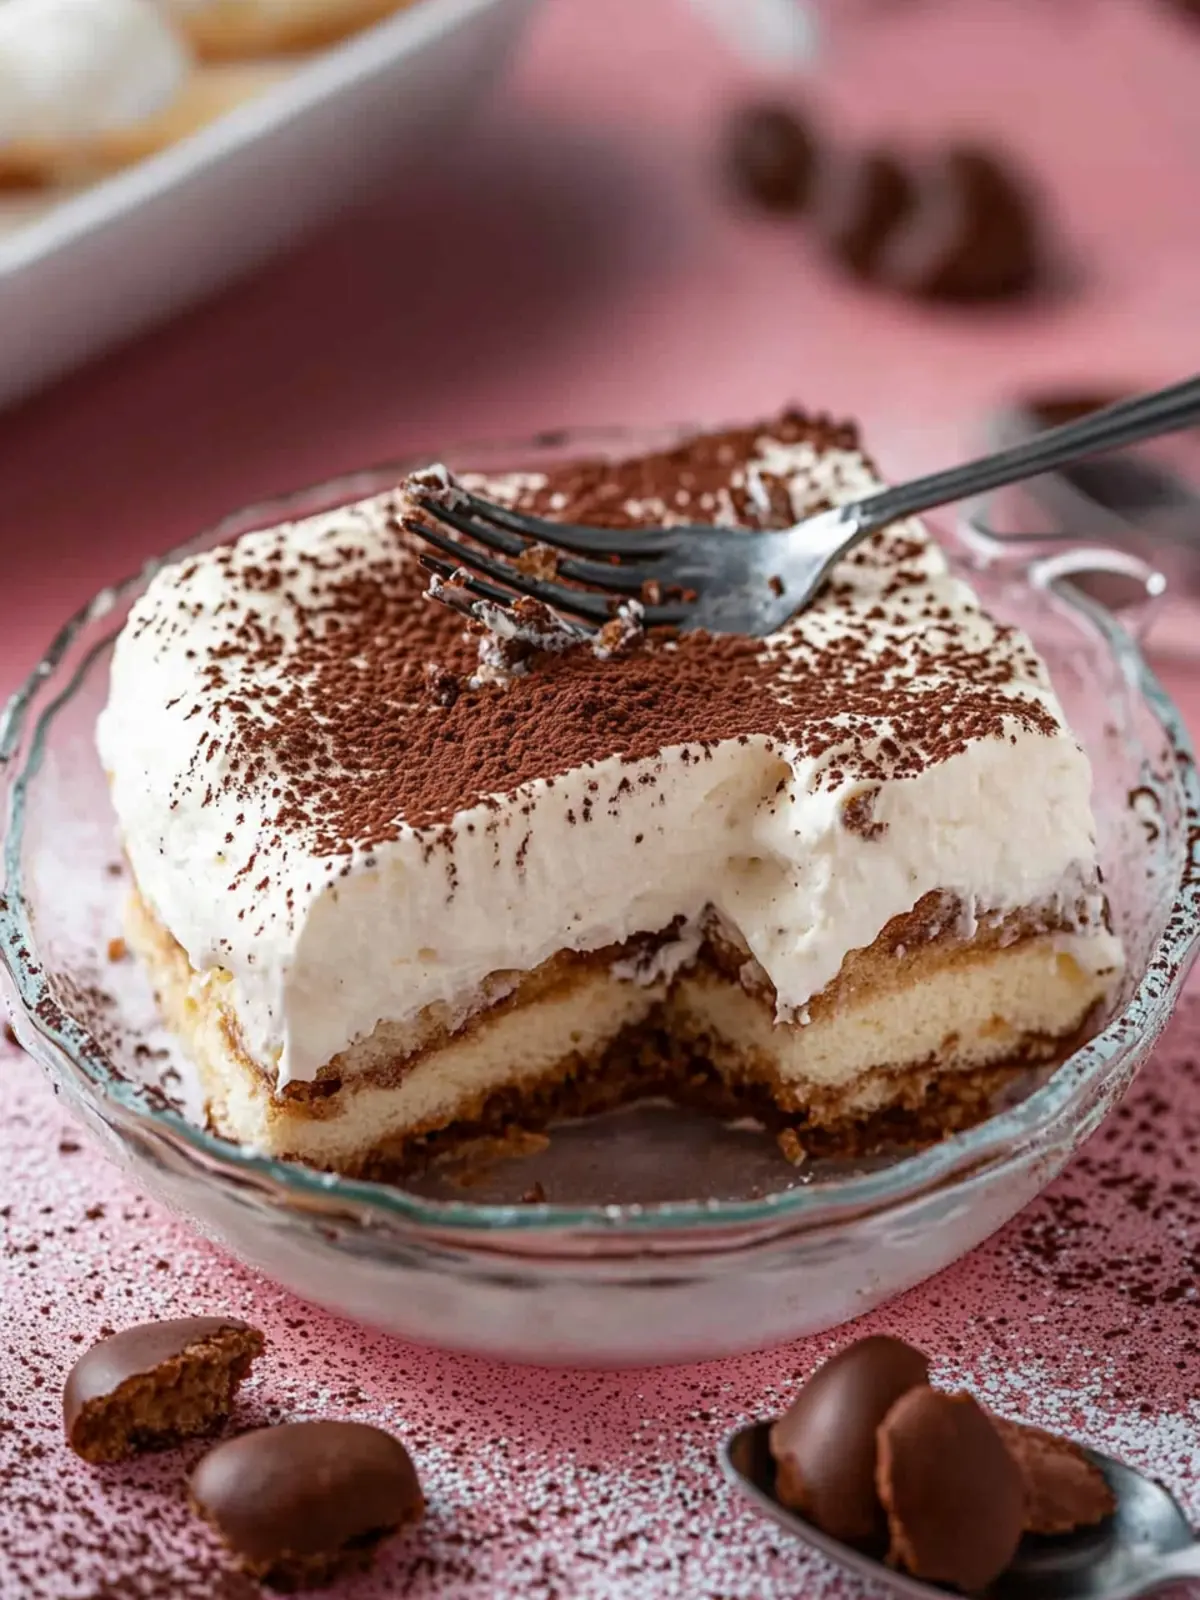
There’s nothing quite like the unmistakable scent of rich espresso and creamy mascarpone wafting through the kitchen—it’s a scent that instantly transports me to my favorite Italian café. When I decided to give traditional Tiramisu a gluten-free makeover, I never thought I’d stumble upon such a delightful twist, featuring a splash of Tia Maria to enhance the coffee flavor. This easy Gluten Free Tiramisu not only brings a deliciously unique flair to a beloved classic but also ensures those with dietary preferences can indulge without worry.
What I love most about this recipe is how simple it is to whip up, making it the perfect ending to any meal or a comforting treat after a long day. Imagine layers of espresso-soaked ladyfingers enveloped in a light and fluffy cream, topped with a sprinkle of dark chocolate—every bite feels like pure bliss. Whether you’re hosting a gathering or simply want to treat yourself, this dessert proves that gluten-free can be synonymous with deliciously decadent. So grab your mixing bowl, and let’s create a sweet masterpiece that’s bound to impress!
Why will you love this Gluten Free Tiramisu?
Simplicity at Its Best: This easy recipe requires minimal effort, making it perfect for both novice and experienced bakers.
Rich, Velvety Layers: The combination of espresso-soaked ladyfingers and airy mascarpone creates a luxurious texture that melts in your mouth.
Unique Flavor Twist: The addition of Tia Maria elevates the coffee flavor, offering a delightful twist to the classic Tiramisu.
Versatile Dessert: Whether you want to impress guests or simply enjoy a sweet treat for yourself, this gluten-free version fits any occasion.
Time-Saving Delight: Prep it up to 24 hours in advance, ensuring you have a stress-free dessert ready to go.
Indulge in this easy Gluten Free Tiramisu recipe and bring a slice of Italy home, minus the gluten!
Gluten Free Tiramisu Ingredients
For the Ladyfingers
• Gluten Free Ladyfingers – Use store-bought for convenience or make your own for a personal touch.
For the Coffee Mixture
• Espresso Coffee – The heart of the flavor; ensure it cools before soaking the ladyfingers. Substitute with strong instant coffee in a pinch.
• Tia Maria – This coffee liqueur adds a sophisticated kick; swap it out for more espresso for an alcohol-free option.
For the Cream Layer
• Double Cream (Heavy Cream) – Whip to soft peaks for that luscious, creamy layer that everyone loves.
• Icing Sugar – Sweetens the cream and helps to stabilize it, ensuring delightful consistency.
• Mascarpone Cheese – Adds a rich, creamy texture; it’s essential to drain off any excess liquid before use.
For the Topping
• Dark Chocolate – Grate over the top for a beautiful finish and a hint of bittersweet flavor that complements the dessert perfectly.
Gather these ingredients to create an unforgettable gluten free tiramisu that everyone will adore!
How to Make Gluten Free Tiramisu
- Prepare Ladyfingers: Start by making gluten-free ladyfingers, allowing them to cool completely. If possible, make them 2-3 days ahead for optimal texture and flavor.
- Make Espresso: Brew a cup of strong espresso and let it cool to room temperature. This will be the aromatic base for soaking your ladyfingers.
- Whip Cream: In a mixing bowl, combine double cream and sifted icing sugar. Use an electric whisk to whip until soft peaks form—this should take about 2-3 minutes. Be cautious not to over-whip!
- Combine with Mascarpone: Pour the drained mascarpone cheese into the whipped cream. Gently mix until the mixture is smooth and thick, creating that luscious cream layer we all adore.
- Assemble Layers: Quickly dip each ladyfinger into the cooled espresso-Tia Maria mixture, ensuring they don’t get soggy. Place a layer of dipped ladyfingers in your serving dish. Repeat until you have a few layers.
- Top and Chill: Spread half of the mascarpone mixture over the first layer of ladyfingers. Layer again, finishing with more cream, and top gracefully with grated dark chocolate. Chill in the refrigerator for at least 4 hours to set.
Optional: Garnish with extra cocoa powder on top before serving for added elegance.
Exact quantities are listed in the recipe card below.
Make Ahead Options
These Easy Gluten Free Tiramisu layers are perfect for busy home cooks looking to save time! You can prepare the gluten-free ladyfingers up to 3 days in advance; store them in an airtight container to maintain their delicious texture. Additionally, the mascarpone cream mixture can be whipped and refrigerated for up to 24 hours—just be sure to cover it well to keep it fresh. When you’re ready to assemble, simply soak the ladyfingers in the espresso and Tia Maria mixture, layer them with the cream, and top with grated dark chocolate. With these make-ahead tips, you’ll enjoy a stress-free dessert that’s just as delightful as if made fresh!
Gluten Free Tiramisu Variations
Feel free to personalize your dessert experience as you explore these delightful twists and substitutes!
- Non-Alcoholic: Replace Tia Maria with an equal amount of espresso for a coffee-flavored treat without the alcohol.
This keeps the rich coffee taste while catering to family-friendly gatherings. - Dairy-Free Option: Swap out double cream for coconut cream for a dairy-free twist.
The hint of coconut pairs beautifully with the rich coffee flavors, adding a tropical flair. - Nutty Delight: Add a sprinkle of chopped hazelnuts or almonds between layers for a delightful crunch.
This twist not only enhances the texture but also elevates the flavor profile beautifully. - Flavored Mascarpone: Incorporate vanilla or orange extract into your mascarpone layer for a zesty kick.
It adds an unexpected yet lovely dimension that brightens the overall taste. - Chocolate Lovers: Mix in some cocoa powder into the mascarpone for a double chocolate experience.
This variation will certainly make every chocolate lover’s heart skip a beat! - Layered Surprise: Introduce fresh berries like raspberries or strawberries between layers for a fruity burst.
The juicy, tart flavors contrast wonderfully with the rich mascarpone, offering a refreshing balance. - Spicy Kick: Add a pinch of cinnamon or nutmeg to the espresso mixture for a warm, aromatic flavor.
It adds a cozy depth that makes this dessert even more inviting during cool evenings. - Matcha Twist: Use matcha green tea powder to replace cocoa on top for a unique color and flavor contrast.
The earthiness of matcha surprisingly complements the creamy espresso layers, creating a stunning presentation.
How to Store and Freeze Gluten Free Tiramisu
Fridge: Keep your gluten free tiramisu stored in an airtight container to maintain freshness for up to 2 days. This dessert is best enjoyed within this timeframe for optimal taste and texture.
Freezer: If you need to store it longer, gluten free tiramisu can be frozen for up to 2 months. Cut into slices, wrap tightly in plastic wrap, and place in an airtight container.
Thawing: When ready to enjoy, transfer the frozen slices to the fridge to thaw overnight. Enjoy them chilled for a delightful dessert experience!
Reheating: Tiramisu is best served cold; avoid reheating to preserve its creamy texture.
Expert Tips for Gluten Free Tiramisu
- Dip Quickly: When soaking the ladyfingers, dip them in the espresso-Tia Maria mixture quickly to prevent them from becoming overly soggy.
- Whip Wisely: Use an electric mixer for whipping cream, and stop as soon as soft peaks form. Over-whipping can lead to curdling; stabilize with extra cold cream if it happens.
- Plan Ahead: Bake the gluten-free ladyfingers 2-3 days in advance if possible. This enhances their texture and gives you a smoother dessert assembly process.
- Measure Precisely: For the best results in gluten-free baking, consider measuring your ingredients by weight using a kitchen scale. It ensures accuracy, especially for delicate components like mascarpone.
- Let It Chill: Refrigerate your Tiramisu for at least 4 hours or overnight. This allows the flavors to meld beautifully and the dessert to set perfectly, making each bite a delight.
What to Serve with Gluten Free Tiramisu?
Treat your guests to a beautifully balanced meal that perfectly complements the rich and creamy flavors of this gluten-free dessert.
- Italian Espresso: The classic pairing enhances the coffee notes from the dessert, creating a delightful after-dinner harmony. A shot of espresso brings that authentic Italian café experience to your table.
- Chocolate-Covered Strawberries: These sweet, juicy treats offer a fresh contrast to the richness of Tiramisu, adding a burst of flavor and color to your dessert spread. Their luscious texture and sweetness will have everyone reaching for just one more!
- Coconut Macarons: Crispy on the outside and chewy on the inside, these delicate cookies complement the creaminess of Tiramisu while adding a nutty flavor profile. The coconut aroma brings a tropical twist that transports your taste buds to paradise.
- Homemade Biscotti: Perfect for dipping or enjoying on their own, biscotti add a satisfying crunch against the soft layers of Tiramisu. Their nutty flavors and hint of sweetness are a marvelous match for your dessert.
- Fresh Berries Salad: A vibrant mix of strawberries, raspberries, and blueberries adds brightness and acidity to counterbalance the creamy Tiramisu. The freshness of the fruit elevates the entire meal, rounding out every bite.
- Sweet Dessert Wine: Serve a glass of Moscato or Vin Santo to complement the dessert’s indulgence. A sip of sweet, fruity wine enhances the flavors of the Tiramisu, creating a celebratory feel.
- Creamy Gelato: A scoop of vanilla or coffee gelato adds a silky texture that mirrors the Tiramisu’s creaminess, making your dessert experience enriched and indulgent. The cold temperature creates a glorious contrast with the silky layers.
- Chocolate Mousse: This lighter dessert maintains the richness of the Tiramisu but introduces a creamy, airy texture. Together, they provide an elegant finish to your meal that guests will truly appreciate.
Craft a meal that celebrates every delicious layer of your Tiramisu and leaves everyone satisfied!
Gluten Free Tiramisu Recipe FAQs
How do I select ripe ingredients for this Tiramisu?
Absolutely! For the freshest and tastiest gluten free tiramisu, use high-quality mascarpone that isn’t watery—drain excess liquid before mixing. Choose double cream that’s cold and has a high fat content (around 36%) for the best whipping results. For your espresso, select freshly ground coffee beans for a robust flavor or opt for a good quality instant coffee.
What is the best way to store gluten free tiramisu?
Very! Store your gluten free tiramisu in an airtight container in the fridge for up to 2 days. To maintain freshness and flavor, place a piece of parchment paper on top of the dessert before sealing it. For longer storage, it can be frozen for up to 2 months.
How do I freeze my gluten free tiramisu?
Absolutely! To freeze gluten free tiramisu, cut it into slices and wrap each piece tightly in plastic wrap. Place the wrapped slices in an airtight container or freezer bag. When ready to enjoy, move them to the fridge for overnight thawing. This method helps maintain their delicious, creamy texture!
What should I do if my ladyfingers become too soggy?
Very! If your ladyfingers are too soggy, dip them briefly—just a second or two—into the coffee mixture so they soak but don’t disintegrate in the liquid. If you accidentally oversoak them and they become mushy, you can still save it by adding a bit more whipped cream to balance out the texture in your layers.
Can I make this dessert dairy-free?
Absolutely! To achieve a dairy-free gluten free tiramisu, replace mascarpone with a dairy-free cream cheese alternative and use coconut cream instead of double cream. Ensure that your ladyfingers are gluten free and vegan as well. Add a touch of vanilla extract to elevate the flavors further.
Is this tiramisu safe for those with nut allergies?
Very! The ingredients in this gluten free tiramisu are typically nut-free. However, always check labels for cross-contamination, especially with commercial ladyfingers, as some may be processed in facilities that handle nuts. When making it at home, you can ensure all the ingredients are safe for those with nut allergies.
Gluten Free Tiramisu with Tia Maria: A Creamy Delight
Ingredients
Equipment
Method
- Prepare Ladyfingers: Start by making gluten-free ladyfingers, allowing them to cool completely.
- Make Espresso: Brew a cup of strong espresso and let it cool to room temperature.
- Whip Cream: In a mixing bowl, combine double cream and sifted icing sugar, and whip until soft peaks form.
- Combine with Mascarpone: Gently mix the drained mascarpone cheese into the whipped cream until smooth.
- Assemble Layers: Dip each ladyfinger into the espresso-Tia Maria mixture quickly and layer in your serving dish.
- Top and Chill: Spread half of the mascarpone mixture over the first layer and chill for at least 4 hours.

