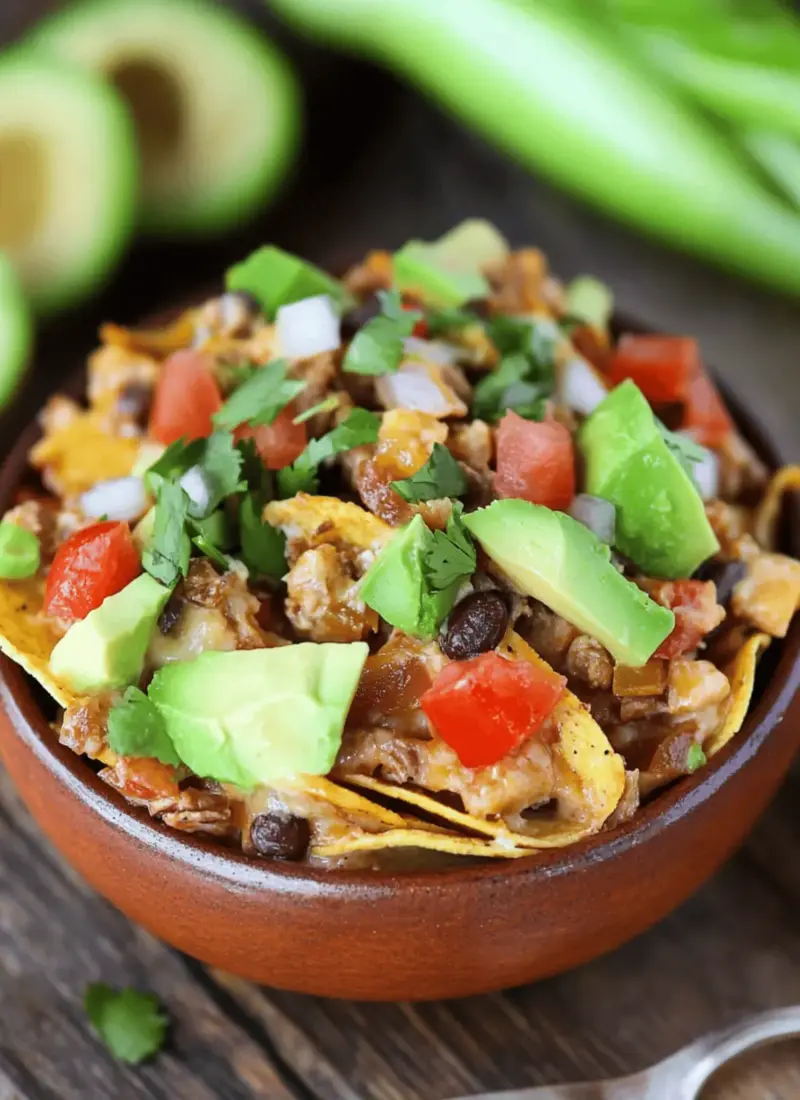
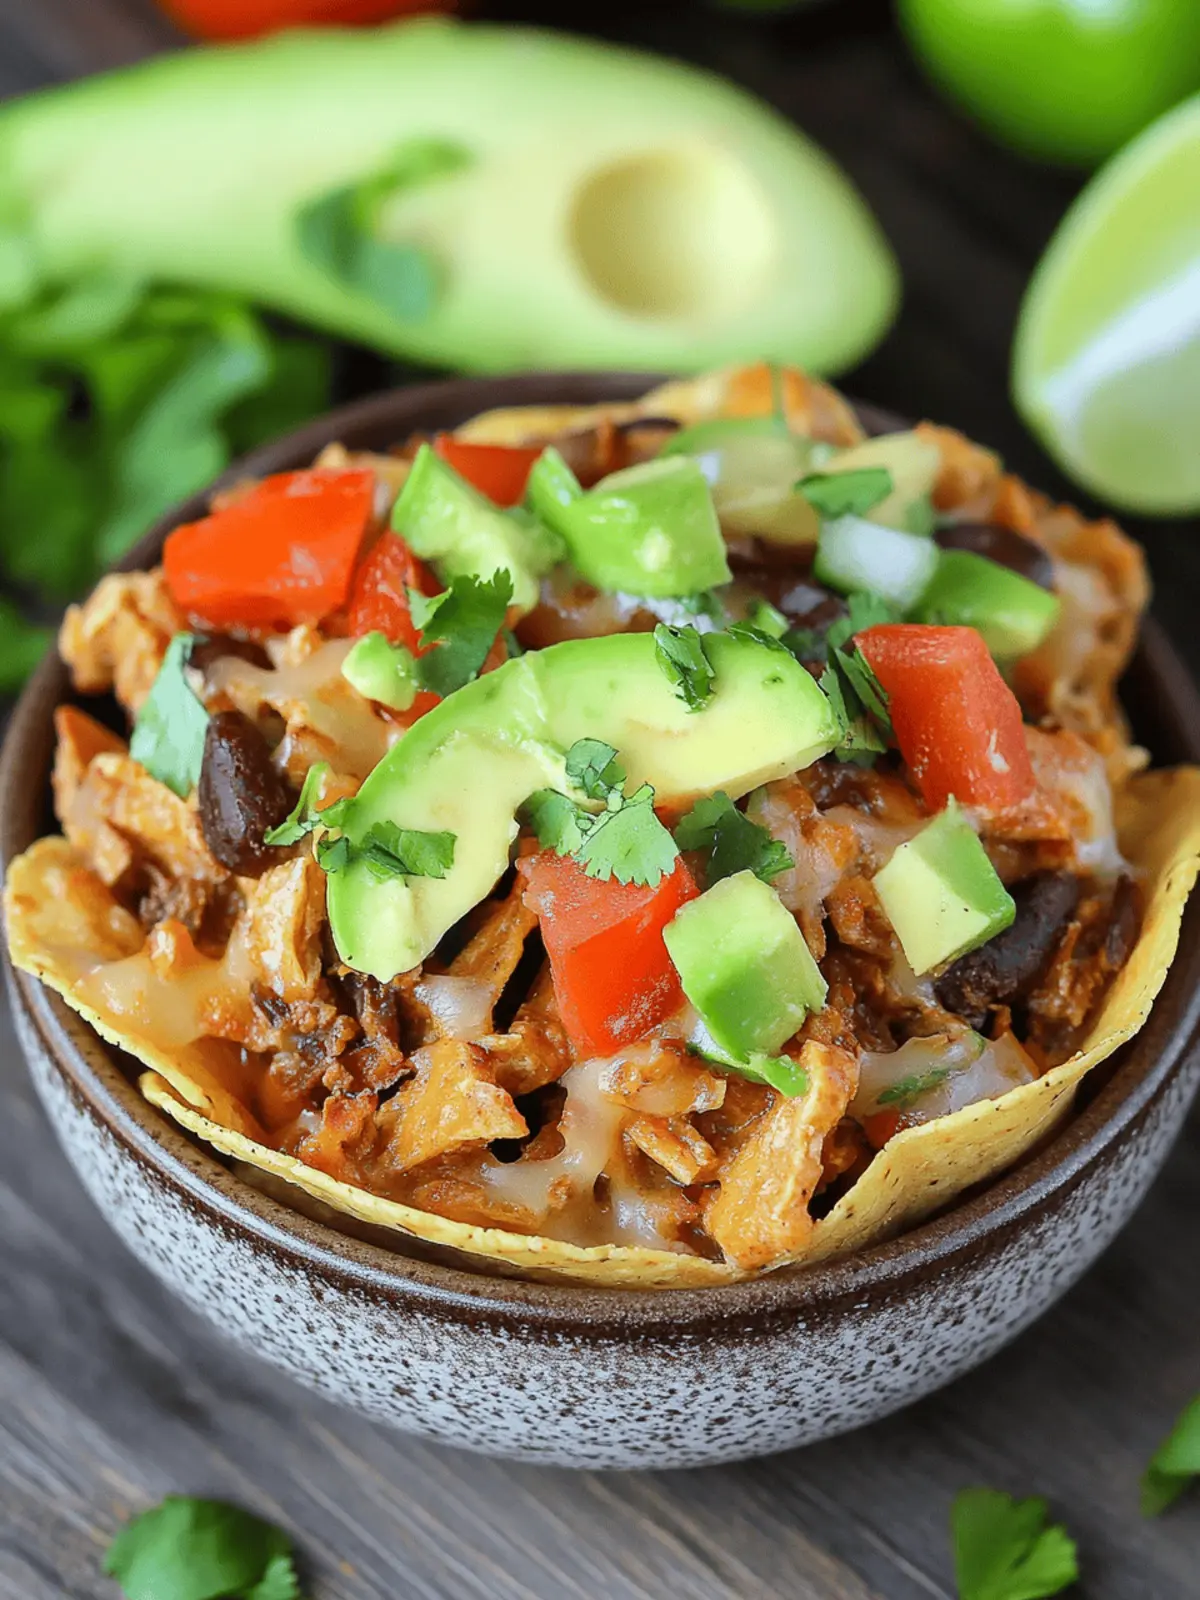
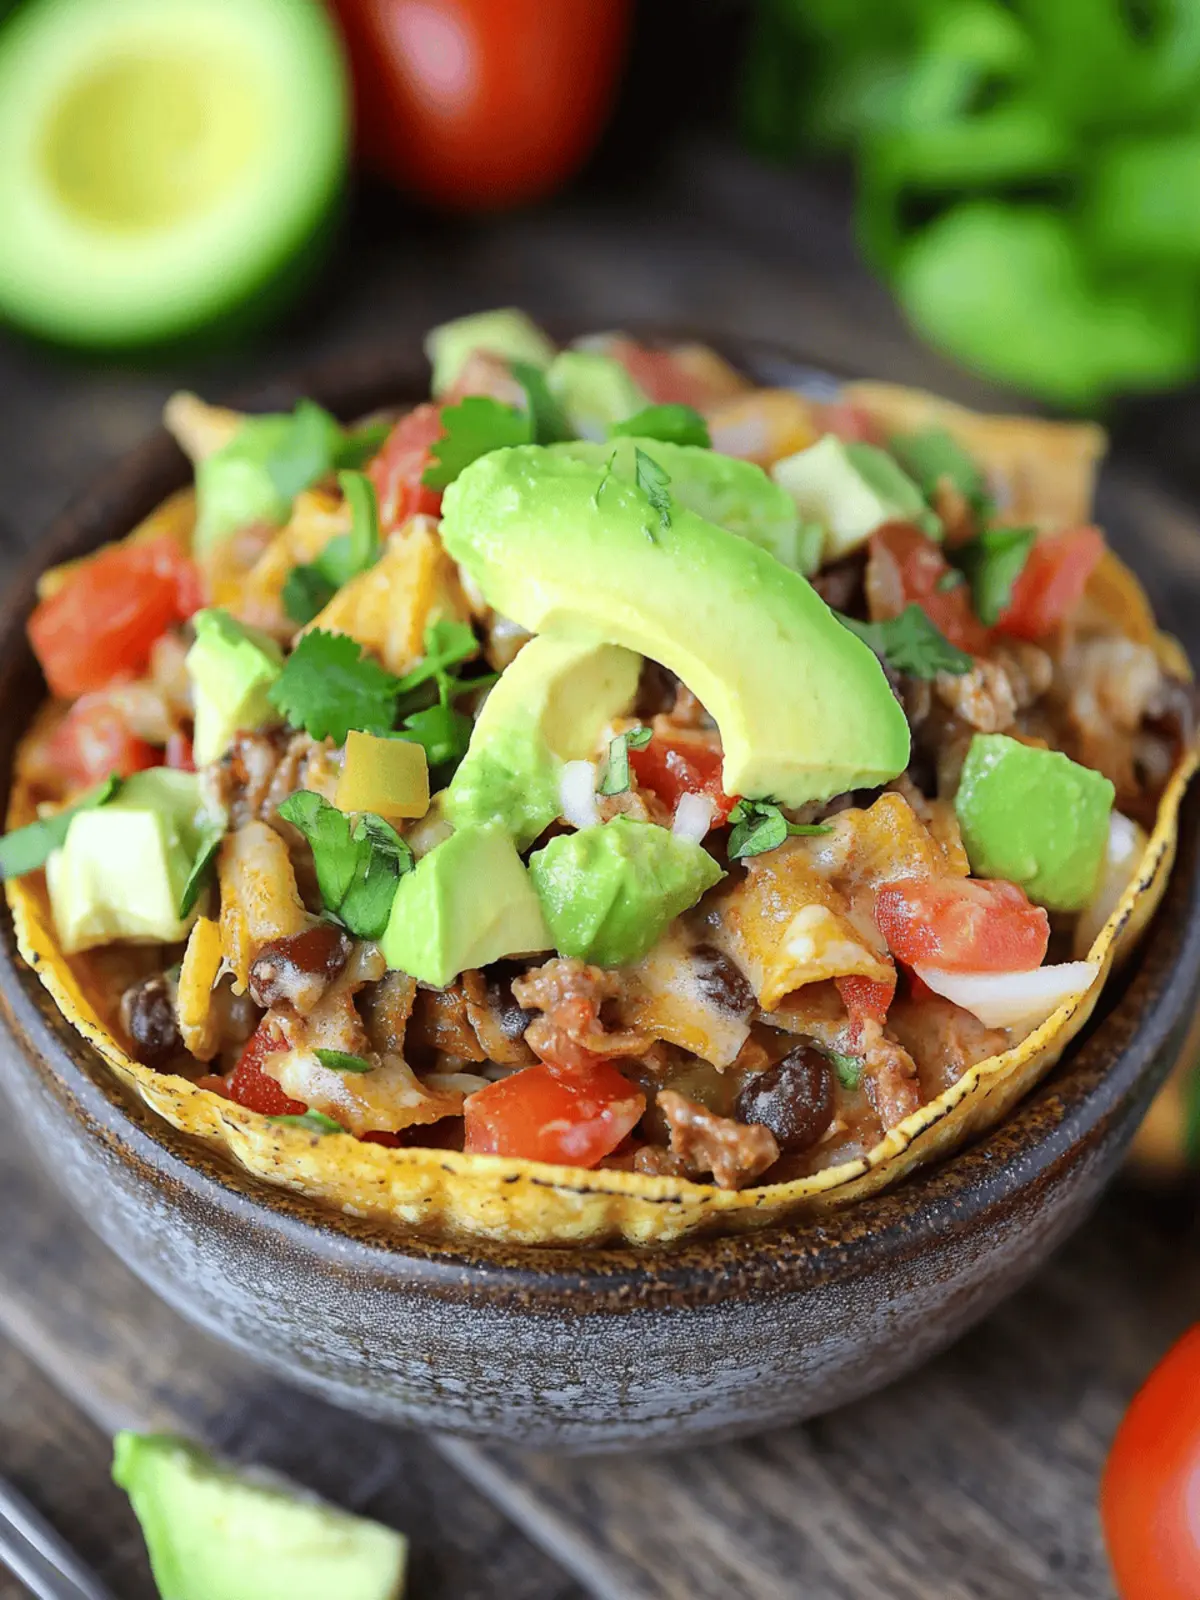
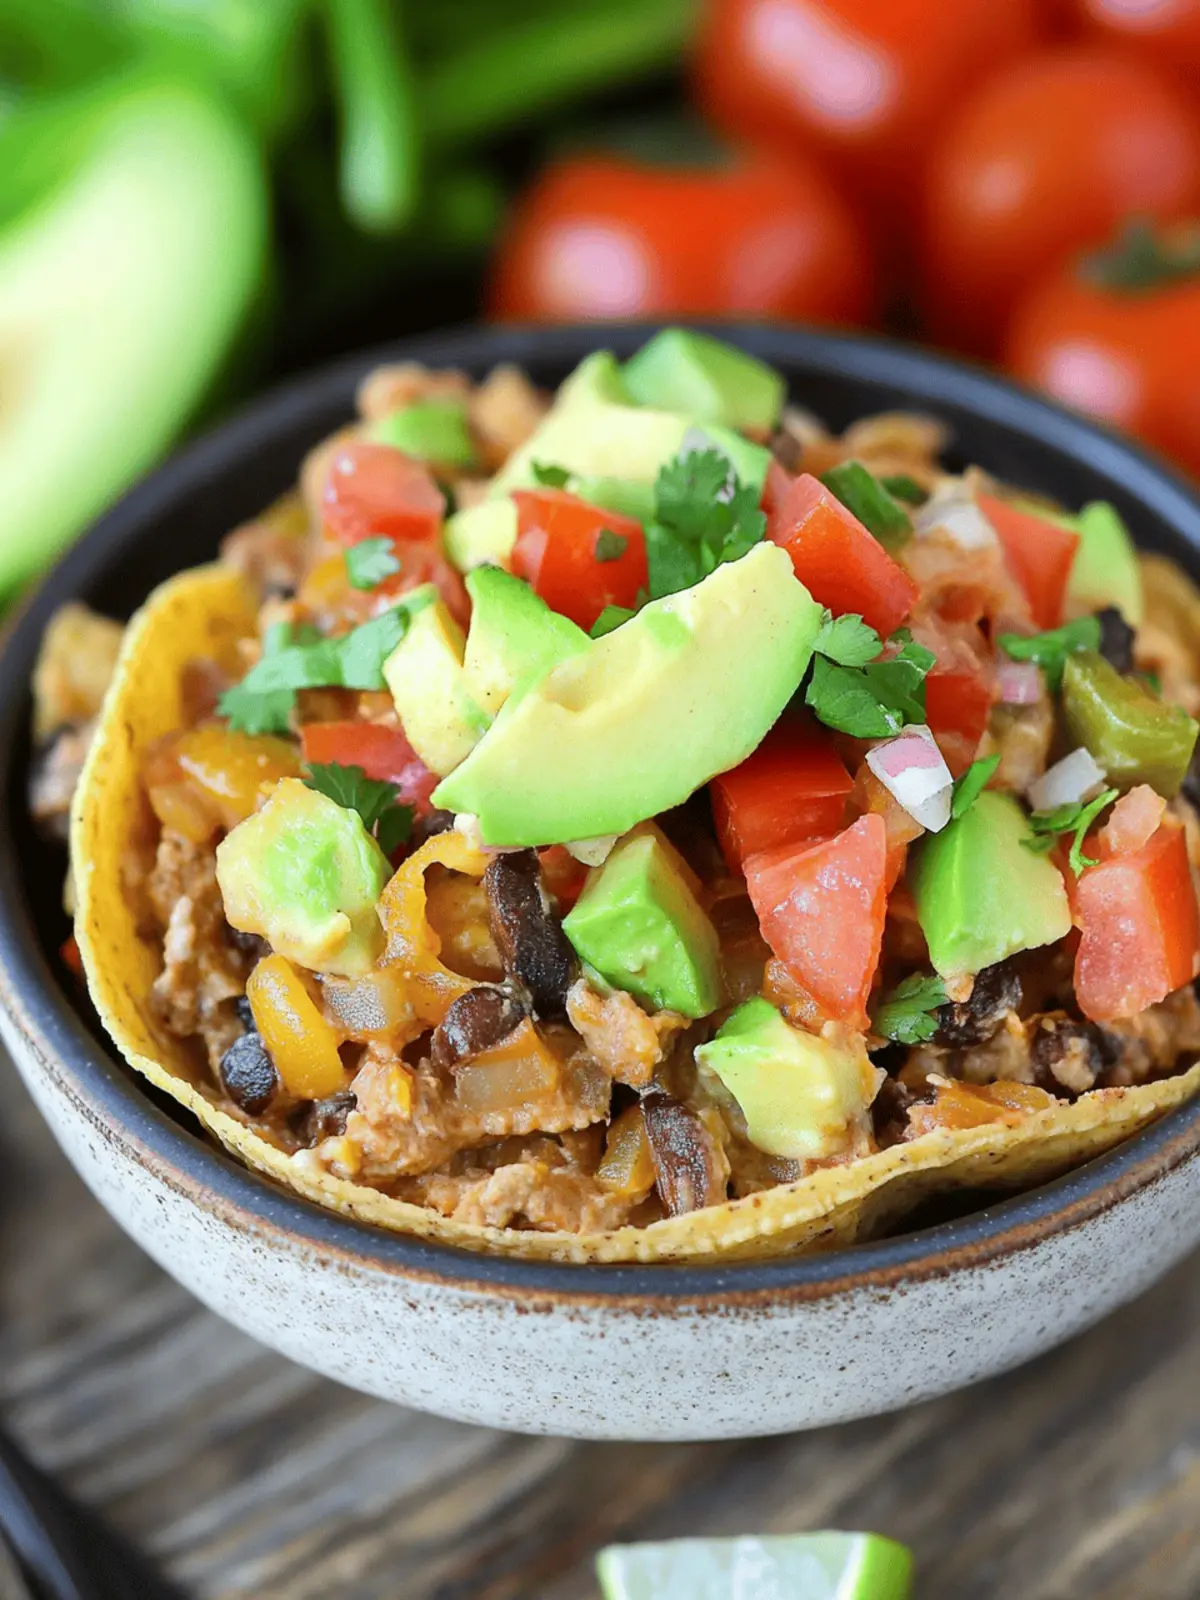
There’s a special kind of joy that comes from transforming a busy weeknight into a family feast. That’s exactly what I experienced the first time I whipped up these Creamy Taco Shells! The blend of hearty ground turkey, savory black beans, and zesty taco seasoning enveloping creamy pasta shells is pure magic in a bowl. In just 30 minutes—yes, you read that right!—this one-pan wonder can be on the table, making it the perfect antidote to the fast-food routine that often creeps in with our hectic schedules.
As I watched my family dig into this vibrant dish, it was clear: this isn’t just another dinner; it’s a delightful culinary escape to the heart of Mexican flavors. With endless variations, from swapping proteins to embracing meat-free options, these Creamy Taco Shells can easily adapt to suit everyone’s preferences. Whether you’re a seasoned cook or a kitchen novice, this recipe promises not just a meal, but a moment of connection over delicious, wholesome food. Ready to bring a touch of excitement to your dinner table? Let’s dive in!
Why Creamy Taco Shells Will Delight You?
Simplicity at its finest: This one-pan dish requires minimal effort and clean-up, making it perfect for busy weeknights.
Rich, comforting flavor: The creamy sauce paired with savory ground turkey and black beans creates a satisfying meal that everyone will love.
Versatile options: Adjust the recipe to use ground beef or create a meat-free version with added vegetables, tailored to your family’s preferences.
Quick preparation: With just 30 minutes needed from start to finish, it’s an excellent choice for those hectic evenings.
Family-friendly appeal: Kids and adults alike will relish this hearty bowl of goodness, making it a guaranteed crowd-pleaser at the dinner table!
Creamy Taco Shells Ingredients
• For the Filling
- Olive Oil – Adds richness and is used for sautéing; avocado oil can be a great substitute.
- Red Onion – Provides sweetness and texture; yellow onion works just as well.
- Garlic – Enhances flavor; fresh garlic is best, but powdered can work in a pinch.
- Lean Ground Turkey – The main protein that contributes to heartiness; you can swap in ground beef or a plant-based alternative.
- Taco Seasoning – Infuses that classic Mexican flavor; feel free to use store-bought or homemade for a personal touch.
- Petite-Diced Tomatoes (28 oz) – Adds moisture and flavor; canned tomatoes with herbs can boost the flavor profile.
- Black Beans (28 oz total) – Provides protein, fiber, and creaminess; consider using canned pinto beans for variation.
- Water (3 cups) – Necessary for cooking pasta; using vegetable or chicken broth can enhance the final dish.
- Whole Grain Medium Shells (13.25 oz) – The main component that gets wonderfully creamy; any medium pasta can work if you can’t find whole grain.
• For the Creamy Sauce
- Light Sour Cream (½ cup) – Contributes to the dish’s creaminess; Greek yogurt can be a healthier swap.
- Light Cream Cheese (3 oz) – Adds richness and texture to the sauce; feel free to use full-fat cream cheese for a more decadent result.
• For Seasoning
- Salt and Pepper – Basic seasonings to enhance flavors; adjust according to your taste.
These Creamy Taco Shells promise to be a delightful dish that the whole family will cherish!
How to Make Creamy Taco Shells
- Heat Olive Oil: In a large saucepan, add olive oil and warm it over medium heat. This step adds richness and prepares the base for sautéing your onions.
- Sauté Onions: Add the diced red onion to the pan and sauté for 3-5 minutes until softened. Then, add the minced garlic and sauté for an additional minute until fragrant, filling your kitchen with a warm aroma.
- Cook Ground Turkey: Incorporate the lean ground turkey, breaking it apart while cooking until browned. Sprinkle in the taco seasoning along with salt and pepper, blending well to ensure every bite is packed with flavor.
- Add Tomatoes and Beans: Stir in the petite-diced tomatoes, black beans, and water, mixing everything thoroughly. This mix adds moisture and creates that delicious creamy sauce!
- Incorporate Pasta: Add the uncooked whole grain medium shells to the pan. Cover the pot and bring the mixture to a simmer; then reduce the heat to medium-low.
- Simmer for Tenderness: Allow the dish to simmer, stirring occasionally, for about 20 minutes until the pasta becomes tender and absorbs the flavors of the sauce.
- Mix in Creaminess: Once cooked, turn off the heat and stir in the light cream cheese and sour cream until everything is fully combined and creamy. This adds that unmistakable richness to your Taco Shells.
- Serve and Garnish: Ladle the creamy taco mix into bowls and top with fresh avocado, chopped cilantro, salsa, or a squeeze of lime for added freshness.
Optional: Try adding a sprinkle of shredded cheese on top for an extra creamy touch!
Exact quantities are listed in the recipe card below.
How to Store and Freeze Creamy Taco Shells
- Fridge: Store leftovers in an airtight container for up to 3 days to keep the creamy texture intact. Reheat gently in the microwave or on the stovetop, adding a splash of water if necessary.
- Freezer: For longer storage, freeze the Creamy Taco Shells in a freezer-safe container for up to 3 months. Thaw in the refrigerator overnight before reheating for the best results.
- Reheating: When ready to enjoy, reheat over low heat on the stovetop, stirring occasionally to ensure even warming. You can add a bit of water to restore the creaminess if needed.
- Make-Ahead: Prepare the filling ahead of time and store it separately from the pasta. Combine and heat when ready to serve for a quick and delightful meal!
Creamy Taco Shells Variations
Feel free to play around and make these flavorful Creamy Taco Shells your own with delightful twists!
- Meat Substitution: Swap ground turkey for ground beef or shredded chicken to change the flavor profile and texture delightfully. Each protein brings its own flair to the dish!
- Veggie Lovers: Omit all meat and add extra black beans or a medley of colorful vegetables like bell peppers and zucchini for a hearty, meat-free option. This variation embraces health without sacrificing taste.
- Spicy Kick: Use spicy taco seasoning or add diced jalapeños to give the dish an extra layer of heat. A little spice can make this comforting meal lively and exciting, perfect for adventurous eaters!
- Cheesy Delight: Incorporate shredded cheddar or Monterey Jack cheese into the creamy sauce for an extra cheesy goodness. Simply sprinkle in when blending in the cream cheese for a decadent finish.
- Whole Grain Variety: If whole grain medium shells aren’t available, any medium pasta shape, like rotini or penne, will work while still retaining that deliciously creamy texture. Pasta diversity can lead to fun new experiences!
- Herb Infusion: Mix in fresh herbs like cilantro or parsley before serving to add a burst of freshness. It’s amazing how a sprinkle of green can make a dish feel lively and bright!
- Citrusy Zest: Squeeze fresh lime juice into the dish right before serving for a zesty flavor boost that complements the creamy elements perfectly. This tangy addition can brighten up every bite.
- Broth Swap: Instead of water, use vegetable or chicken broth for cooking the pasta to amp up the flavor even more. This small change makes a big difference, providing a rich, savory base for your Creamy Taco Shells.
Expert Tips for Creamy Taco Shells
- Perfect Pasta Timing: Aim for al dente pasta; it will continue to cook slightly after you remove it from heat, preventing overcooking.
- Flavorful Adjustments: Taste as you go! After adding sour cream and cream cheese, adjust salt and pepper for optimal flavor in your Creamy Taco Shells.
- Quality Ingredients Matter: Always use fresh garlic and high-quality taco seasoning for the best flavor. Fresh ingredients elevate this quick meal.
- Avoid Soggy Shells: Be mindful of the water; add less if you prefer a thicker consistency, preventing the dish from becoming too watery.
- Prep Ahead: For a quicker dinner, prep ingredients a day ahead, making weeknight cooking even more convenient.
- Customizable Protein: Don’t hesitate to swap proteins! Ground beef, shredded chicken, or even a mix of beans can make this dish suit various tastes.
What to Serve with Creamy Taco Shells?
A wholesome and vibrant meal that pairs beautifully with delightful sides adds layers of flavor and texture to your dining experience.
- Fresh Side Salad: Crisp greens mixed with cucumbers and cherry tomatoes provide a refreshing contrast, enhancing the creamy texture of the tacos.
- Corn on the Cob: Grilled or boiled corn brushed with butter and sprinkled with lime and chili powder creates a sweet and spicy side that complements the richness of the dish.
- Guacamole: Creamy avocado dip brings an extra layer of richness and a burst of freshness, perfectly balancing the savory flavors of the taco filling.
- Pico de Gallo: A vibrant mix of diced tomatoes, onion, cilantro, and jalapeños adds a zesty and fresh kick, brightening every bite of the Creamy Taco Shells.
- Spanish Rice: Fluffy, seasoned rice infuses a subtle warmth and earthy flavor, rounding out the meal beautifully with its simple, comforting presence.
- Margaritas: A refreshing cocktail with a hint of lime is just the ticket to cleanse the palate, making every bite of the Creamy Taco Shells even more enjoyable!
Make Ahead Options
These Creamy Taco Shells are perfect for meal prep aficionados looking to save time during busy weeknights! You can prepare the filling—sautéed onions, ground turkey, black beans, and seasoning—up to 3 days in advance. Just store it in an airtight container in the refrigerator. To maintain quality, let the mixture cool completely before refrigerating. When you’re ready to serve, simply reheat the filling in a pan, add water and uncooked pasta, then cover and simmer as per the original recipe instructions. This way, you’ll still achieve that delicious depth of flavor without any fuss, keeping dinnertime effortless and satisfying!
Creamy Taco Shells Recipe FAQs
What type of tomatoes work best for this recipe?
I recommend using petite-diced tomatoes for their perfect size and flavor. However, you can opt for canned tomatoes with herbs for an extra flavor boost. Just be sure to drain any excess liquid to maintain the creaminess of the dish!
How should I store leftovers of Creamy Taco Shells?
Store any leftovers in an airtight container in the refrigerator for up to 3 days. Make sure to let the dish cool completely before sealing it to maintain freshness. When reheating, do so gently in the microwave or stovetop, adding a splash of water if needed to bring back the creamy texture.
Can I freeze Creamy Taco Shells?
Absolutely! To freeze, let the dish cool completely after cooking, then transfer it to a freezer-safe container. It can be frozen for up to 3 months. When you’re ready to enjoy, thaw it in the refrigerator overnight, then reheat on low heat, stirring occasionally for even warming.
What substitutions can I make if I have dietary restrictions?
For those with dietary restrictions, consider using ground turkey as the primary protein. You can also make it meat-free by adding extra beans or vegetables. Use Greek yogurt instead of sour cream for a healthier option. If you’re gluten-free, swap the pasta for a suitable gluten-free variety!
What can I do if my pasta is overcooked?
If your pasta becomes overcooked, it may turn mushy. To avoid this, keep an eye on the timing and stir gently as it cooks. If it’s too late, adding some diced fresh vegetables or a dollop of cream can help improve the texture and flavor.
How can I make Creamy Taco Shells spicier?
If you crave extra heat, try using a spicy taco seasoning or adding chopped jalapeños when sautéing the onions. You can also serve it with a hot salsa on the side, or mix in some hot sauce for that perfect kick!
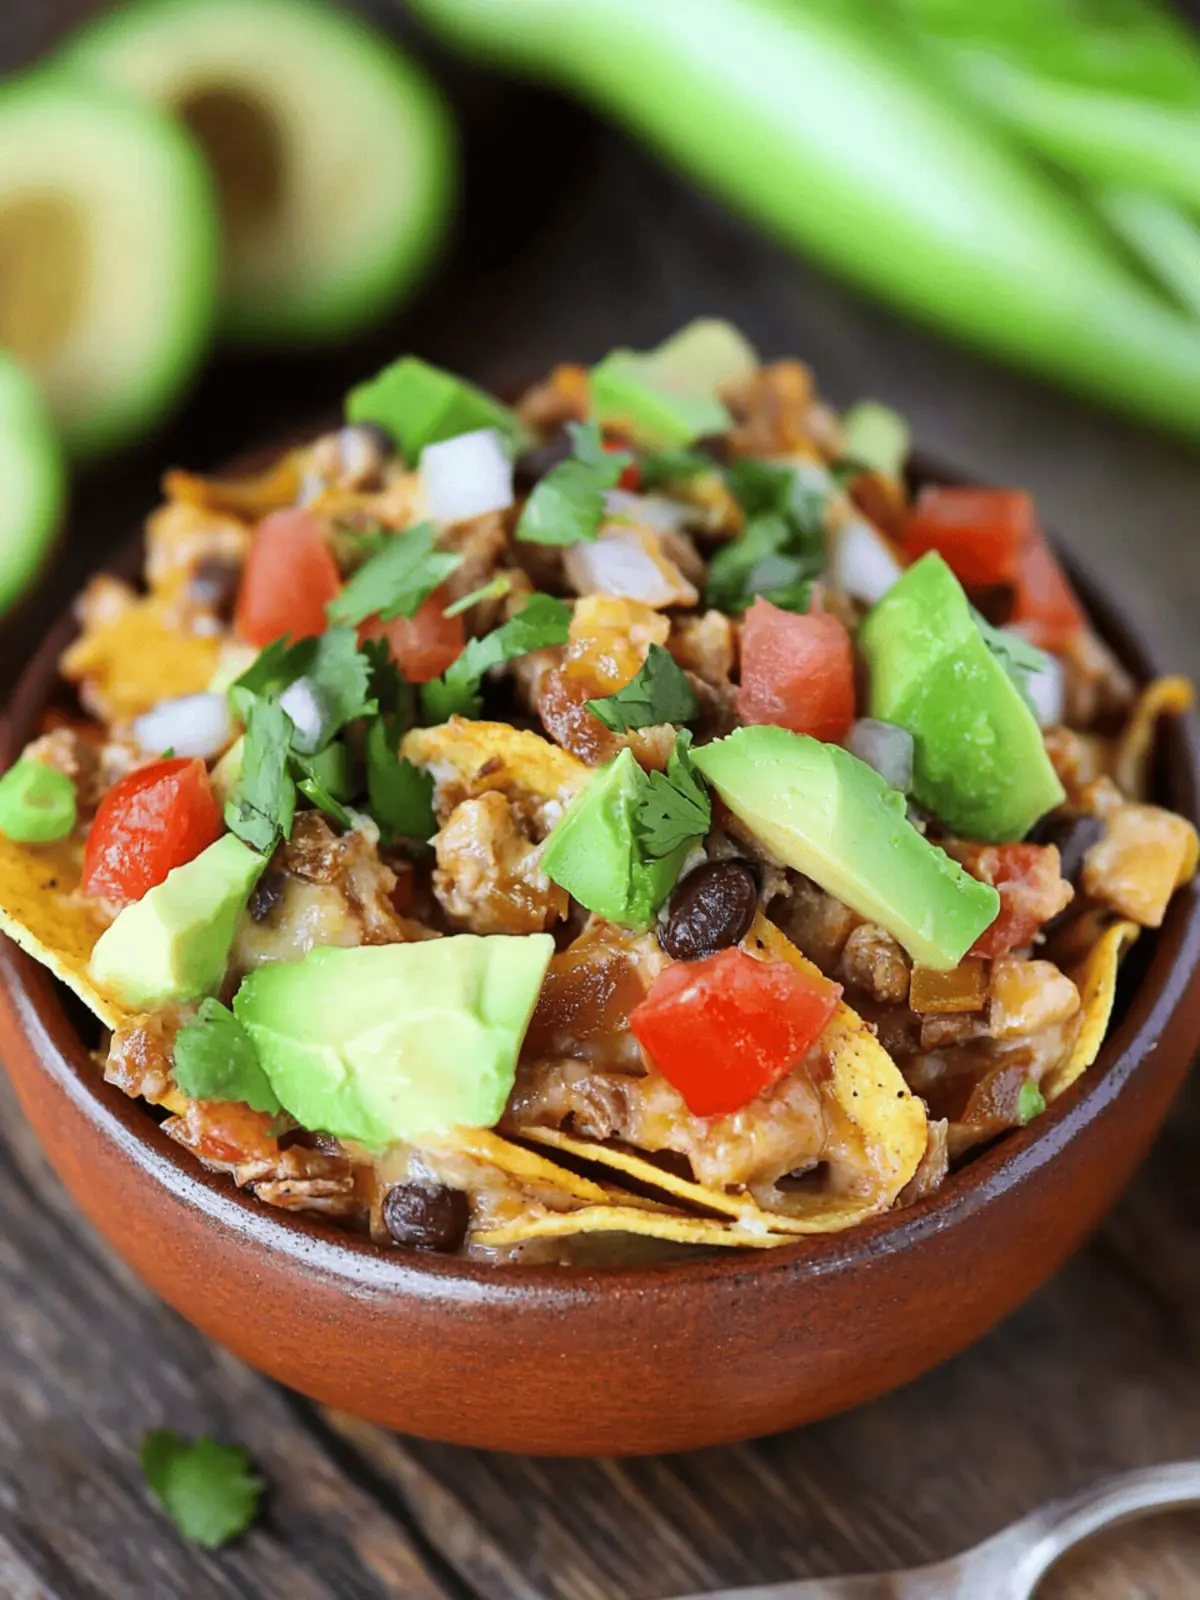
Savor Creamy Taco Shells for a Quick Family Feast!
Ingredients
Equipment
Method
- In a large saucepan, add olive oil and warm it over medium heat.
- Add the diced red onion to the pan and sauté for 3-5 minutes until softened, then add garlic and sauté for an additional minute.
- Incorporate ground turkey, breaking it apart while cooking until browned, sprinkle in the taco seasoning, salt and pepper.
- Stir in tomatoes, black beans, and water; mix thoroughly.
- Add the uncooked pasta, cover, and bring to simmer; reduce heat to medium-low.
- Allow the dish to simmer, stirring occasionally for about 20 minutes until the pasta is tender.
- Turn off heat and stir in cream cheese and sour cream until fully combined.
- Ladle into bowls and top with avocado, cilantro, salsa, or lime.

