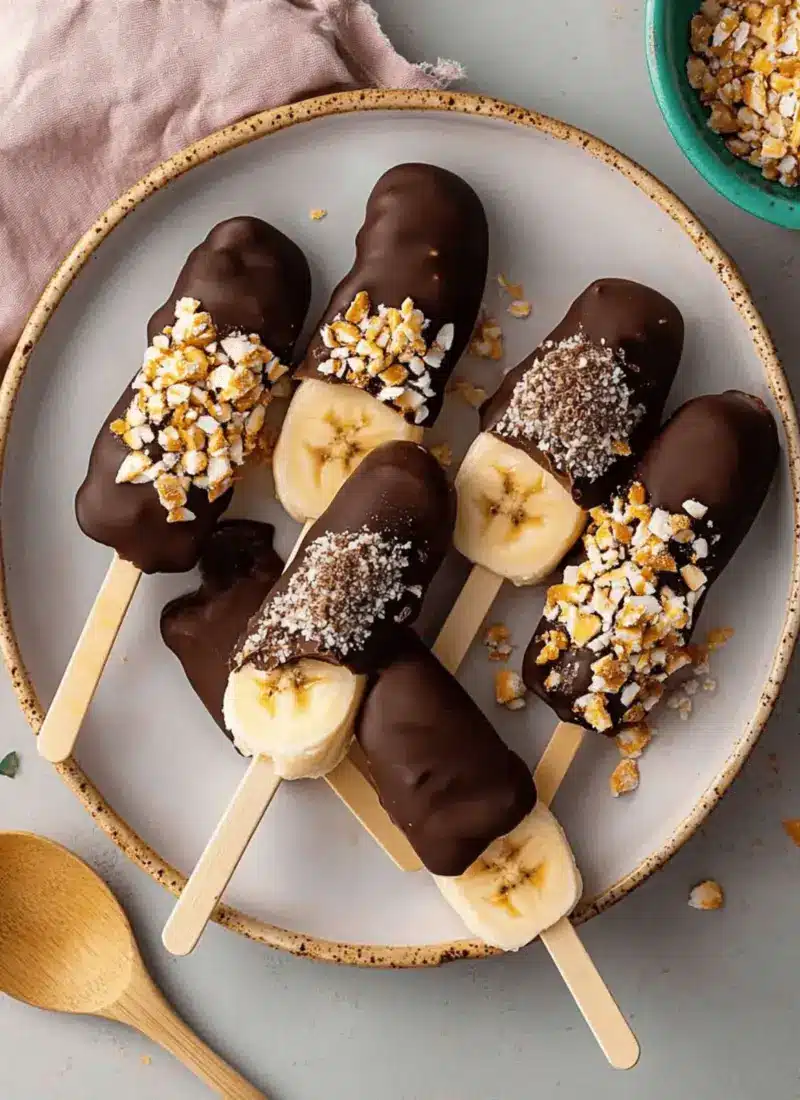
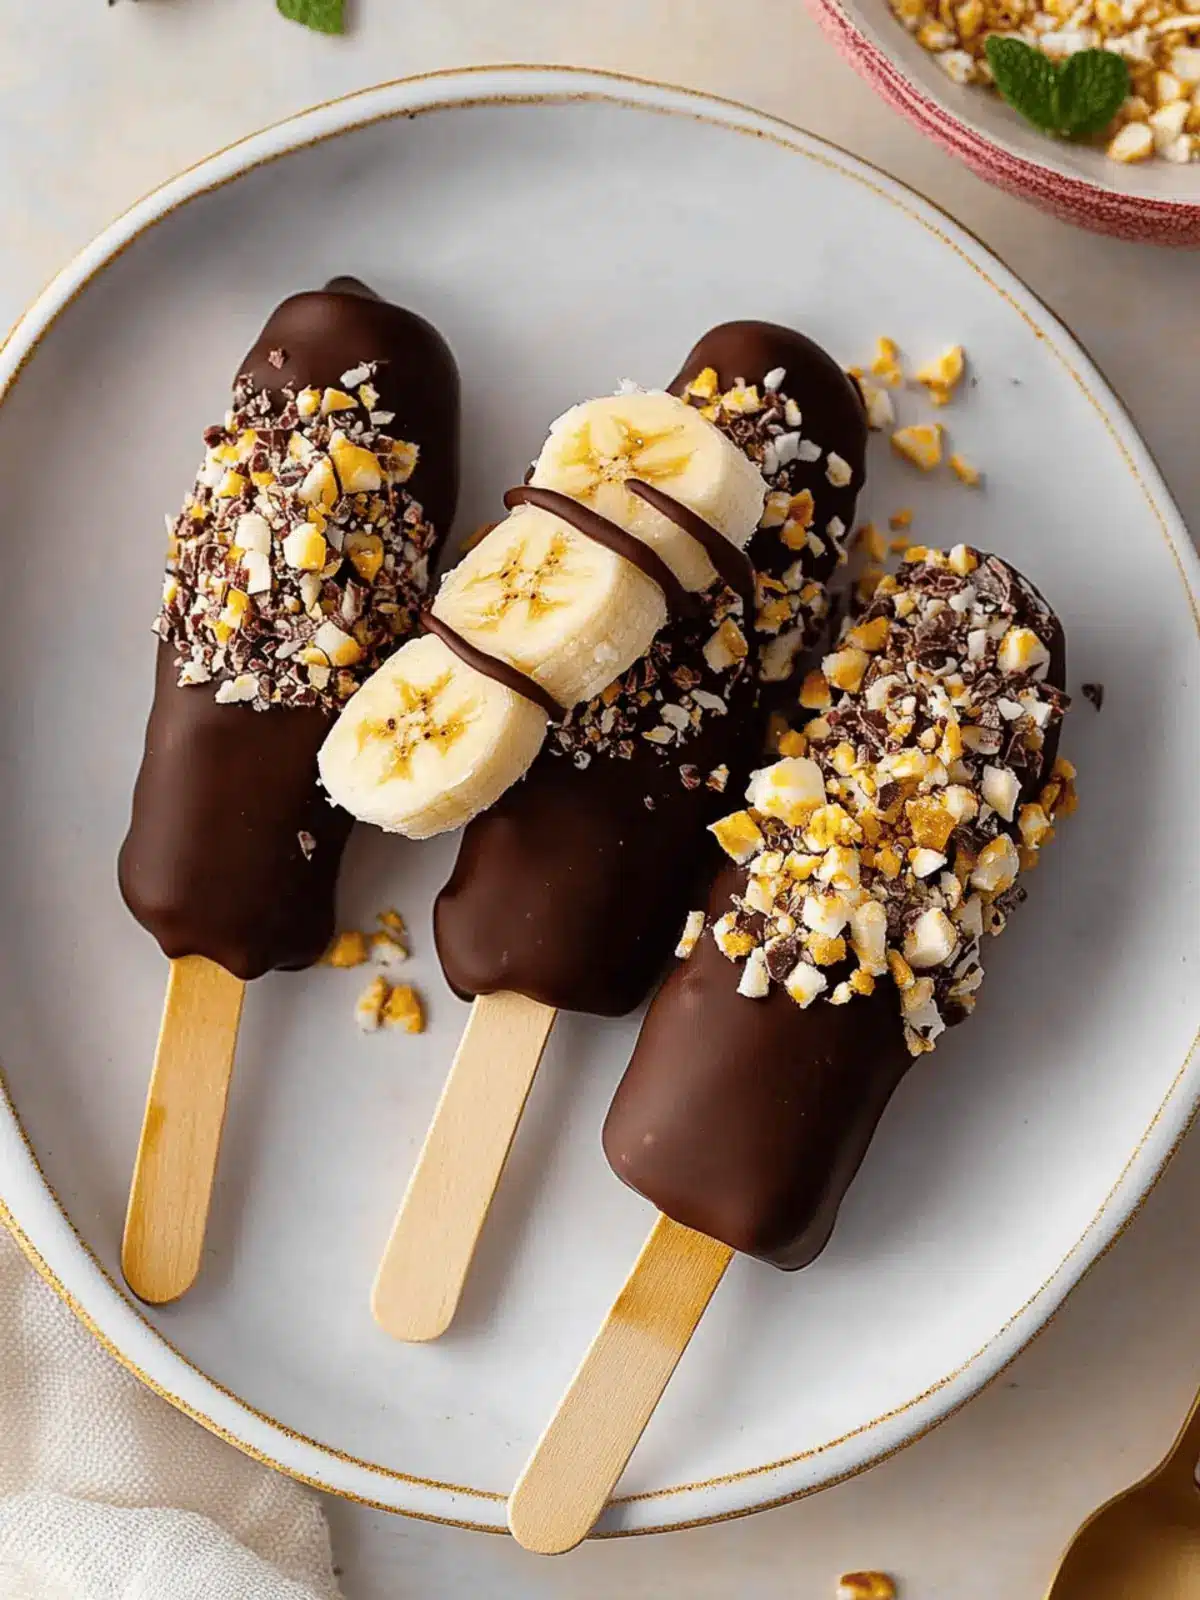
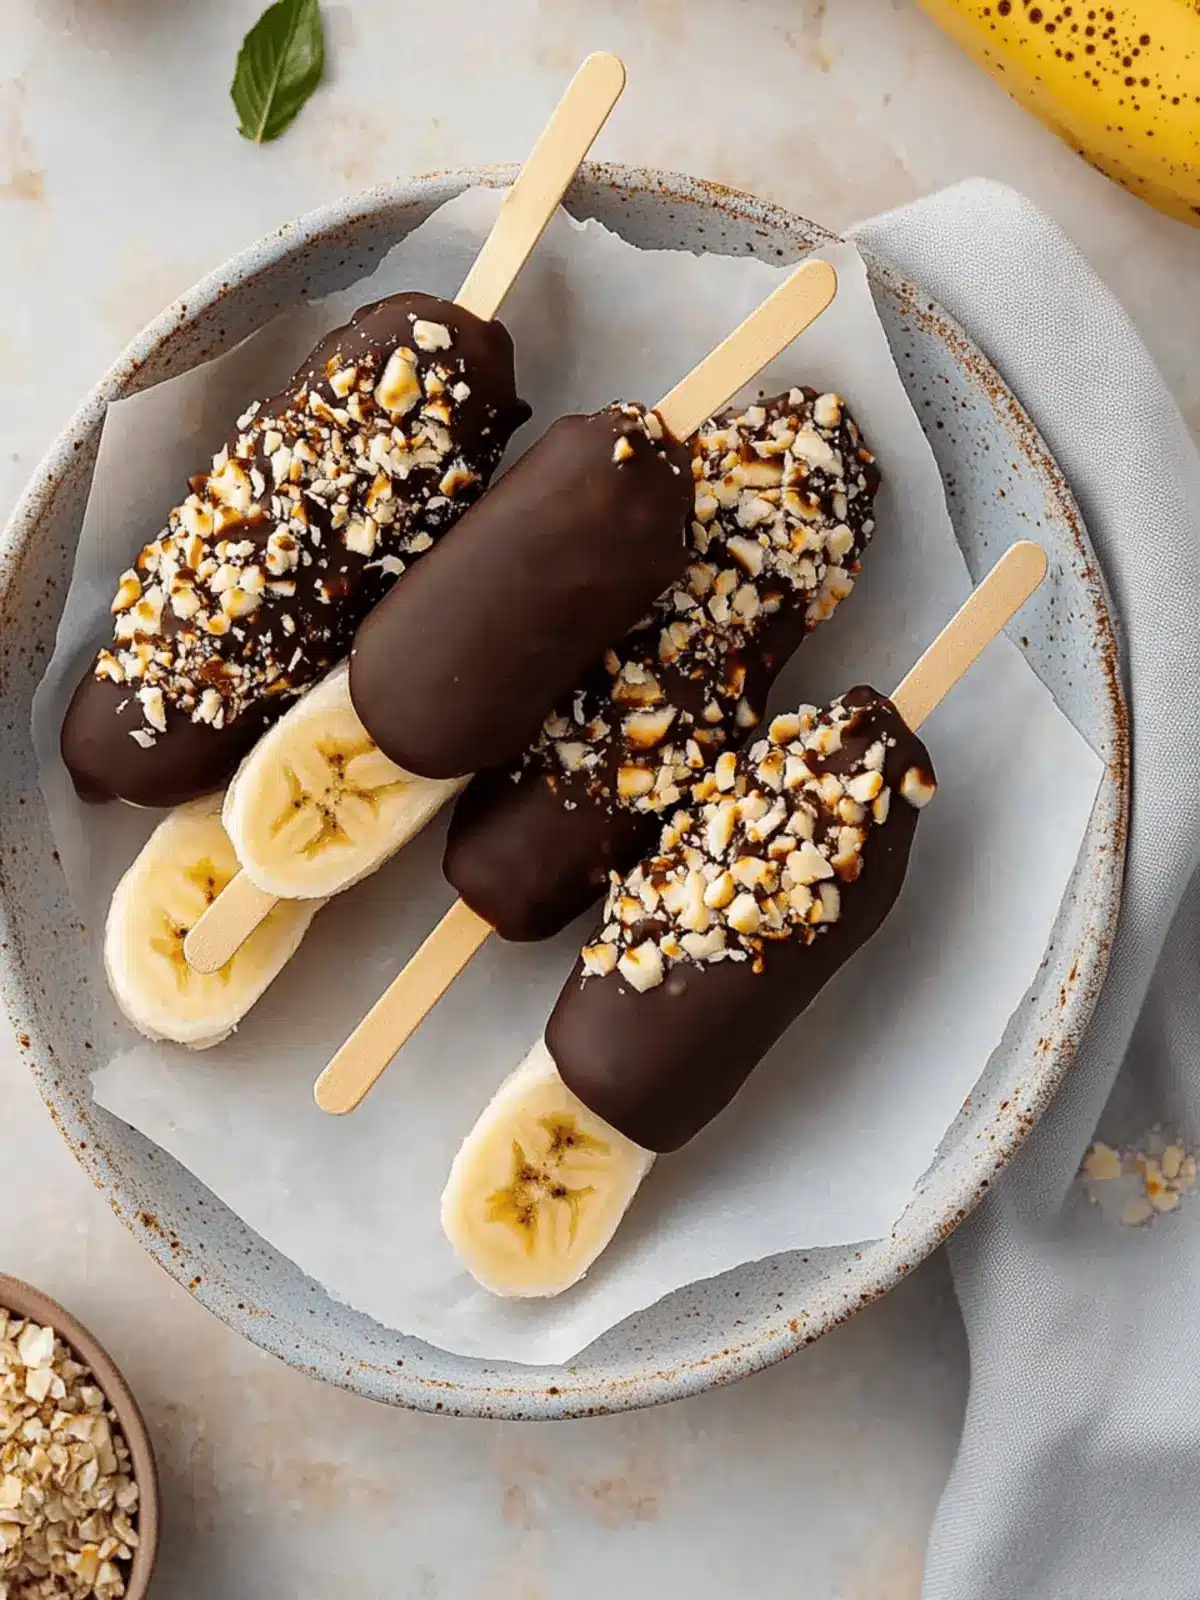
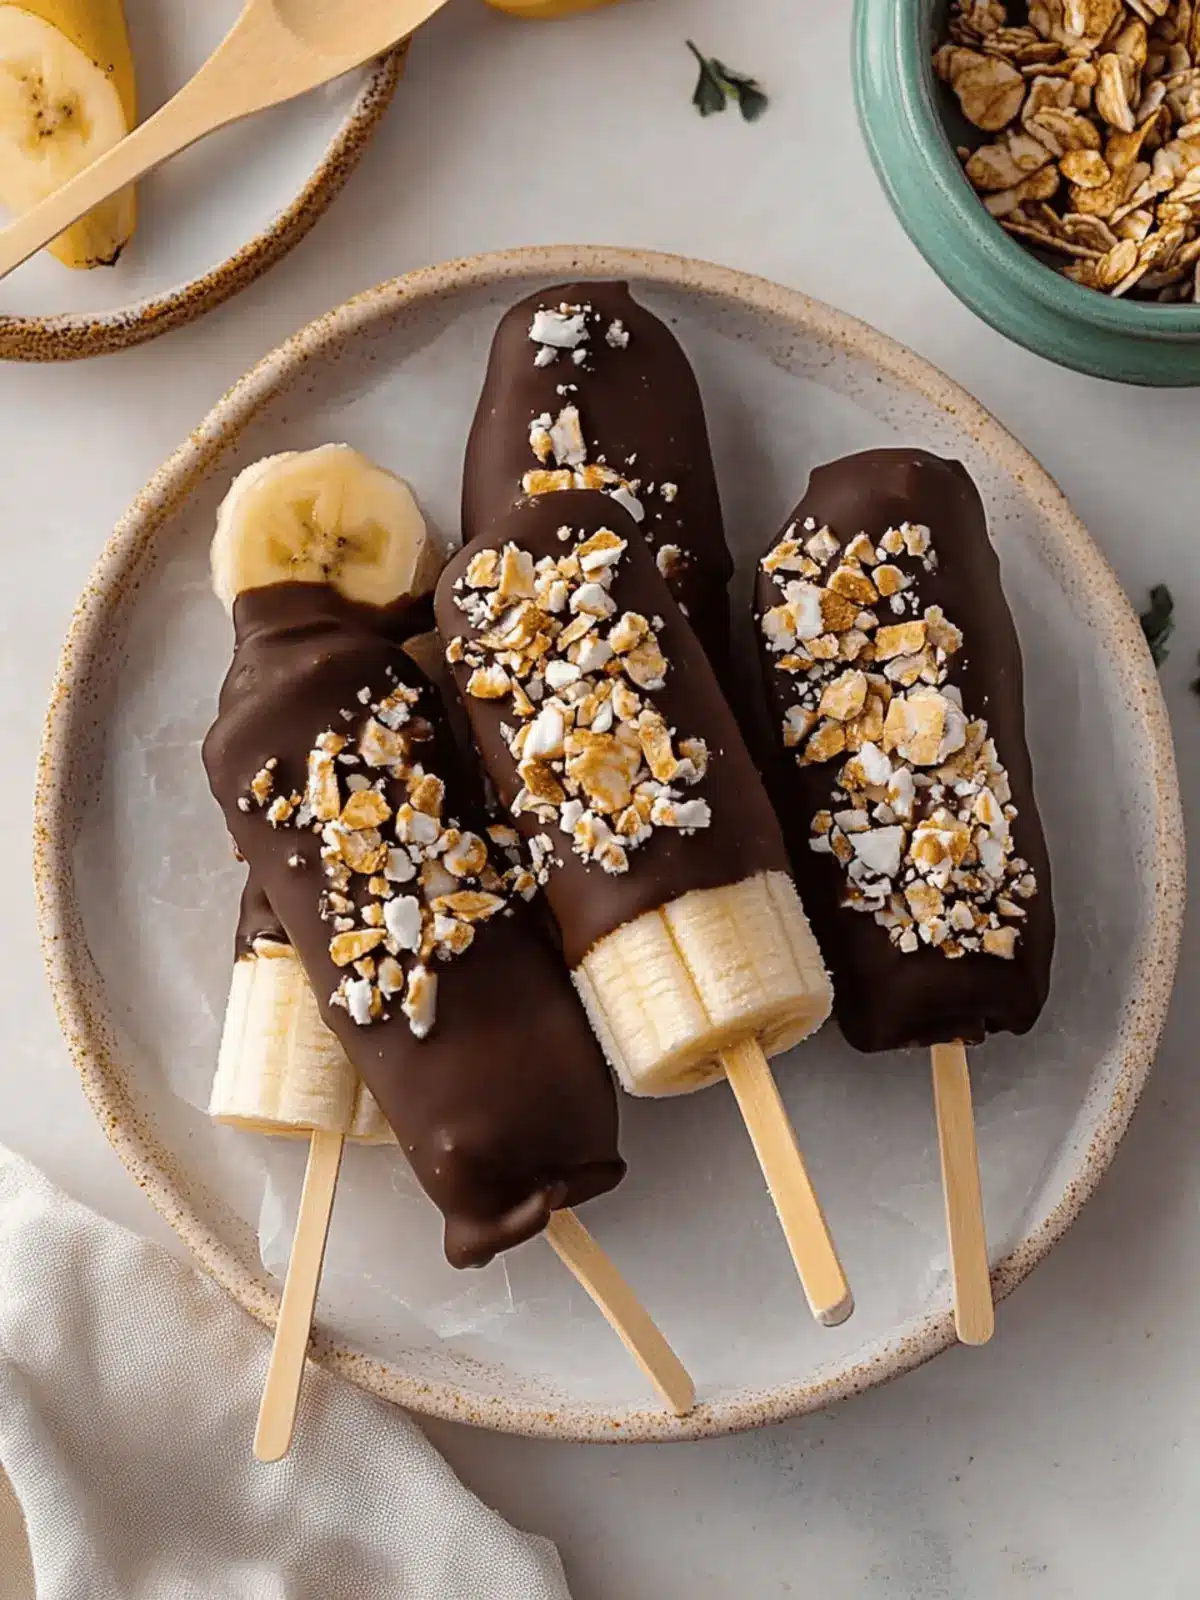
There’s something magical about the ease and joy of making your own treats, especially when they combine the irresistible flavors of chocolate and banana. A few weeks ago, after a long day, I craved something sweet but didn’t want to indulge in store-bought ice cream. That’s when I stumbled upon the idea of Chocolate Covered Banana Pops—a fun and healthy twist on traditional desserts. These delightful pops are a breeze to whip up, needing just three simple ingredients.
Whether you’re entertaining kids after school or in need of a quick and satisfying snack yourself, these pops promise to deliver a deliciously creamy bite. Plus, you can customize them with your favorite toppings, so each pop can be a creative masterpiece. Imagine the smiles on your loved ones’ faces as they enjoy these tasty, guilt-free treats! So let’s dive into making Chocolate Covered Banana Pops that are as enjoyable to create as they are to eat.
Why love Chocolate Covered Banana Pops?
Quick and Easy: With only three ingredients, you can whip these up in no time, making them perfect for busy parents or anyone wanting a last-minute treat.
Kid-Friendly Fun: Kids will adore helping dip and decorate their own pops with delightful toppings, turning snack time into a fun activity.
Healthy Indulgence: Enjoy the rich flavors without the guilt; these pops are a healthier alternative to sugary desserts.
Versatile Creations: Tailor them to your taste—experiment with dark chocolate, yogurt, or a variety of toppings for endless possibilities.
Perfect for Any Occasion: Whether it’s a summer party or a quick afternoon snack, these pops are sure to please everyone.
Chocolate Covered Banana Pops Ingredients
For the Pops
- Bananas – Use spotty but firm bananas for the best texture; avoid overripe ones to prevent icy pops.
- Chocolate Chips or Chopped Chocolate – Semi-sweet chocolate works well for balanced sweetness; feel free to use dark chocolate for a more intense flavor.
- Coconut Oil – This ingredient gives the chocolate a smooth texture for easy coating.
For the Toppings
- Chopped Peanuts – Adds a delightful crunch and nutty flavor to your Chocolate Covered Banana Pops.
- Shredded Coconut – Great for a tropical twist; use unsweetened for a healthier option.
- Cacao Nibs – They offer a rich chocolate flavor without added sugar, perfect for health-conscious treat lovers.
- Sprinkles – Fun and colorful, great for kids’ parties or to add a festive touch!
- Flaky Salt – Just a sprinkle enhances the chocolate’s richness and balances sweetness.
Feel free to mix and match these fun toppings to make your Chocolate Covered Banana Pops a unique and irresistible treat!
How to Make Chocolate Covered Banana Pops
- Line a Baking Sheet: Start by lining a baking sheet with parchment paper. This will prevent the pops from sticking and make clean-up a breeze.
- Prep the Bananas: Peel and cut your bananas in half. Insert popsicle sticks into the cut ends to create easy-to-hold treats for everyone.
- Freeze the Bananas: Place the prepared bananas on the baking sheet and freeze them for at least 1 hour. This helps the chocolate adhere better.
- Prepare Toppings: Gather your chosen toppings and place them in separate bowls. Having them ready will make the decorating process quick and fun!
- Melt the Chocolate: In a microwave-safe bowl, combine chocolate chips with coconut oil. Microwave in 20-second intervals, stirring in between until the mixture is smooth and creamy.
- Coat the Bananas: Remove the frozen bananas from the freezer. Dip each one into the melted chocolate, allowing any excess to drip back into the bowl for a perfect coating.
- Add Toppings: Immediately after coating, dip or sprinkle your chosen toppings onto the chocolate-covered bananas, pressing lightly to ensure they stick.
- Final Freeze: Place the decorated pops back onto the lined baking sheet and freeze again for at least 1 hour. Store any extras in a freezer bag for up to two weeks.
Optional: Drizzle some extra melted chocolate over the tops for a stylish finish!
Exact quantities are listed in the recipe card below.
How to Store and Freeze Chocolate Covered Banana Pops
Fridge: Keep your Chocolate Covered Banana Pops in the fridge for up to 3 days in an airtight container to maintain their freshness, though they’re best enjoyed frozen.
Freezer: Store the pops in a freezer bag or airtight container with parchment paper between layers for up to 2 weeks for the best texture and flavor.
Reheating: If you prefer them soft, let them sit at room temperature for a few minutes before enjoying, but avoid warming them in the microwave to prevent melting.
Serving: For the best results, serve these tasty pops cold straight from the freezer, making them perfect for a refreshing treat on warm days!
Expert Tips for Chocolate Covered Banana Pops
- Banana Selection: Choose bananas that are slightly spotty but firm; avoid overripe bananas to prevent icy texture in your pops.
- Stable Freezing Surface: Ensure your baking sheet fits in the freezer properly; a flat, stable surface is crucial for holding the pops steady while they freeze.
- Chocolate Melting: Stir the chocolate frequently while melting; this helps to prevent burning and ensures a smooth, silky coating for your Chocolate Covered Banana Pops.
- Topping Variety: Get creative with toppings! Use whatever you have on hand—think crunchy, sweet, or salty—to customize your pops and avoid monotony.
- Coating Consistency: Allow any excess chocolate to drip off before adding toppings; this prevents clumping and keeps your Chocolate Covered Banana Pops beautiful and appetizing.
Make Ahead Options
These Chocolate Covered Banana Pops are a fantastic make-ahead option for busy families! You can slice and freeze the bananas up to 24 hours in advance, ensuring they’re perfectly chilled when you’re ready to coat them. Simply peel, cut, and insert the sticks before laying them flat on a parchment-lined baking sheet and freezing. If you want to save even more time, you can melt the chocolate and mix in the coconut oil a day ahead, refrigerating it overnight to maintain its smooth consistency. When it’s time to serve, just warm the chocolate slightly if needed, coat the frozen bananas, add your favorite toppings, and freeze again for a delicious treat that’s just as delightful as when freshly made!
What to Serve with Chocolate Covered Banana Pops?
Elevate your dessert experience by pairing these delightful treats with complementary flavors and textures that enhance your snacking joy.
- Creamy Yogurt Dip: A dollop of vanilla or Greek yogurt provides a tangy contrast to the sweet bananas, making every bite even more enjoyable.
- Fresh Berries: Strawberries, raspberries, or blueberries add a fresh, juicy burst that complements the richness of the chocolate beautifully, creating a fruitier balance.
- Nut Butter Drizzle: A thin drizzle of almond or peanut butter on top enhances the flavor while adding a creamy, nutty note that kids will love.
- Nutty Granola Crunch: Serve alongside a bowl of granola, where the crunchy texture offers a delightful contrast to the creamy pops, creating a satisfying snack combination.
- Ice Cream Kick: For the ultimate indulgence, serve them with a scoop of vanilla ice cream; a classic combo that feels decadent yet still offers a healthy twist.
- Chocolate Smoothie: Blend a refreshing chocolate banana smoothie for a dreamy drink that echoes the flavors of your pops, turning snack time into a treat extravaganza!
Chocolate Covered Banana Pops Variations & Substitutions
Feel free to get creative with your Chocolate Covered Banana Pops—each twist adds a personal touch that enhances your treats!
- Yogurt Coating: Swap chocolate for Greek yogurt for a tangy, lighter option that’s still delicious.
This twist not only lowers sugar but also adds a delightful creaminess that’s sure to please those looking for a healthier treat.
- Different Chocolates: Use white chocolate or milk chocolate for a sweeter pop or dark chocolate for a richer flavor profile.
Each type of chocolate brings its unique character to the pops—let your taste buds guide you!
- Nut Butter Drizzle: Drizzle peanut butter or almond butter over the chocolate coating for an extra layer of creaminess and flavor.
The nutty richness perfectly complements the sweet banana, creating a satisfying treat that feels indulgent yet wholesome.
- Fruit Toppings: Incorporate freeze-dried or fresh fruits like strawberries or blueberries for a burst of flavor and color.
The vibrant fruit not only looks gorgeous but also enhances the health factor with additional nutrients.
- Spicy Kick: Add a hint of cayenne pepper or chili powder to the melted chocolate for a surprising kick.
This exciting twist contrasts beautifully with the sweet banana, offering a playful taste experience that adventurous eaters will love.
- Coconut Delight: Roll the pops in toasted coconut flakes for a tropical vibe and extra crunch.
The coconut adds both texture and flavor, transforming your pops into a mini vacation for your taste buds.
- Graham Cracker Crust: Crumble graham crackers and roll the chocolate-coated pops in them for a delightful crunch reminiscent of s’mores.
This addition gives a fun texture and nostalgic flavors, perfect for reliving summer camp memories.
- Sweet Sprinkle Mix: Combine various sprinkles for a colorful pop that’s great for celebrations or kids’ parties.
The joy of sprinkles elevates the visual appeal and makes these pops even more fun to eat, creating smiles all around!
Chocolate Covered Banana Pops Recipe FAQs
What type of bananas should I use for the pops?
For best results, choose spotty but firm bananas, as they provide natural sweetness and a good texture. Avoid overripe bananas, which can become icy and less enjoyable once frozen.
How long can I store the chocolate-covered banana pops?
You can keep your Chocolate Covered Banana Pops in the freezer for up to 2 weeks. Just make sure to store them in a freezer bag or an airtight container with parchment paper between layers to prevent sticking.
Can I freeze chocolate-covered banana pops? How do I do it properly?
Absolutely! After coating them in chocolate and adding your toppings, place the pops back on the parchment-lined baking sheet and freeze for at least 1 hour. Once they’re frozen solid, transfer them to a freezer bag or airtight container.
What should I do if my chocolate isn’t melting smoothly?
If your chocolate isn’t melting well, you may be microwaving it for too long at once. Instead, heat in 20-second intervals, stirring in between, until it’s completely smooth and creamy. Adding a small amount of coconut oil can also help achieve a silkier texture.
Are there any dietary considerations for chocolate-covered banana pops?
Yes! These pops can be adjusted to fit different dietary needs. For example, you can use dark chocolate for a dairy-free option or replace the chocolate with yogurt for a lighter alternative. Just be cautious with any toppings if you’re serving them to those with nut allergies or other dietary restrictions.
How can I ensure my pops don’t stick to the baking sheet when freezing?
To prevent sticking, always line your baking sheet with parchment paper. This will create a non-stick surface, allowing you to easily lift the pops off after freezing. For added assurance, let the pops freeze until they are completely solid before removing them.
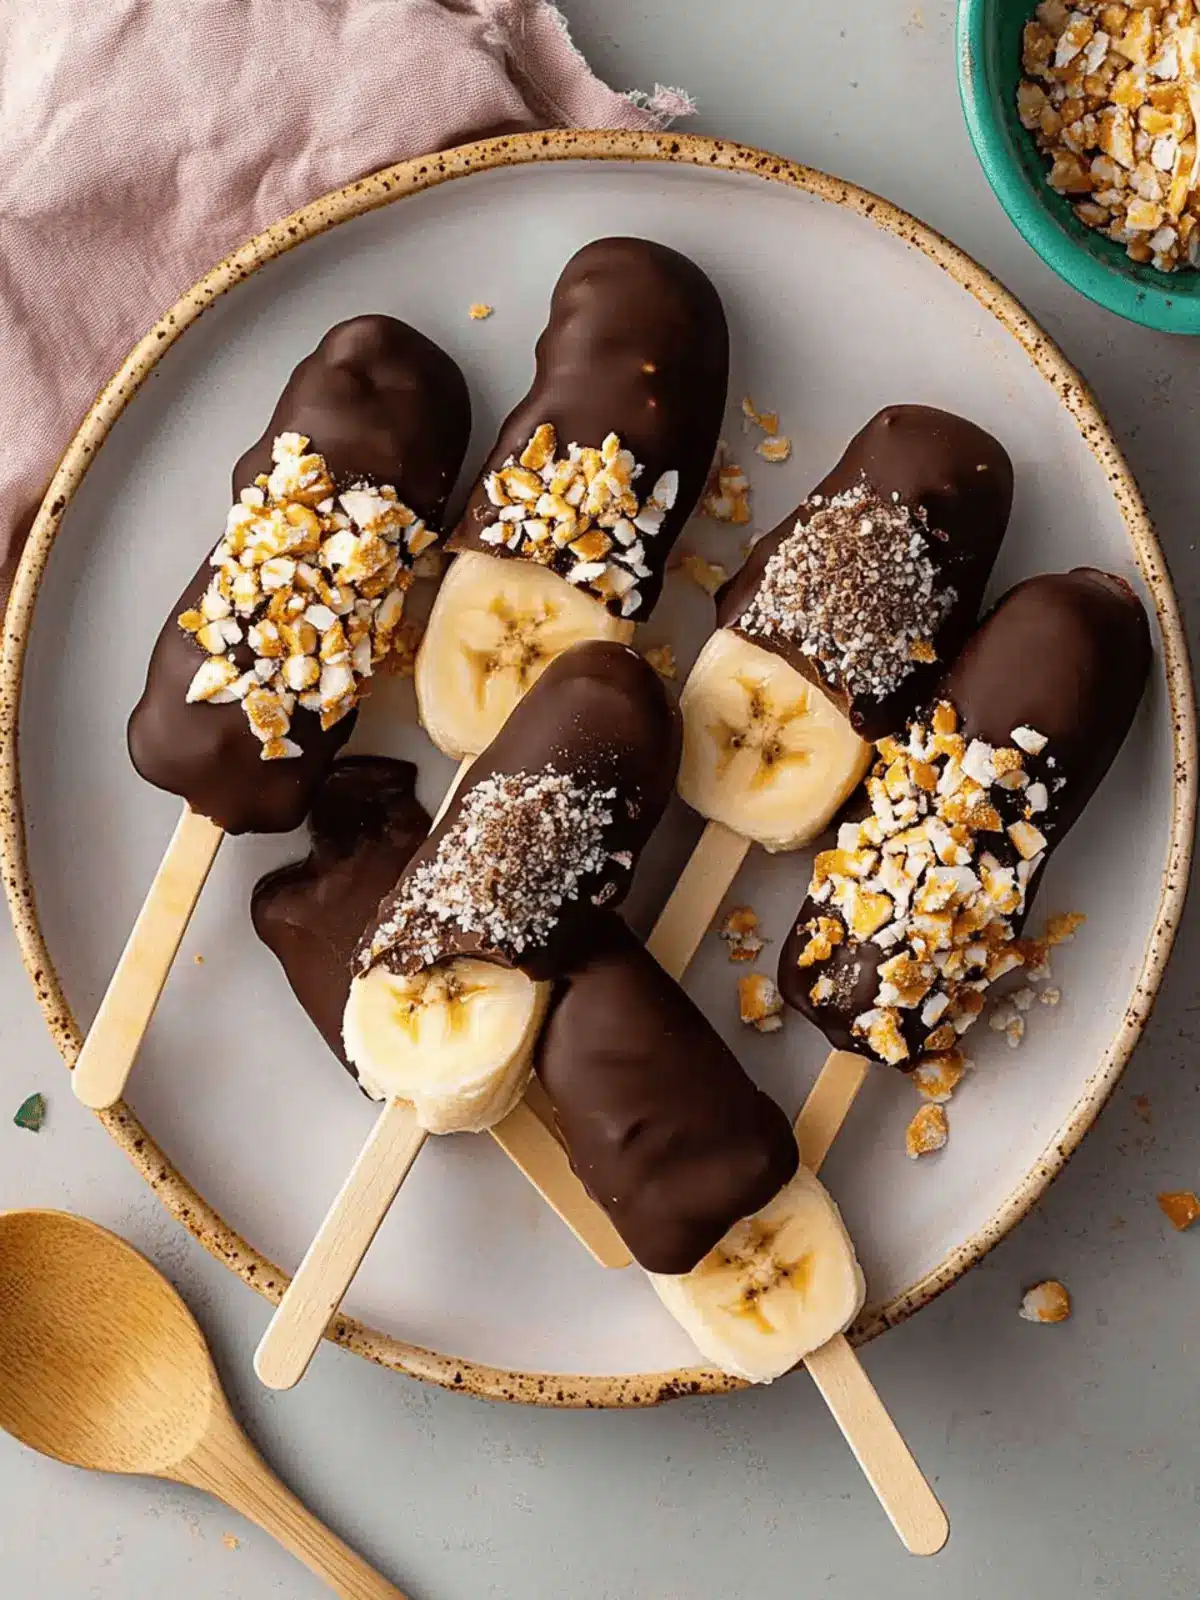
Chocolate Covered Banana Pops: A Healthy Treat for Everyone
Ingredients
Equipment
Method
- Line a Baking Sheet with parchment paper.
- Peel and cut the bananas in half and insert popsicle sticks.
- Freeze the bananas for at least 1 hour.
- Gather and prepare your toppings in separate bowls.
- Melt chocolate chips with coconut oil in a microwave-safe bowl.
- Dip frozen bananas into melted chocolate and allow excess to drip off.
- Immediately add toppings and press lightly to ensure they stick.
- Freeze the decorated pops for at least 1 hour.
- Store any extras in a freezer bag for up to two weeks.

