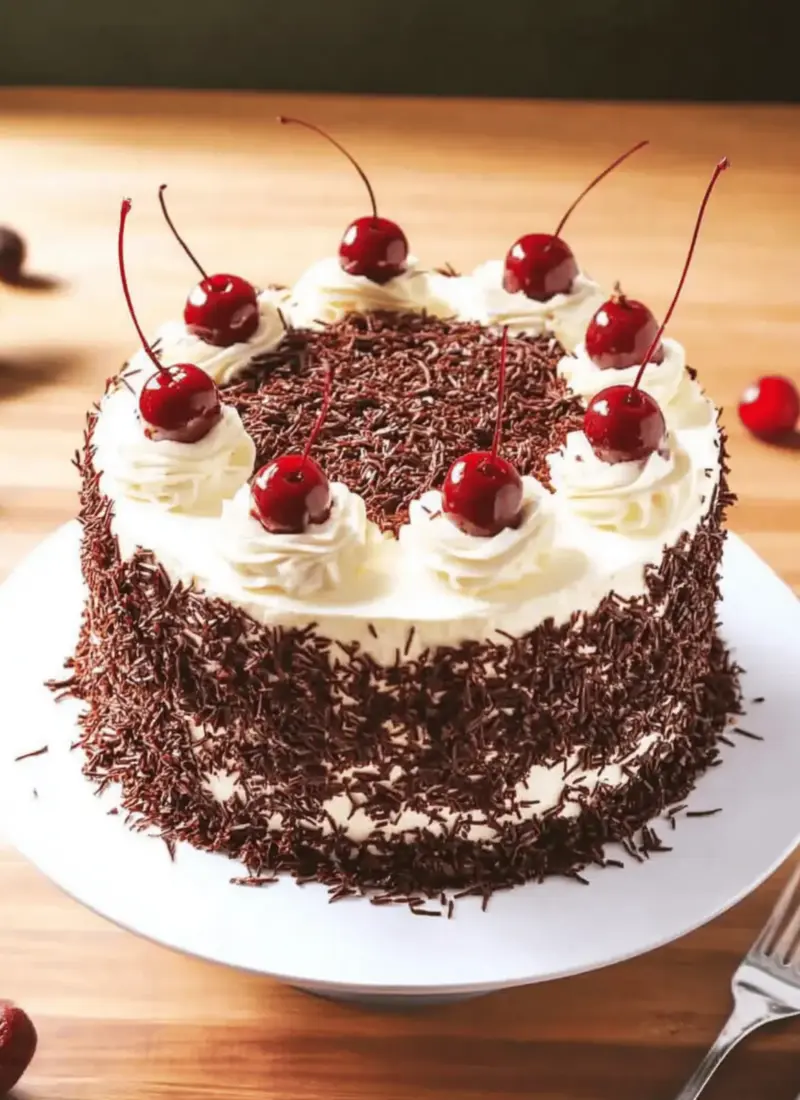
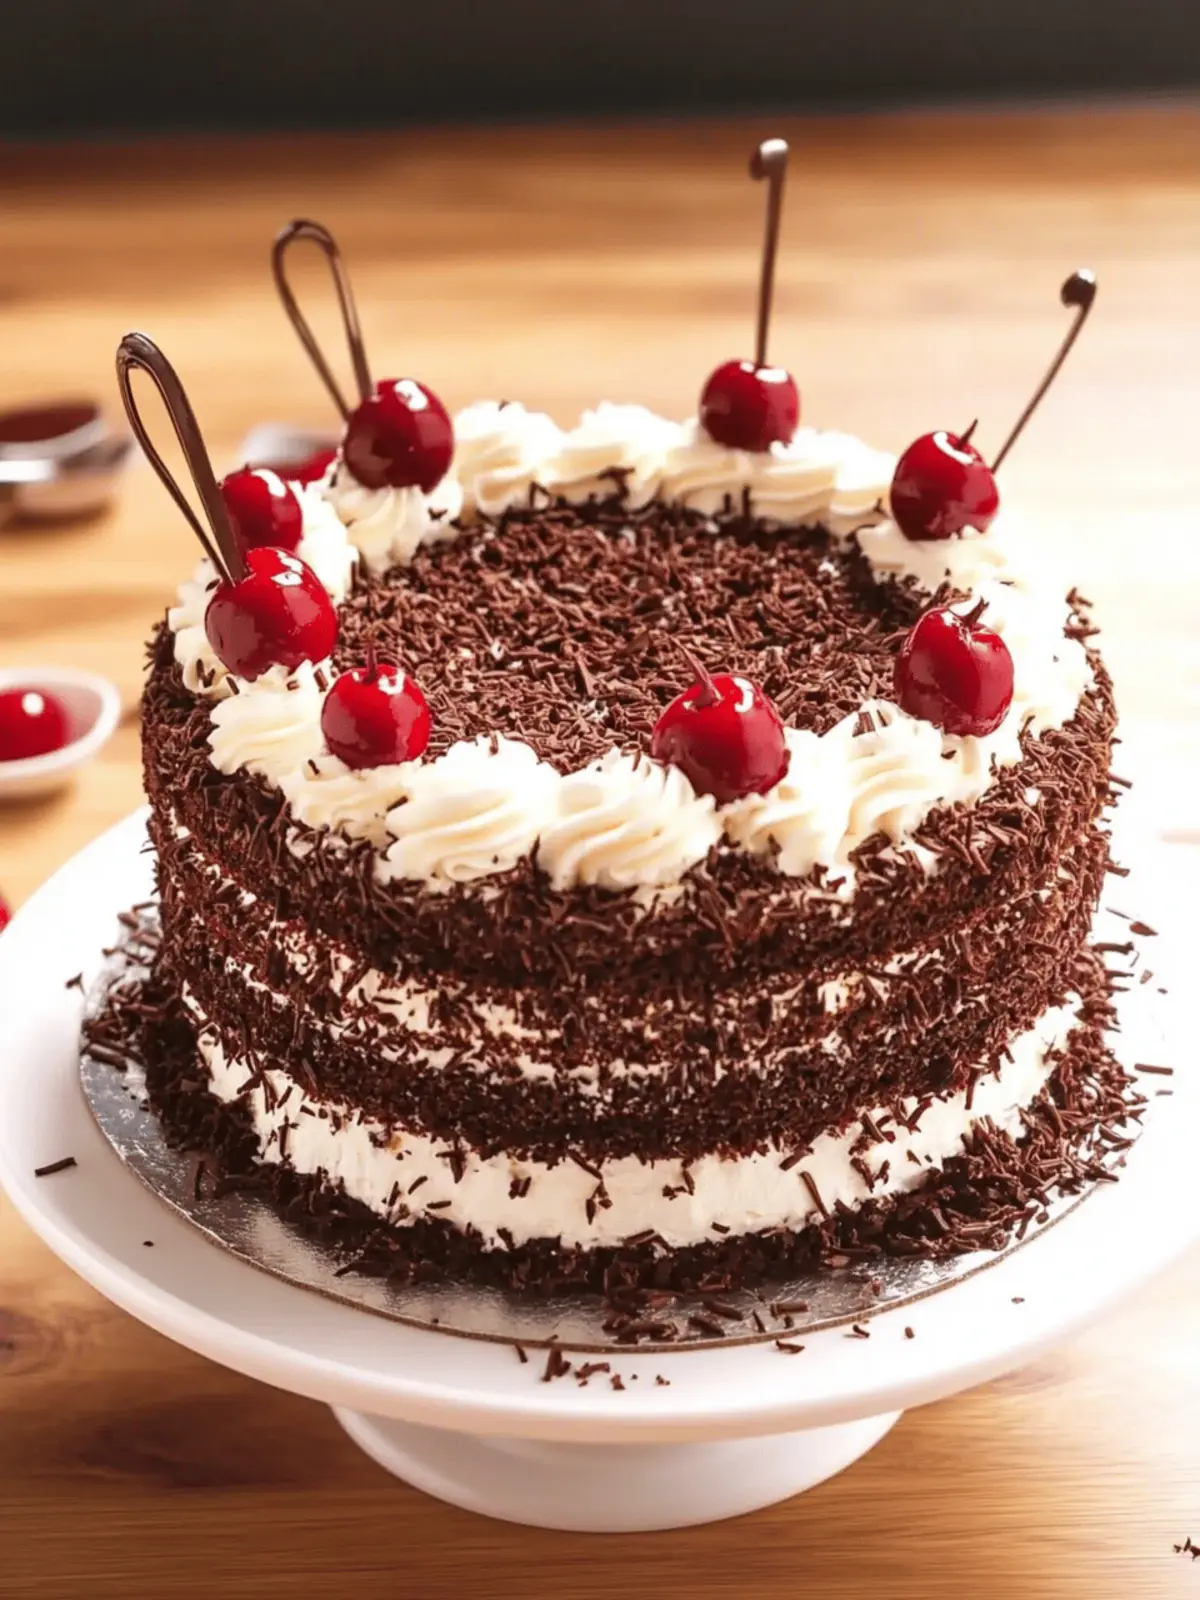
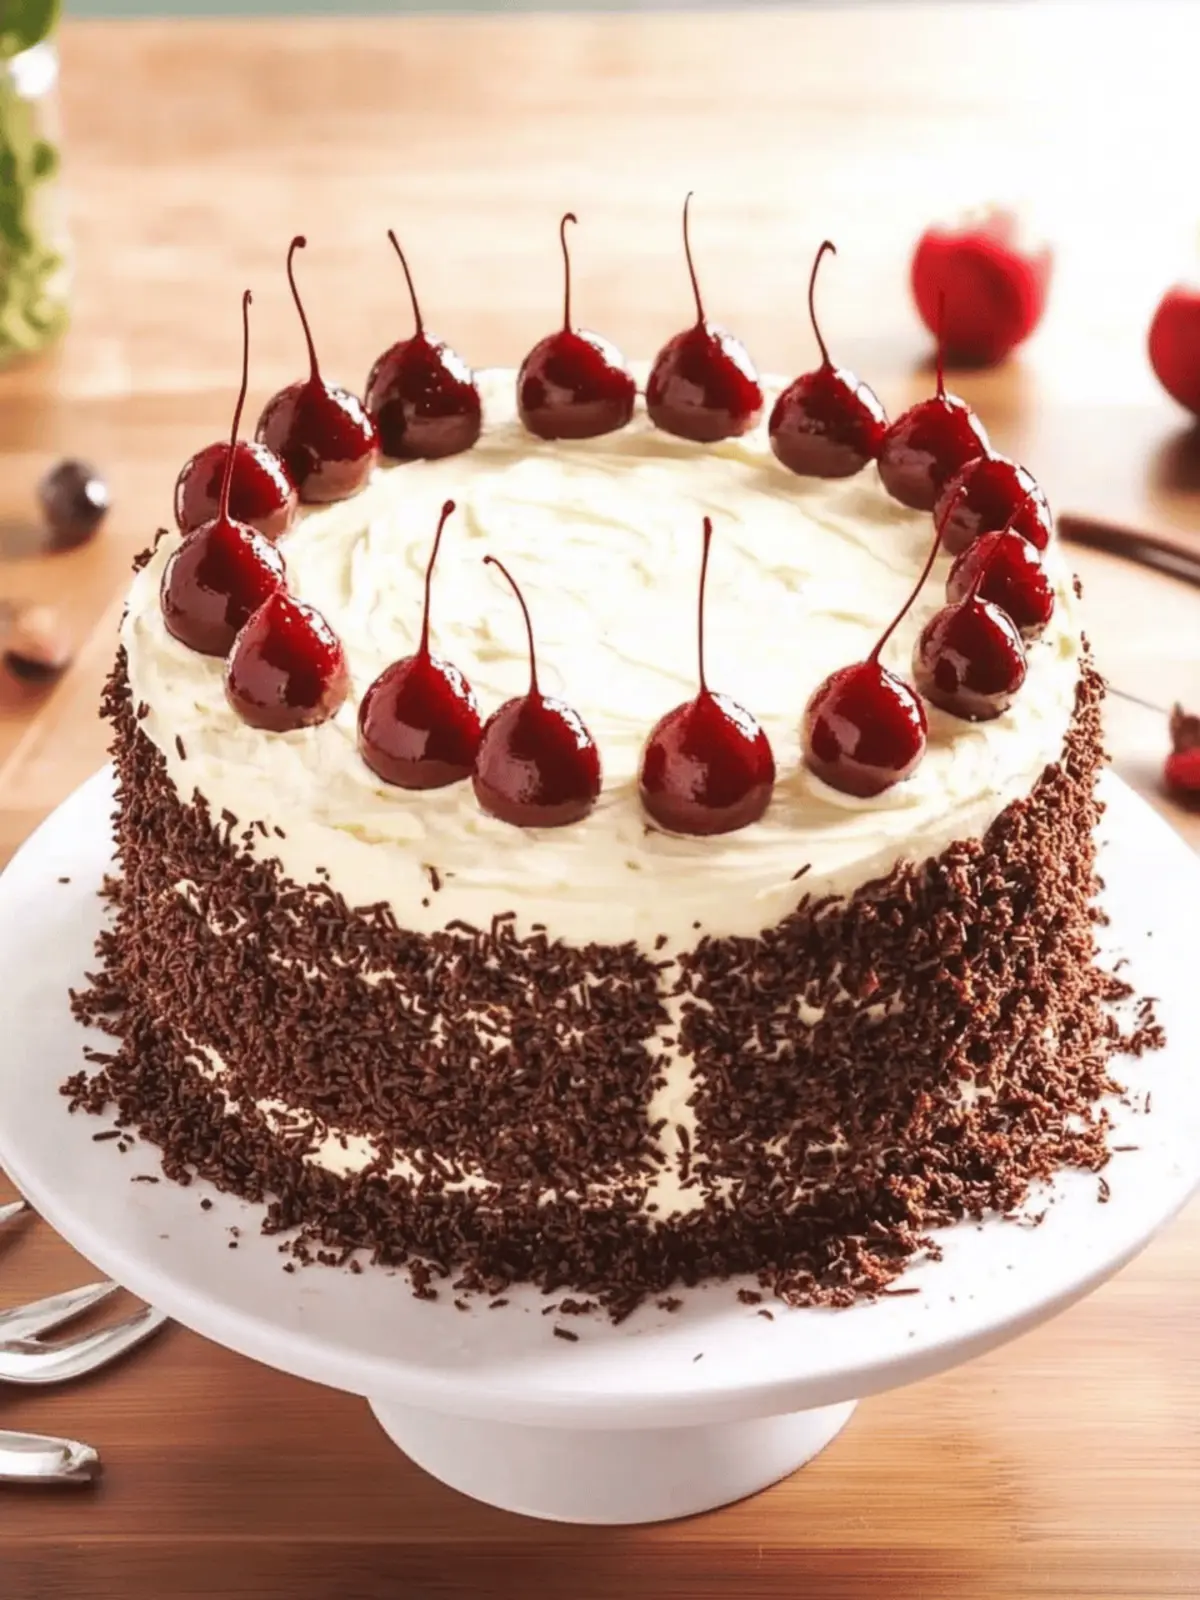
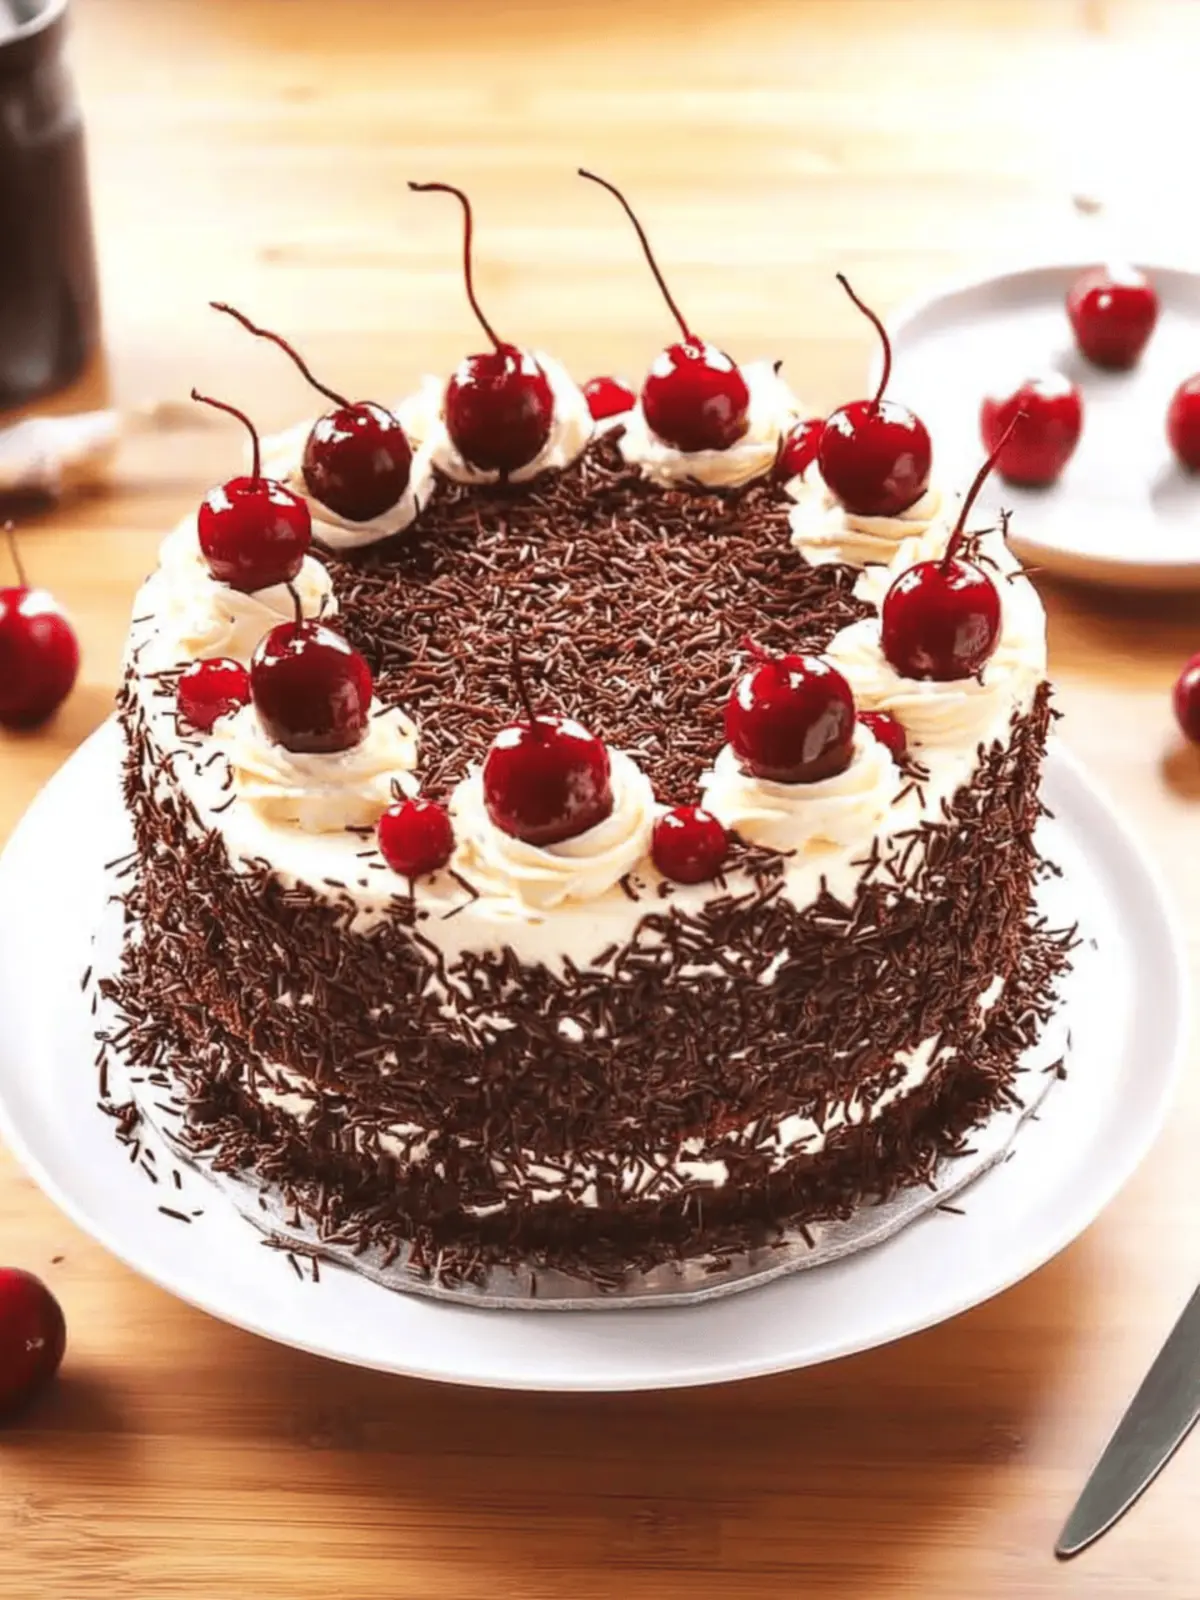
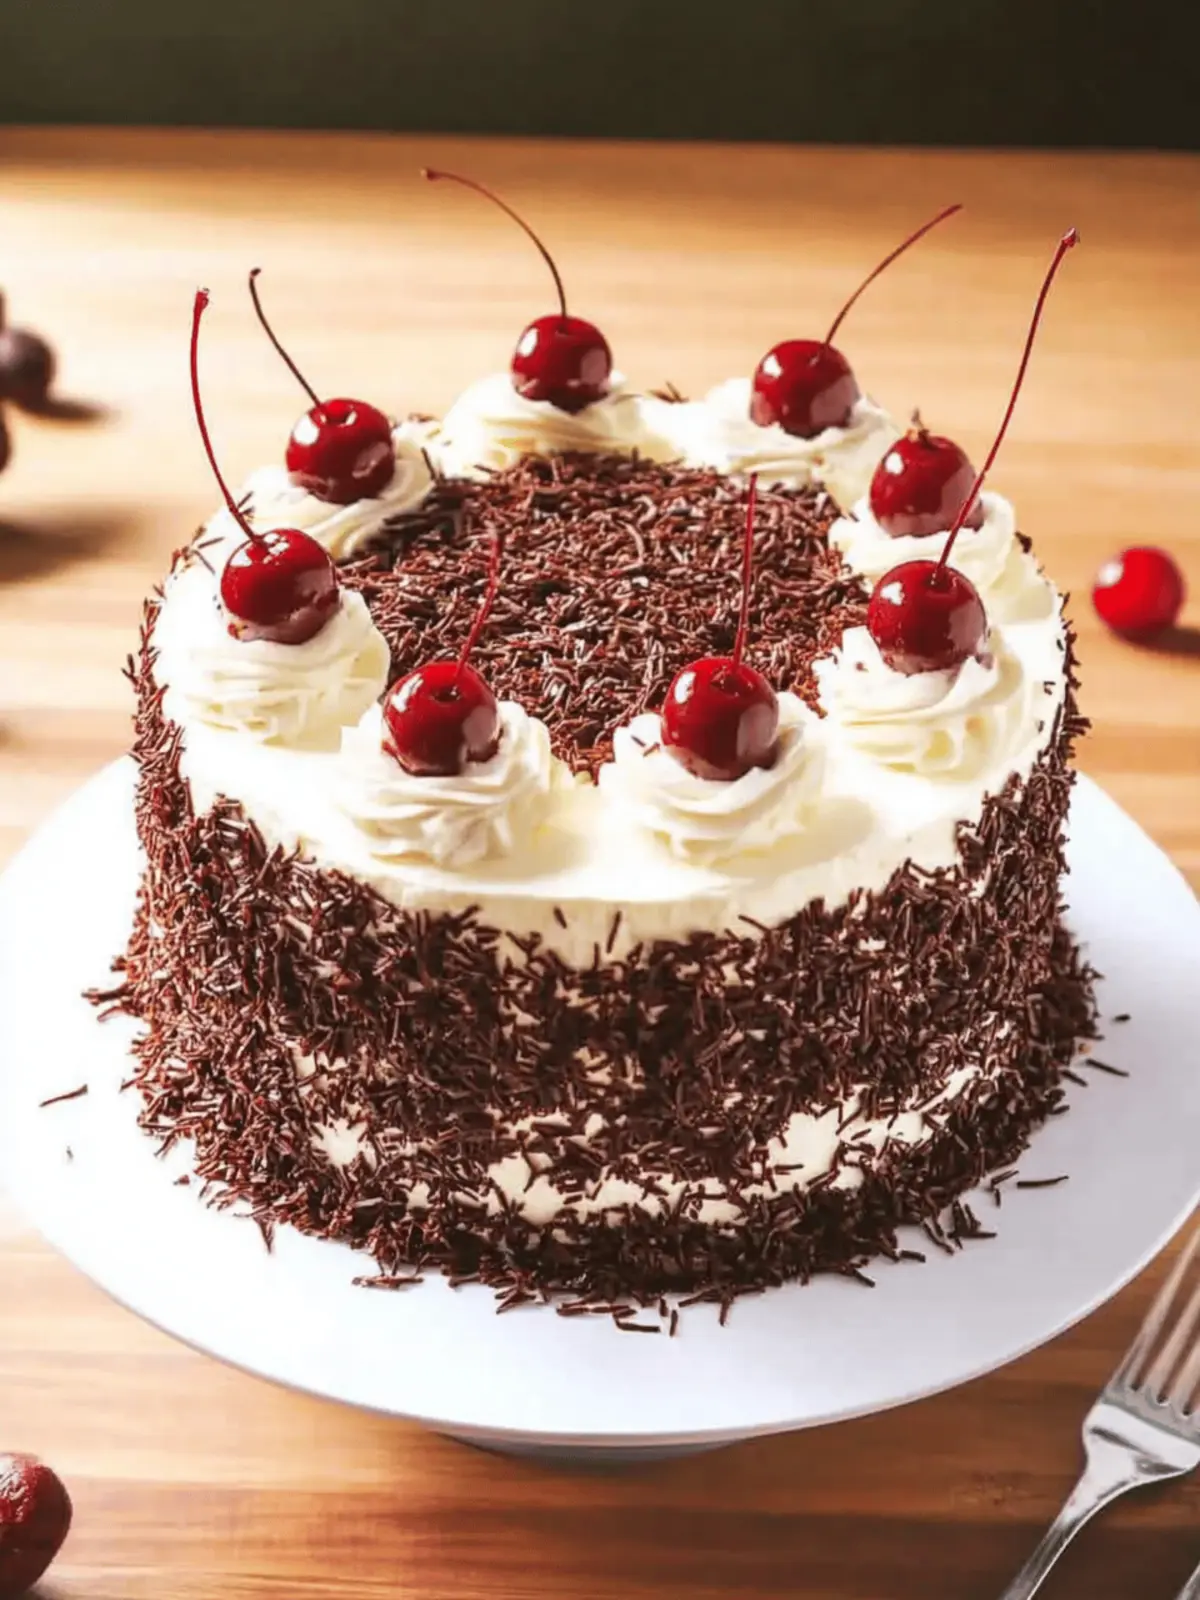
When the holidays beckon, and cravings for something truly special arise, nothing compares to the timeless allure of a Black Forest Cake. As I stood in my kitchen, the scent of chocolate mingling with the tang of tart cherries, I realized this classic dessert is the perfect centerpiece for any celebration. With its rich layers of moist chocolate, topped with fluffy whipped cream and a luscious cherry syrup, it transforms any gathering into an unforgettable feast.
You might assume that such a stunning cake would require elaborate skills and hours of painstaking effort. But here’s the delightful twist: my Easy Black Forest Cake recipe simplifies the process without sacrificing that cozy, homemade touch. Using boxed cake mix as a base, it’s approachable for beginners yet indulgent enough to impress even the most discerning guests. So roll up your sleeves, and let’s embark on creating a dessert that sings with nostalgia and flavor!
Why will you love this Black Forest Cake?
Decadent flavor: This cake showcases a delightful combination of rich chocolate and tart cherries that will tantalize your taste buds.
Easy preparation: Using boxed cake mix means less time in the kitchen and more time enjoying the flavors.
Impressive presentation: With its stunning layers of whipped cream and cherry syrup, this dessert is sure to wow your guests.
Versatile enjoyment: Perfect for holidays, birthdays, or just a sweet treat, you can’t go wrong serving this classic!
Memorable moments: Creating this cake is a chance to foster warm memories and share love with friends and family. Don’t forget to check out more classic dessert recipes to expand your collection!
Black Forest Cake Ingredients
For the Cake
• Devil’s Food Cake Mix – Provides the rich chocolate flavor that this Black Forest Cake is known for.
• Large Eggs (4) – Binds the ingredients together and adds moistness.
• Water (1 cup) – Helps to achieve the right batter consistency.
For the Cherry Syrup
• Sour Cherries (24 oz. jar) – Offers a perfect tartness and juicy richness to balance the sweetness of the cake.
• Granulated Sugar (½ cup) – Sweetens the cherry syrup for a delightful contrast.
• Kirsch (¼ cup) – Enhances flavor and adds an authentic twist. Note: Substitute with cherry juice for a non-alcoholic version.
For the Whipped Cream Frosting
• Heavy Whipping Cream (4 cups) – Creates a rich, fluffy texture that’s essential for this cake.
• Powdered Sugar (1 cup) – Sweetens the whipped cream while helping it hold its shape.
• Unflavored Gelatin (3 tsp.) – Stabilizes the whipped cream, ensuring it stays firm. Tip: Avoid flavored gelatin to maintain the cake’s classic taste.
• Vanilla Extract (1 tsp.) – Adds depth and enhances the overall flavor of the frosting.
For Topping and Decoration
• Fresh Cherries – Adds a pop of color and a fresh touch to your cake.
• Chocolate Shavings – Elevates the presentation and brings an extra chocolatey flavor.
Embrace the joy of baking and bring this enchanting cake to life!
How to Make Black Forest Cake
- Bake the Cake: Preheat your oven according to the cake mix instructions. Prepare and bake the devil’s food cake mix in two 9-inch round pans, following the package instructions. Allow the cakes to cool completely on a wire rack.
- Make Cherry Syrup: In a saucepan, combine the sour cherries, granulated sugar, and kirsch. Heat over medium heat, stirring until the sugar dissolves and the cherries have softened, forming a lovely syrup. Set aside to cool.
- Prepare Gelatin: In a small bowl, sprinkle unflavored gelatin over cold water and let it bloom for a few minutes. Then, gently mix it into the warm cherry syrup until fully dissolved. Allow it to cool completely.
- Whip Cream: In a large mixing bowl, use an electric mixer to beat the heavy whipping cream, powdered sugar, and vanilla extract until soft peaks form. Gradually add the cooled gelatin mixture, and continue to whip until stiff peaks are reached.
- Assemble Layers: Once your cakes have cooled, slice each cake in half horizontally to create four layers. Brush each layer generously with the cherry syrup, then spread a layer of whipped cream between each.
- Frost the Cake: Use the remaining whipped cream to frost the top and sides of the entire cake, creating a smooth, creamy exterior.
- Chill and Serve: Place the frosted cake in the refrigerator for at least 2 hours to set. Once set, slice and serve, garnished with fresh cherries and chocolate shavings.
Optional: For an extra touch, drizzle additional cherry syrup over each slice before serving.
Exact quantities are listed in the recipe card below.
Make Ahead Options
These Easy Black Forest Cake preparations are perfect for meal prep enthusiasts who want to save time without sacrificing flavor! You can bake the cake layers up to 24 hours in advance—just wrap them tightly in plastic wrap to keep them moist. The cherry syrup can also be made ahead and stored in the refrigerator for up to 3 days, allowing the flavors to meld beautifully. Finally, whip the cream and stabilize it with gelatin just before assembling, to ensure it stays fluffy and fresh. When you’re ready to indulge, simply layer the chilled cakes with cherry syrup and whipped cream, frost the cake, and chill for at least 2 hours before serving. This way, you’ll have a stunning dessert that’s just as delicious without the last-minute rush!
What to Serve with Black Forest Cake?
When your dessert table features this delightful cake, it’s the perfect opportunity to create a memorable dining experience full of complementary flavors and textures.
- Coffee: The rich, bold flavor of coffee enhances the chocolatey goodness of the cake, making each bite even more delightful. Whether you prefer a strong espresso or a creamy latte, coffee will elevate your dessert moment.
- Vanilla Ice Cream: A scoop of creamy vanilla ice cream contrasts beautifully with the cake’s textures, adding a coolness that pairs wonderfully with the sweet, tart cherry flavor. The combination is classic and satisfies every sweet tooth.
- Berry Medley: A fresh assortment of strawberries, blueberries, and raspberries introduces a refreshing element to your dessert spread. Their tartness balances the sweetness of the Black Forest Cake beautifully, offering a light, fruity note.
- Sparkling Wine: Toast your gatherings with a glass of bubbly! The effervescence of sparkling wine cuts through the creaminess of the frosting while its fruity notes tie in perfectly with the cherry syrup, creating an elegant pairing.
- Chocolate Ganache: Drizzling rich, velvety chocolate ganache over a slice adds another layer of decadence. This indulgent touch enhances the cake’s chocolate flavor and creates an irresistible visual appeal.
- Mint Leaves: A garnish of fresh mint brings vibrant color and a subtle freshness to each slice. This simple addition gives a pop of brightness that contrasts nicely with the rich chocolate cake.
Craft beautiful plates by combining these ideas, and indulge in an unforgettable dessert experience!
Black Forest Cake Variations
Feel free to play with this classic recipe and make it your own with these delightful twists!
- Gluten-Free: Use a gluten-free chocolate cake mix to accommodate those with dietary restrictions while still enjoying the rich flavors.
- Berry Burst: Swap sour cherries for fresh raspberries or strawberries for a berry variation that adds a delightful twist.
- Almond Joy: Add a splash of almond extract in the whipped cream for an aromatic flavor boost that pairs wonderfully with chocolate.
- Nutty Crunch: Fold in some chopped nuts, like hazelnuts or almonds, into the layers for a satisfying crunchy texture amidst the creamy frosting.
- Mini Bite-Sized: Bake the cake in cupcake pans for adorable mini versions—perfect for parties or as a sweet individual treat.
- Boozy Options: Infuse the cherry syrup with your favorite liqueur, like Amaretto or Grand Marnier, for an adult twist that will elevate the dessert.
- Choco-Mint Delight: Integrate some peppermint extract into the whipped cream for a refreshing minty flavor that perfectly complements the chocolate.
- Layered Cheesecake: For a decadent variation, swap out one layer of cake for a rich cheesecake layer to create an unforgettable dessert experience.
How to Store and Freeze Black Forest Cake
Fridge: Store the cake in an airtight container or cover it loosely with plastic wrap. It will stay fresh for up to 3 days, with flavors remaining delightful.
Freezer: If you need to freeze your cake, wrap individual slices tightly in plastic wrap followed by aluminum foil. It can be stored for up to 2 months without losing flavor.
Reheating: To preserve the cake’s texture, thaw slices in the refrigerator overnight before serving. Enjoy with a drizzle of cherry syrup for an added touch.
Tip: Always ensure the whipped cream is well-stabilized with gelatin, so your Black Forest Cake maintains its beautiful structure when storing.
Expert Tips for Black Forest Cake
- Cooling Time Matters: Allow the cake layers to cool completely before frosting to prevent melting your whipped cream.
- Slice with Precision: For clean cuts, use a serrated knife to slice the cake layers evenly, ensuring a beautiful presentation.
- Chill Tools: Chill your mixing bowl and beaters before whipping the cream; this helps achieve a better, more stable whipped cream for your Black Forest Cake.
- Avoid Gelatin Lumps: When adding gelatin to the syrup, stir carefully to prevent lumps, which can spoil the texture of the whipped cream.
- Storage Tips: Store your cake covered in the refrigerator and consume within three days for optimal freshness and flavor.
Black Forest Cake Recipe FAQs
How do I select the right cherries for the cherry syrup?
Absolutely! When choosing cherries, look for firm, plump sour cherries with no dark spots or blemishes. If you’re using jarred cherries, ensure they’re packed in juice rather than syrup for a more authentic flavor. If you’re fortunate enough to find fresh cherries in season, use those for a touch of elegance on top!
How should I store my Black Forest Cake?
To keep your cake fresh, store it in the refrigerator, covered with plastic wrap or in an airtight container, and enjoy within 3 days. This will help maintain its delightful flavors, although it’s best served fresh. If the whipped cream starts to weep, give it another gentle whip before serving.
Can I freeze Black Forest Cake?
Absolutely! You can freeze individual slices of your Black Forest Cake. Wrap them tightly in plastic wrap and then in aluminum foil to protect from freezer burn. It will last up to 2 months. When you’re ready to enjoy, simply thaw the slices overnight in the fridge and serve them cold or at room temperature.
What should I do if my whipped cream isn’t thickening?
Very! If your whipped cream isn’t thickening, first ensure your heavy whipping cream is cold—this is crucial. Chill your mixing bowl and beaters for at least 15 minutes before whipping. If it still doesn’t reach soft peaks, gradually add a bit more powdered sugar and keep whipping until it thickens. Remember to incorporate the gelatin carefully to avoid lumps!
Can I use a different type of cake mix for the Black Forest Cake?
Certainly! While this recipe uses a devil’s food cake mix for that rich chocolate flavor, feel free to substitute with a gluten-free chocolate cake mix if needed, or even a homemade chocolate cake recipe if you want to go the extra mile. Just be sure to adjust the baking time according to your chosen mix.
What if someone has food allergies or dietary restrictions?
The more the merrier! If you have guests with dietary restrictions, consider using ingredients that cater to their needs. You can replace kirsch with cherry juice for a non-alcoholic treat, and ensure your cake mix is allergy-friendly. For dairy-free options, have a look for non-dairy whipping cream alternatives. It’s always a good idea to ask guests about their dietary restrictions beforehand.
Decadent Black Forest Cake Recipe You Can’t Resist
Ingredients
Equipment
Method
- Preheat your oven according to the cake mix instructions. Prepare and bake the devil’s food cake mix in two 9-inch round pans, following the package instructions. Allow the cakes to cool completely on a wire rack.
- In a saucepan, combine the sour cherries, granulated sugar, and kirsch. Heat over medium heat, stirring until the sugar dissolves and the cherries have softened, forming a lovely syrup. Set aside to cool.
- In a small bowl, sprinkle unflavored gelatin over cold water and let it bloom for a few minutes. Then, gently mix it into the warm cherry syrup until fully dissolved. Allow it to cool completely.
- In a large mixing bowl, use an electric mixer to beat the heavy whipping cream, powdered sugar, and vanilla extract until soft peaks form. Gradually add the cooled gelatin mixture, and continue to whip until stiff peaks are reached.
- Once your cakes have cooled, slice each cake in half horizontally to create four layers. Brush each layer generously with the cherry syrup, then spread a layer of whipped cream between each.
- Use the remaining whipped cream to frost the top and sides of the entire cake, creating a smooth, creamy exterior.
- Place the frosted cake in the refrigerator for at least 2 hours to set. Once set, slice and serve, garnished with fresh cherries and chocolate shavings.
- For an extra touch, drizzle additional cherry syrup over each slice before serving.

