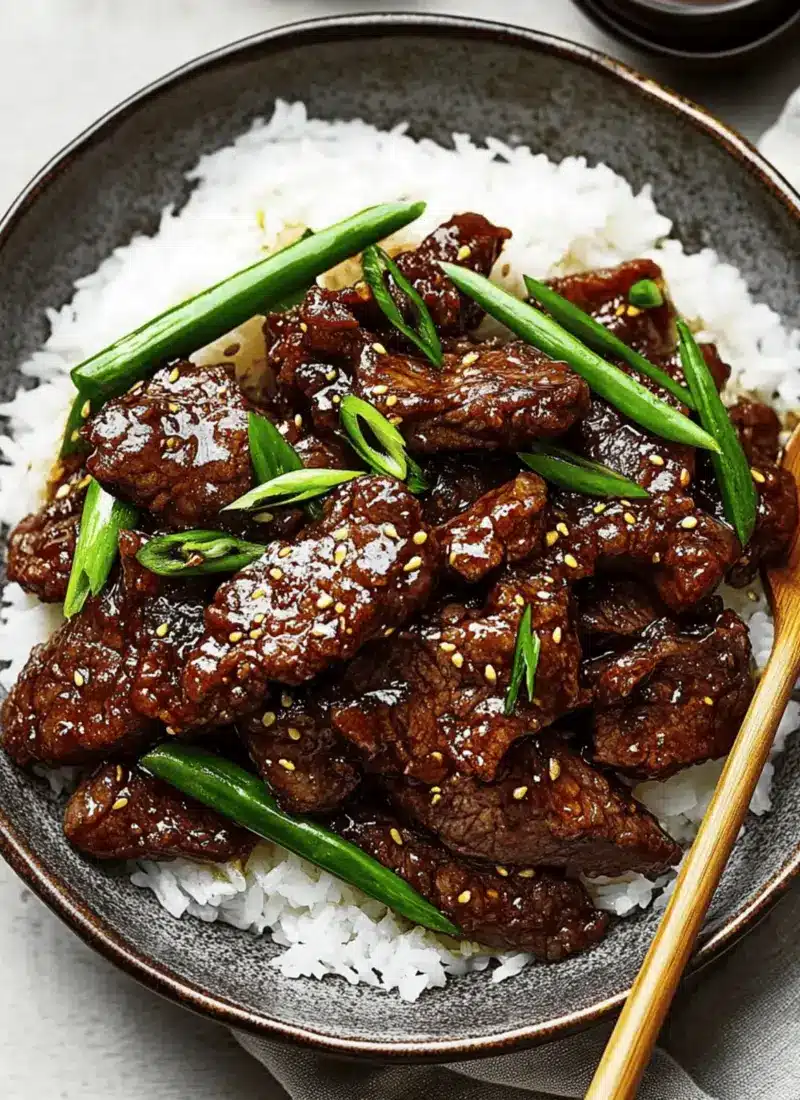
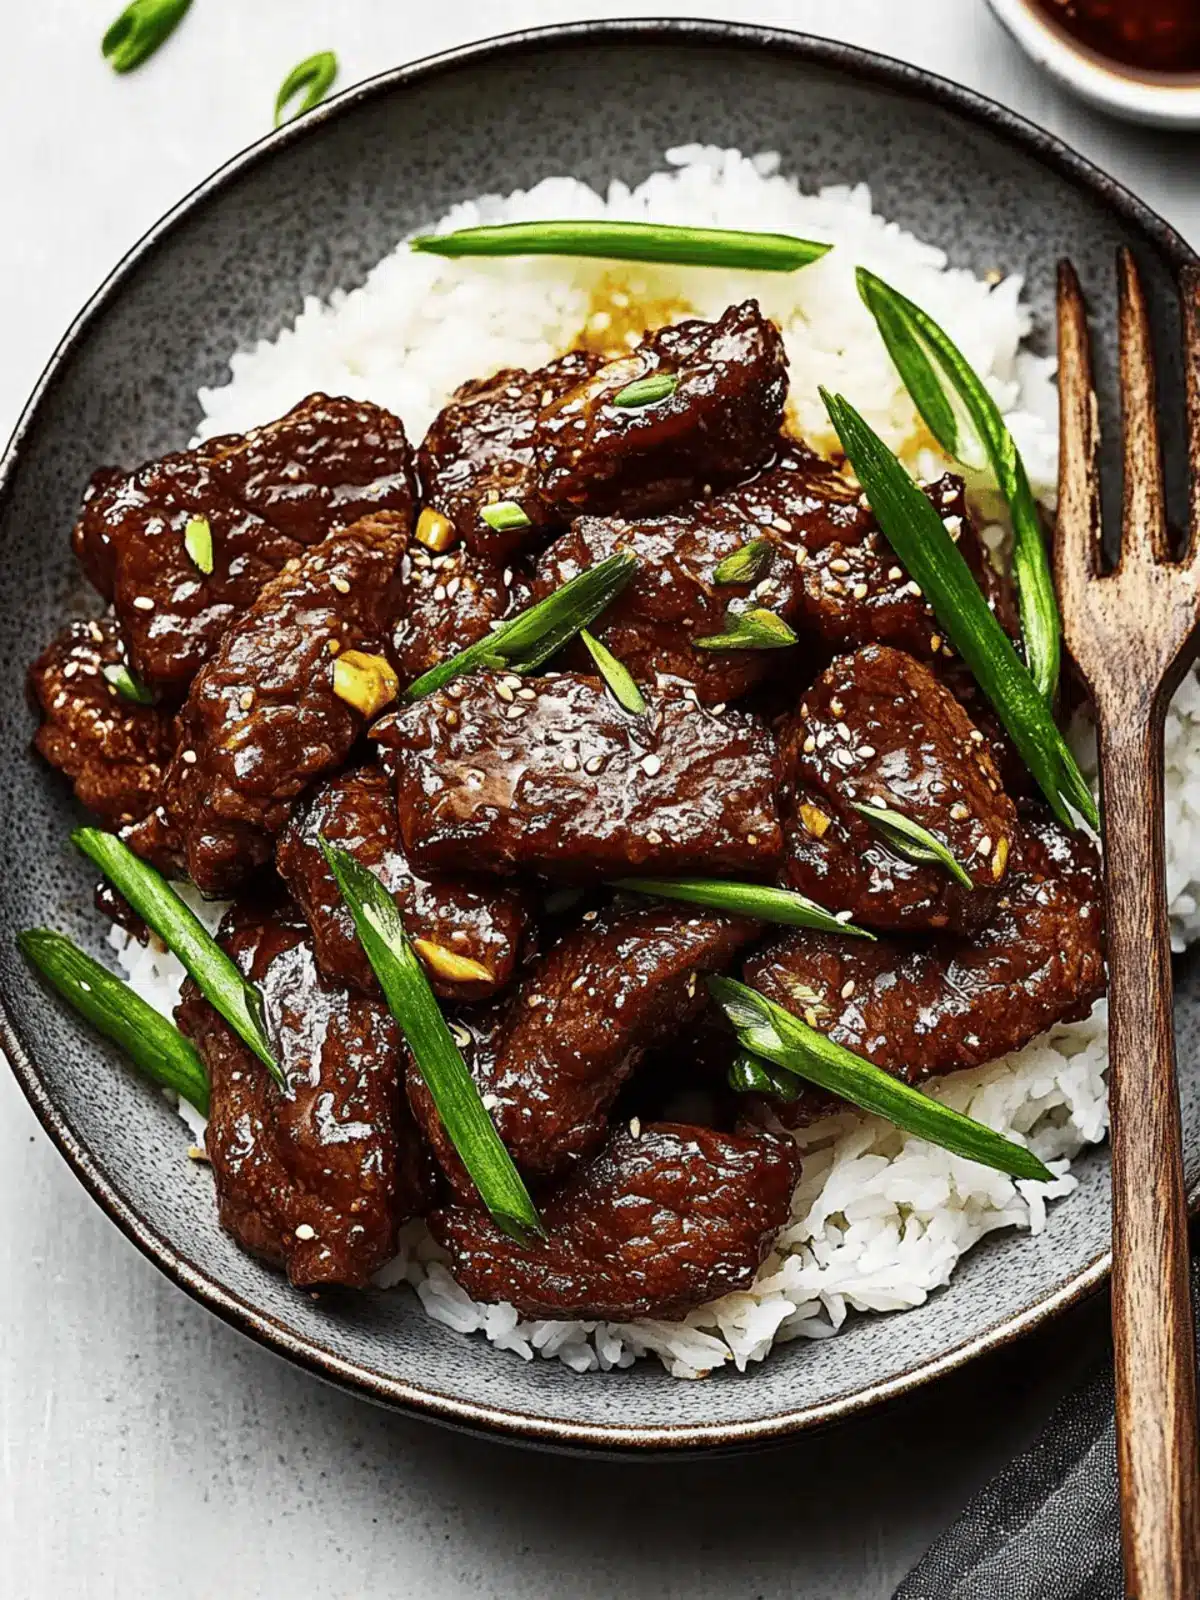
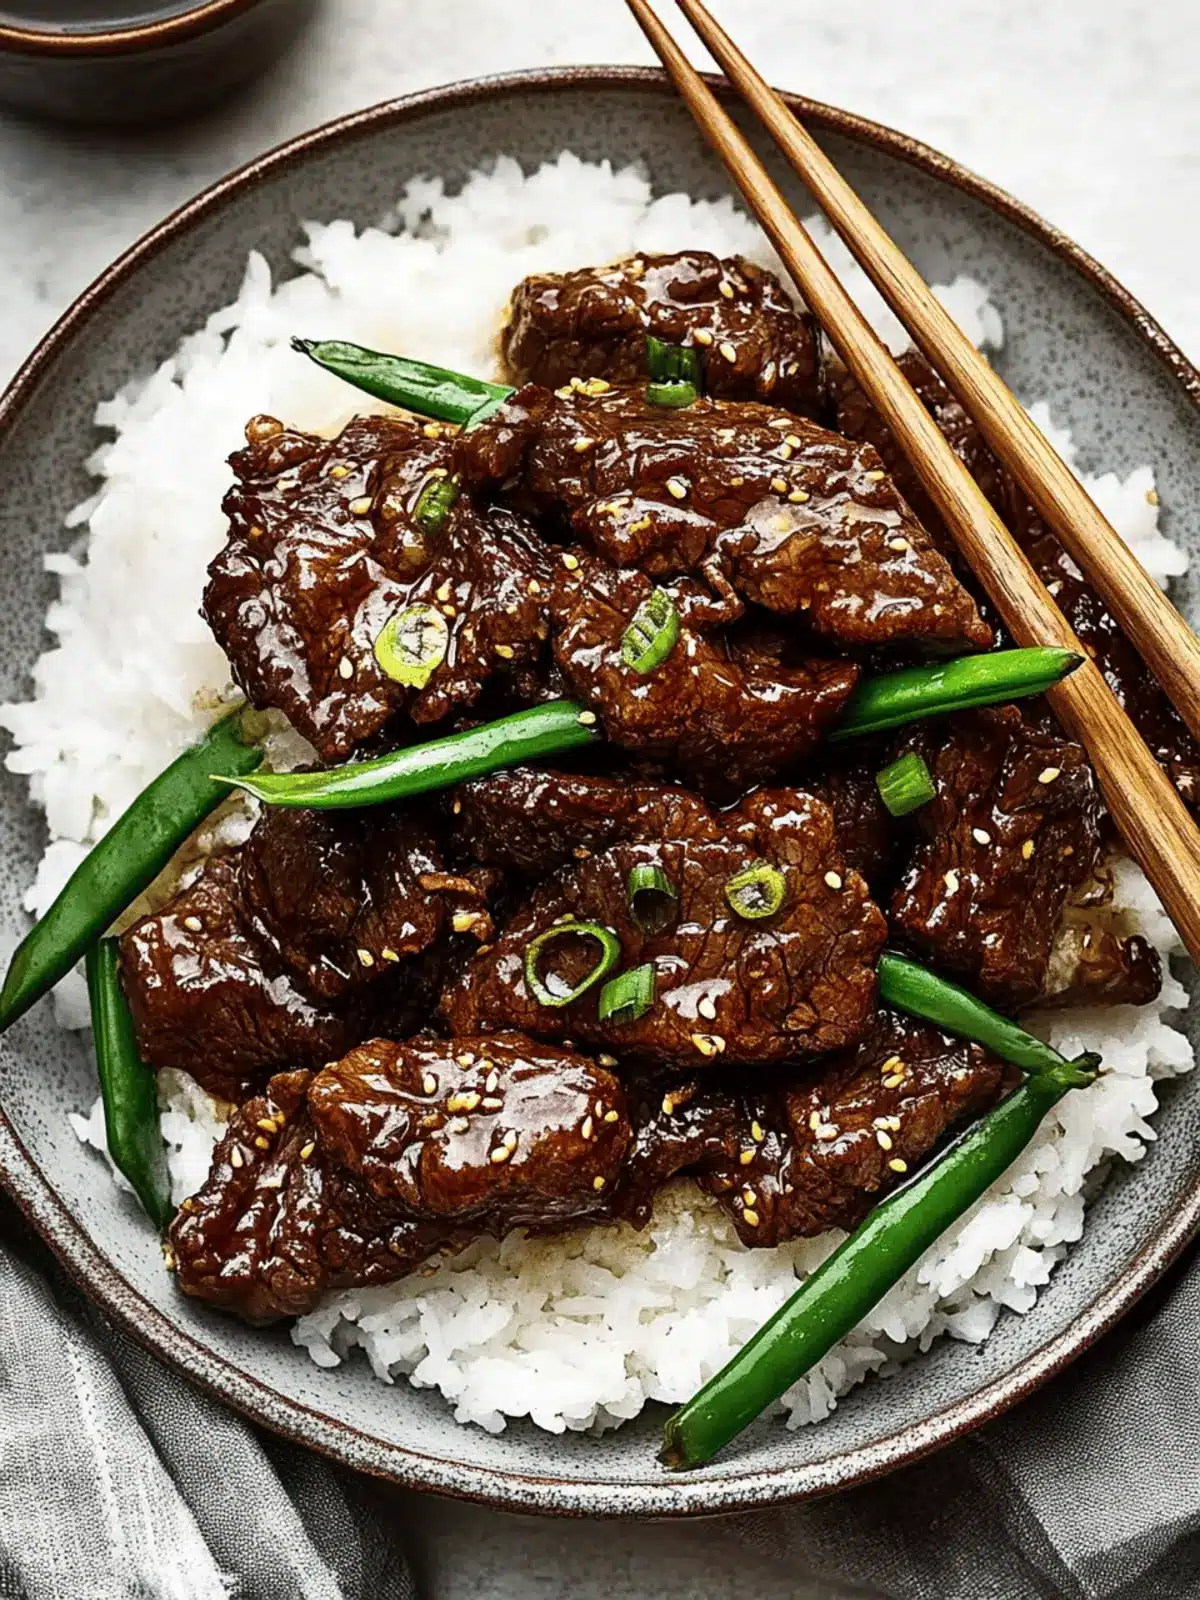
There’s a special joy that comes from turning your kitchen into a cozy haven, especially when the aroma of savory Mongolian Beef envelops the air. Picture this: tender strips of flank steak, seared to perfection, are generously coated in a sticky sweet sauce that rivals any takeout joint. This dish doesn’t just satisfy your cravings; it brings a touch of warmth and nostalgia that embraces you, making it perfect for a weeknight dinner or any gathering.
I discovered this recipe during a quest for a healthier homemade alternative to my favorite Chinese food, and after just one bite, it quickly became a staple in my kitchen. With simple ingredients, you’ll whip up a meal that feels indulgent yet is packed with protein and flavor. Plus, it’s gluten-free when using tamari, making it a versatile option for everyone around the table. Join me as we dive into this delightful journey of taste—your family will be begging for seconds!
Why is Mongolian Beef a Must-Try?
Irresistible Flavor: The sweet-savory sauce envelopes every morsel, ensuring each bite is packed with rich umami flavor that’ll transport you straight to your favorite Chinese restaurant!
Quick & Easy: With just a handful of ingredients and simple steps, you can have a satisfying, homemade meal on the table in under 30 minutes.
Healthy Twist: Made with tender flank steak, it’s a high-protein dish that you can feel good about indulging in. Don’t forget to check out my other healthy homemade takeout ideas for more delicious meals!
Crowd-Pleasing Comfort: Perfect for cozy family dinners or impressing guests, this dish is sure to become a go-to favorite.
Customizable: Add your choice of vegetables for an extra nutrient boost, or switch up the protein to suit dietary needs—this recipe easily adapts to everyone’s taste!
Mongolian Beef Ingredients
For the Beef
- Flank Steak – Tender and flavorful, perfect for quick cooking; can be swapped with sirloin or chicken thighs.
- Cornstarch – Creates a crispy coating for the beef; use arrowroot powder or tapioca starch for a gluten-free option.
- Avocado Oil – Ideal for high-heat searing; substitute with grapeseed or canola oil if needed.
For the Sauce
- Tamari Soy Sauce – Adds umami richness and saltiness; use low-sodium soy sauce or coconut aminos for a gluten-free option.
- Coconut Sugar – Provides a sweet caramel flavor; you can replace it with brown sugar or any other sweetener you prefer.
- Blackstrap Molasses – Deepens the sauce flavor; if unavailable, use more coconut sugar or brown sugar, but it will alter the taste.
- Water – Helps to achieve the right sauce consistency.
- Garlic – Infuses savory notes into the sauce; finely chop to maximize flavor.
- Fresh Ginger – Adds aromatic warmth; ground ginger works in a pinch (use 1/4 tsp).
For Garnishing
- Green Onions – Offers fresh flavor and vibrant color; chopped chives can fill in if you’re out.
- Sesame Oil – Introduces a nutty essence; feel free to increase the amount for a bolder flavor or omit if needed.
This Mongolian Beef is not just a meal; it’s an experience waiting for you to savor!
How to Make Mongolian Beef
- Prep the Sauce: In a bowl, combine tamari soy sauce, coconut sugar, water, sesame oil, blackstrap molasses, ginger, and garlic. Mix well and set aside so the flavors meld together beautifully.
- Slice the Steak: Cut the flank steak in half lengthwise, then thinly slice it crosswise against the grain for the most tender results. Aim for strips about 1/4 inch thick.
- Coat the Steak: Toss the steak strips in cornstarch, ensuring each piece gets an even coating. Shake off any excess cornstarch to avoid clumps in your sauce.
- Cook the Steak: Heat avocado oil in a large skillet or wok over medium-high heat. Cook the steak in batches for 30-60 seconds per side until it’s nicely browned. Remove each batch to a plate to rest.
- Simmer the Sauce: Reduce the heat and add the prepared sauce to the skillet. Let it simmer for 4-5 minutes until it thickens slightly, stirring occasionally for even consistency.
- Combine: Add the seared steak back into the skillet, tossing it in the sauce for 1-2 minutes until it’s well-coated and the sauce has reduced to a glossy glaze. Garnish with fresh green onions before serving.
Optional: Serve with steamed white rice or cauliflower rice for a delightful meal.
Exact quantities are listed in the recipe card below.
Mongolian Beef Variations & Substitutions
Feel free to mix and match ingredients to create your perfect version of this comforting dish!
- Gluten-Free: Substitute tamari with coconut aminos, and use arrowroot powder in place of cornstarch for a gluten-free meal without sacrificing flavor.
- Protein Swap: Try chicken, tofu, or even thinly sliced pork instead of beef for a different taste experience. Each protein brings its unique flavors to the table.
- Vegetable Boost: Add sliced red bell peppers, snap peas, or broccoli for added crunch and nutrition. These veggies will brighten your dish and make it even more wholesome.
- Sweetness Variation: Replace coconut sugar with brown sugar or maple syrup for a different sweet nuance that pairs beautifully with the savory sauce.
- Heat It Up: For spice lovers, toss in red pepper flakes or a drizzle of Sriracha to the sauce while simmering. It adds a delightful kick that elevates the flavors!
- Nutty Note: Increase the sesame oil or sprinkle sesame seeds on top before serving for added richness and a deeper flavor. Your dish will have that extra zest!
- Fresh Herbs: Add a handful of fresh cilantro or basil as a garnish for a refreshing herbaceous twist that brightens the entire dish.
- Fruity Hint: For a subtle fruity sweetness, stir in a splash of pineapple juice or add chunks of pineapple while simmering the sauce. It will create a delicious sweet-savory contrast.
Embrace your culinary creativity and make this Mongolian Beef recipe truly your own!
What to Serve with Mongolian Beef?
Serving Mongolian Beef elevates your dinner experience, so let’s create a delightful meal around it!
- Steamed White Rice: Fluffy rice soaks up the delicious sauce, making every bite even more satisfying.
- Ginger Rice: A fragrant twist that adds a zingy freshness, it pairs beautifully with the sweet-sour flavors of the beef.
- Sautéed Garlic Green Beans: Crisp-tender green beans tossed with garlic enhance the meal’s texture and provide a vibrant color contrast.
- Stir-Fried Bell Peppers: Adding colorful bell peppers offers a sweet crunch that complements the tenderness of the beef. Their sweetness balances the savory sauce wonderfully.
- Cauliflower Rice: A low-carb alternative that preserves the essence of the dish while bringing in a lightness, perfect for those keeping an eye on carbs.
- Cucumber Salad: A refreshing salad with a tangy dressing brightens the meal, providing a cool contrast to the warm beef.
- Egg Rolls: These crunchy delights serve as a fun appetizer or side, giving your meal that classic takeout feel.
- Peach Iced Tea: This sweet and refreshing drink complements the flavors beautifully, providing a perfect balance to your savory meal.
- Sesame Noodles: A deliciously nutty pairing, noodles tossed in sesame oil can help soak up any extra sauce, enhancing your dining experience.
How to Store and Freeze Mongolian Beef
Fridge: Store leftovers in an airtight container in the fridge for up to 3-4 days. This keeps your Mongolian Beef fresh and ready for a quick meal.
Freezer: For long-term storage, freeze portions in freezer-safe containers for up to 3 months. Don’t forget to label them for easy retrieval later!
Reheating: When ready to enjoy, thaw in the fridge overnight and reheat on the stovetop over low heat until warmed through. Add a splash of water if the sauce has thickened.
Serving Fresh: For the best texture, enjoy your Mongolian Beef soon after making it. Fresh is always best!
Expert Tips for Mongolian Beef
- Choose Quality Beef: Select fresh flank steak for the best flavor and tenderness. Older or frozen meat may not sear as nicely.
- Avoid Overcrowding: Cook steak in small batches in the skillet to ensure even browning. Overcrowding traps steam and results in tough meat.
- Adjust Sauce Thickness: If you prefer a thicker sauce, let it simmer a bit longer. Keep an eye on it to prevent burning and maintain that delicious sticky consistency.
- Fresh Ingredients Matter: Use fresh garlic and ginger for optimal flavor. Substituting with dried can dull the vibrant taste of your homemade Mongolian Beef.
- Customize Wisely: Feel free to add vegetables like bell peppers or snap peas, but remember to adjust the sauce quantity to maintain balance in flavors.
Make Ahead Options
These Mongolian Beef meal prep options are a game-changer for busy weeknights! You can prepare the sauce and slice the flank steak up to 24 hours in advance, storing them separately in airtight containers in the refrigerator. This maintains freshness and flavor, ensuring your Mongolian Beef is just as delicious when you’re ready to cook. Simply toss the steak strips in cornstarch right before cooking to achieve that crispy texture. When it’s time to enjoy your meal, heat the oil in a skillet, sauté the beef, simmer the sauce, and combine—easy as that! You’ll have a comforting dinner ready in no time, perfect for nourishing your family without the takeout hassle.
Mongolian Beef Recipe FAQs
How do I select the best flank steak for Mongolian Beef?
Absolutely! Look for flank steak that is bright red in color with minimal dark spots. The meat should feel firm but have a bit of give when pressed. If buying pre-packaged, aim for choices with good marbling, as this will aid in flavor and tenderness. Fresh cuts will sear much better, providing that delightful crispy texture.
What are the best storage methods for Mongolian Beef?
Store any leftovers in an airtight container in the fridge for up to 3-4 days. This keeps your Mongolian Beef fresh and perfect for quick meals. If you need to keep it longer, transferring portions into freezer-safe containers is your best bet. Just remember to label them with the date to keep track!
Can I freeze Mongolian Beef, and how?
Absolutely! To freeze, let the Mongolian Beef cool completely. Then, portion it into freezer-safe containers or resealable bags, squeezing out as much air as possible to prevent freezer burn. Properly stored, it can last for up to 3 months. When you’re ready to enjoy it again, simply thaw it in the fridge overnight and reheat gently on the stovetop with a splash of water or broth to refresh the sauce.
What should I do if my sauce is too thin or thick?
If your sauce seems a bit thin, let it simmer on the stovetop for a few extra minutes. This will help it reduce to a perfect glaze. Stir occasionally to prevent burning. Conversely, if the sauce is too thick, slowly add a few tablespoons of water until you reach your desired consistency. This way, you can achieve that sticky, sweet texture that’s signature to Mongolian Beef.
Are there any allergy considerations I should keep in mind?
Yes! If you or someone dining with you has a soy allergy, make sure to use coconut aminos as a substitute for tamari soy sauce, as it offers a similar flavor profile. Additionally, keep an eye on added ingredients like garlic and sesame oil, which can trigger allergies in some. Always feel free to modify the recipe to fit specific dietary requirements, as this dish is very adaptable.
Can I make Mongolian Beef gluten-free?
Very much so! The recipe can be easily made gluten-free by using tamari (a gluten-free soy sauce alternative) and ensuring that the cornstarch and any other ingredients are certified gluten-free. This way, everyone can enjoy the deliciousness without worry!

Mongolian Beef Made Easy: A Homemade Takeout Delight
Ingredients
Equipment
Method
- In a bowl, combine tamari soy sauce, coconut sugar, water, sesame oil, blackstrap molasses, ginger, and garlic. Mix well and set aside.
- Cut the flank steak in half lengthwise, then thinly slice it crosswise against the grain for tender results.
- Toss the steak strips in cornstarch, ensuring an even coating. Shake off excess cornstarch.
- Heat avocado oil in a large skillet over medium-high heat. Cook the steak in batches for 30-60 seconds per side until browned.
- Reduce heat and add the sauce to the skillet. Let it simmer for 4-5 minutes until it thickens slightly.
- Add the seared steak back into the skillet, tossing it in the sauce for 1-2 minutes until well-coated.
- Garnish with fresh green onions before serving.


